
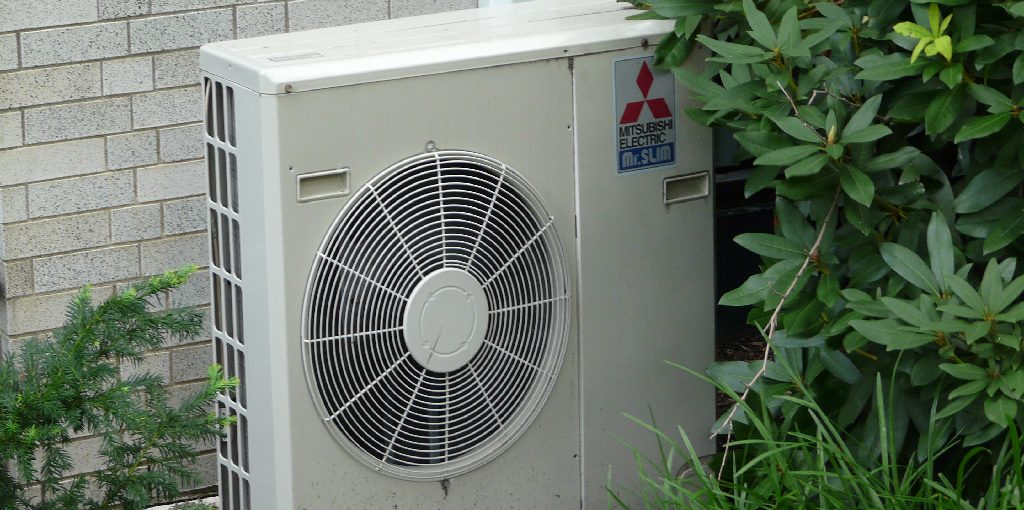
How to Winterize an Air Conditioner
A lot of people are concerned about the winter weather coming soon. Unfortunately, if you’re one of those people, it’s easy to forget about your air conditioner and its functionality. This blog post will help you winterize your AC to function correctly when temperatures drop below 50 degrees Fahrenheit outside.
Do you know how to winterize an air conditioner? It is not as challenging as it may seem. All you need are a few supplies and some time! This blog post will tell you all about what you need, why it needs to be done, and how to do it. Stay tuned for the process’s first step- ensuring your AC unit is turned off at the breaker box!
10 Reasons Why You Need to Winterize an Air Conditioner:
1. To protect it from damage due to shallow temperatures
2. To remove any moisture in the system that will freeze and cause damage
3. If you have turned off your air conditioning, to prevent any residual strain on the compressor when you turn it back on
4. For insulation purposes so no water can enter through small cracks or holes in the refrigerant tubing
5. To remove any harmful chemicals and impurities from the system
6. To reduce corrosion inside of your central air conditioner and keep its parts functioning for as long as possible
7. So you don’t have to come home from vacation to a broken air conditioner that now needs expensive repairs or replacement
8. To save money on your electric bill if you do not need to use the air conditioner
9. So it can run more efficiently during the summer months
10. Any repairs or service calls will be covered under warranty by most major manufacturers in the event of damage due to low temperatures.
What Supplies and Materials You’ll Need:
- Clothesline
- Plastic tie-down straps
- Masking or duct tape
- Permanent marker
- A large container for the condensate drain
- Wood
Step by Step Guide: How to Winterize an Air Conditioner
Here we have given a step-by-step guide on winterizing an air conditioner.
Step 1:
Find a level, shaded area on the ground to set up your air conditioner. Lay down some wood to protect the grass, plants, or soil underneath. Make sure you have enough room to set up the air conditioner without knocking over the wood.
Step 2:
Unbox the window air conditioner and set it up on top of the wood where you have prepared to work. Make sure there is room between the unit and everything else so it can vent properly.
Step 3:
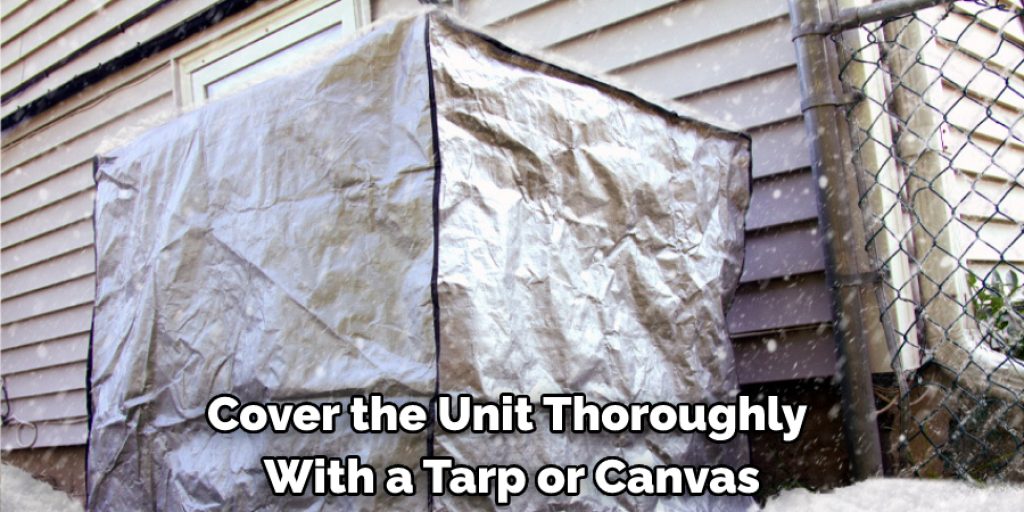
Put the cover on top of the unit. This is just a temporary covering so that you can protect it from rain and wind. If you are using a tarp, make sure to use the bungee cords to tie up any loose sides. Heavy-duty zip ties can also be used instead of bungee cords or for an additional form of security operation protection.
Step 4:
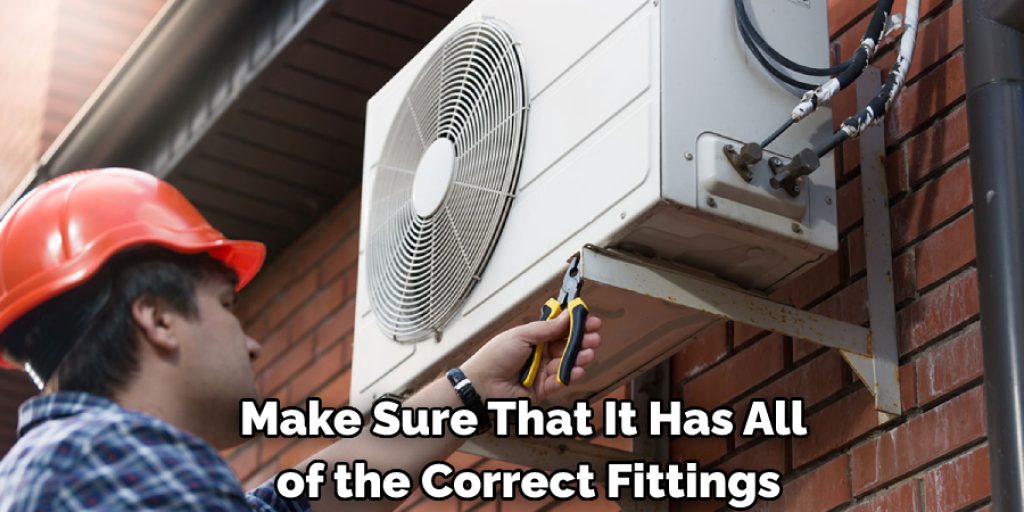
Find the cover that was given to you by the manufacturer and put it on your unit. Make sure that it has all of the correct fittings and that there are no holes or spaces.
Step 5:
Once you have put the cover on your unit, take a step back and survey your work to ensure everything is tight and secured correctly. If you have problem areas, retie them with bungee cords or zip ties.
Step 6:
Cover the window air conditioner with a tarp or another waterproof layer. You want to ensure it is completely covered and there are no tears in the tarp. If you do not have access to twine or cords, then staples and nails can be used as an alternative.
Step 7:
Take everything out of the area where your unit is set up. This will hopefully be a shaded area, but regardless you want to make sure that it is clean and clear. Remove all old wood, rusted nails or staples, and anything that can cause damage or injury. Use deck cleaner if necessary to ensure there are no stains left behind.
Step 8:
Store away the unit with all the parts you have set up for winter. Make sure that everything is put in its proper place and organized correctly. Check the manual if anything seems confusing or foreign to you; there should be a section on how best to store your air conditioner over the winter months.
Step 9:
Ensure the unit is turned off and pieces are appropriately locked away before you leave. Do not assume that your regular maintenance will be enough to keep it from catching on fire or causing an electrical surge, even if it seems normal now.
Step 10:
Takedown any temporary coverings. If there is a tarp or other waterproof is the reverse process of assembly, so make sure to put it all back together correctly. If you are unsure, check your manual or manufacturer’s website for more details on what they recommend.
You Can Check It Out to Make a Tent Air Conditioner
Tips and Warnings:
1. Drain the water left in the unit.
2. Remove all hoses and place them in a plastic bag, seal with tape.
3. Use the hose covers provided by the manufacturer to plug any holes made by hoses.
4. Cover the unit thoroughly with a tarp or canvas sheeting to prevent damage from weather.
5. Remove all reflectors or accessories attached to the unit, so they do not cause damage during windy weather.
6. Cover the inside of the window with plastic sheeting to prevent cold air from seeping in, and turn off your home’s furnace until spring arrives to avoid damage due to condensation buildup on the furnace evaporator coil.
Conclusion:
With the cold weather coming in, it’s essential to winterize your air conditioner. Check out these simple steps above for how to winterize an air conditioner yourself. If it is a window AC, we will need to remove the window from its opening and place a sealant around the edges of the frame. This helps prevent leaks that could lead to mold or mildew buildup inside your home.
For an air conditioning system installed in another area of your house, we’ll want to ensure all ductwork has been appropriately insulated with insulation designed for HVAC systems before sealing up any areas where they pass through walls or ceilings. This includes both supplies and returns vents and ceiling diffusers/grilles near registers on each floor.


