
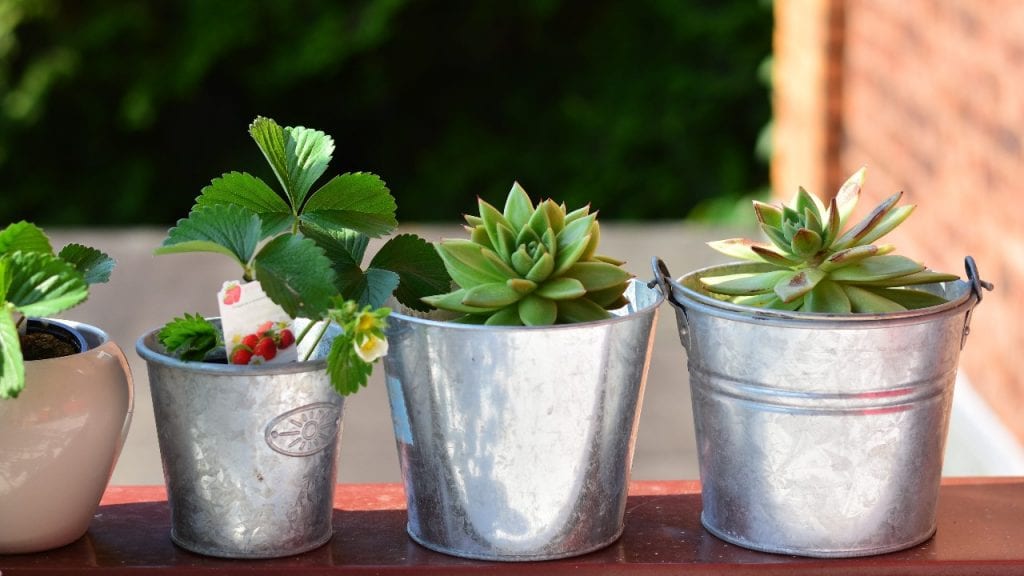
How to Wrap a Potted Plant With Burlap
Living plants or a plant pot make perfect presents – for home changes in climate, banquet presents, get-well-soon presents, or just about every chance. We have a fundamental way of dressing up the material to give your present receiver a perfect display. Plants and boxes can be teamed up to make a stylish package that will suit every occasion and any budget. We offer both a premium and standard plant packaging choice, so you can tailor your present to your needs.
Instructions on How To Wrap A Potted Plant With Burlap
Method 1:
Phase 1: Take a strip of burlap, then cut to fit. (I just got a scrape which was the correct size!)
Phase 2: Place the burlap across the rectangular bucket.
Phase 3: Place the twine in a tie to protect your area.
Phase 4: Lace the twine through the plant a couple of times and knot in a beautiful bow.
And it is! Now for every purpose, you have an immediate yet charming present.
Method 2:
If you have to send somebody a present so you can imagine yet another chocolate bar or sweets, this might be your solution. These would be the best presents for a hostess, tutor, or somebody who likes to cook (yes, even guys like in this token of appreciation). With new ingredients, all smells healthier, and new plants could be used in many other forms. but how about some joy in the form of animal-shaped edibles? They are various and not expensive at all.
Unlike some other gifts, you only purchase no set. For the packaging, you may need to be innovative. Here I will show you some ways to wrap a flower pot to render this lovely gift. Take some simple measures to create your big burlap-wrapped jar:
- Holes are drilled in drains to the tub floor. When you have connections to a saw pit or a saw gap extension, it allows this job much more straightforward.
- Then push the knob off of the tub. To slice via the plastics and take off the handles, I used sturdy, needle-necked pliers.
- Put your burlap up in a vast, open area. I bought two sq—yards of burlap for a container 14 inches wide and 12 in diameter.
- Position the container in the burlap middle.
- With a helpful small knife, pull the burlap up the container to the edge.
- When you have difficulty holding the burlap, consider scratching the cloth to make tiny bends along the quart container’s bottom. You will want to use pushpins to retain the burlap as you secure it in position.
- If you’re done with the burlap positioning, cover it with a cord, twine, or lying about it.
- Take off the extra burlap, and you’re planting set. I rolled the raw edges of the burlap within the buckets and protected it as it was being grown.
Precautions While Wrapping a Potted Plant With Burlap
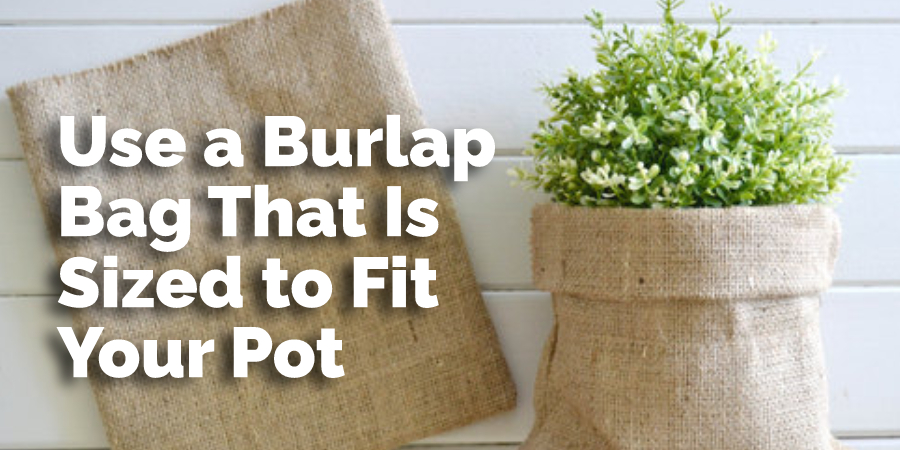
- Use a burlap bag that is sized to fit your pot. If you do not have one, place the entire plant in the center of an old cloth or piece of clothing and wrap it as much as possible so none of the root systems is exposed.
- Place two pieces of tape along each seam on the outside edge (three if there are four seams). This will help reinforce where we secure our string later down below.
- Wrap all but about 12 inches at the bottom with fabric and tie securely using rope or twine, so it stays closed tightly around the base stem. Insert a brick inside this section for added weight to keep heavy plants from tipping over when they start getting watered again after being wrapped up tight like this! Trim off any dead leaves, blooms or buds. Water the plant well and then place a plastic bag over the entire plant like you see in the photo above.
- Wrap the top section with fabric and secure it tightly.
- Cut off any excess burlap sticking out from under your pot where you are going to place it. Put a heavy object on top of this wrapped-up plant so that it stays in shape, but do not put weight directly onto the stem or root system! After all, these plants need water too!
- When planting them back into their final resting spot outside, make sure they will be elevated by at least 18 inches above ground level. This should keep most potted plants safe from inclement weather like hail storms during springtime.
What is Burlap?
Burlap is a rough, thick fabric that’s often used to wrap or cover things. Burlap can also be made into clothing and bags. The word “burlap” comes from the Old French words meaning “cloth of hemp.” This means it was originally made out of hemp fibers before finding better materials to use in its place. Burlap is most commonly made from jute, a plant that’s native to South Asia. Jute is a strong, durable fiber that’s often used in rope and twine. Burlap is also sometimes made from flax or cotton.
What Does Burlap Look Like?
In general, burlap has a brown color. Still, you may see some variations depending on how much oil it had when woven together with other natural fabrics like cotton or linen, for example. You’ll find many shades of medium browns along with ones where red appears as an accent color throughout the material. Some manufacturers dye the burlap, which can produce different colors. The most common is natural green, but you’ll also find other shades like blue and white. Burlap fabric is durable and can last for many years with proper care.
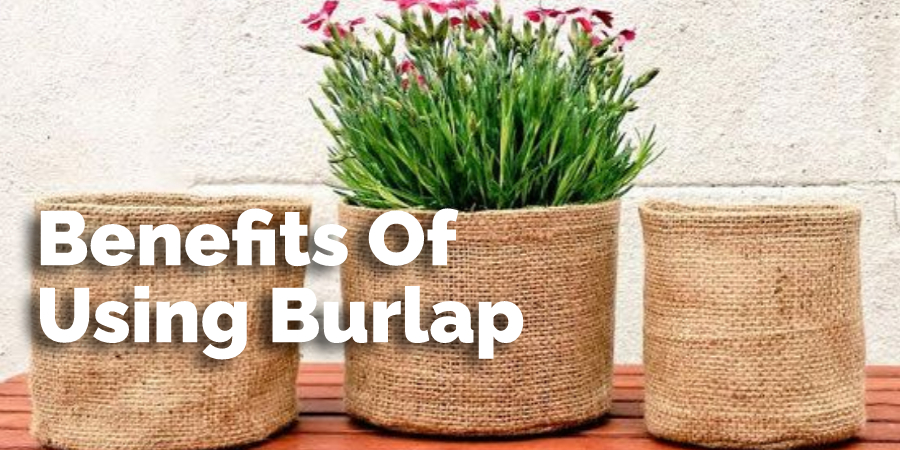
Benefits of Using Burlap
- Burlap is available in a wide range of colors, textures, and patterns
- It can be used for wrapping potted plants to protect the soil from wind or water.
- When wrapped properly around a pot, burlap will not fall off because it will adhere to the moist soil surface on contact.
Conclusion:
Lastly, we hope that the methods that we have stated here will help you keep your potted plant in fabulous condition. You must choose high-quality burlap for this process. Thank you and have a nice day!!
Check it out to learn to stop burlap from fraying.


