
What Grit Sandpaper for Walls
Introduction:
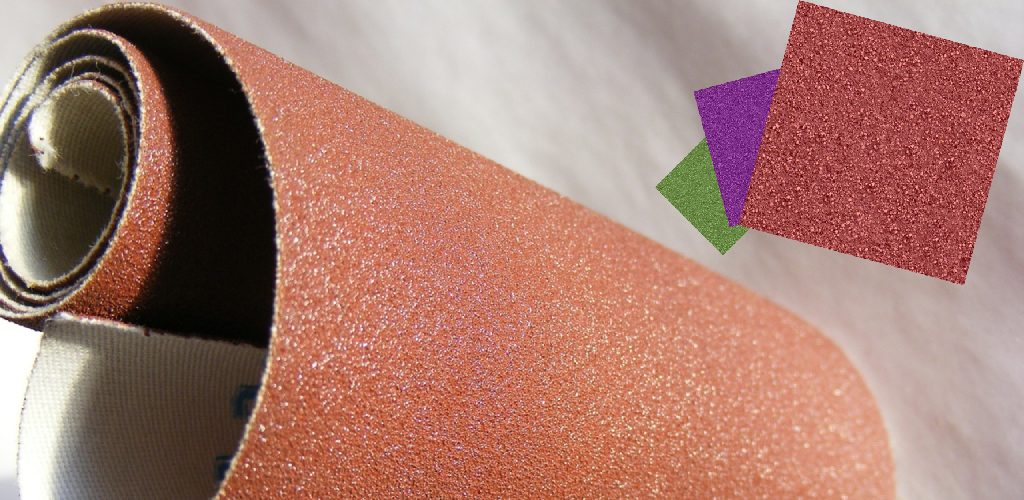
Sandpaper, also known as a hand pad or abrasive paper, is a material with particles or grains glued to its surface. This type of product is used often in DIY projects and can be purchased in some grits depending on the desired finish. For example, unfinished surfaces may need to be leveled out before applying paint.
That’s where sandpaper comes in. If you’re not sure what grit sandpaper for walls should be chosen, consult your hardware store’s assistance desk if it has one. They’ll help you get the right product for your needs. In this article, I will discuss “what grit sandpaper for walls.” So let us get started.
A Detailed Guide on What Grit Sandpaper for Walls:
If you are interested in doing some sanding of your current interior walls, the chances are that you need to know what kind of sandpaper grit you’ll be needing. If so, continue reading this article to provide you with all the necessary information about sandpaper grits and what they mean.
The average wall surface, most often painted, consists of smooth wood paneling or plaster with a paper covering. If your walls usually go through pretty heavy wear and tear- especially on regularly trafficked areas like doorways or hallways, then the chances are that it’s time to use sandpapers (grit 60 and up) to rough it up and provide a better base for your paint.
On the other hand, if you live in an apartment or condo unit with neighbors that are not very loud and don’t tend to cause too much commotion- chances are, your walls can be sanded using sandpapers (grits 220) to enable a smooth finish.
Sanding is not as easy as merely running the sandpaper over the surface of our walls. It will take some time and effort before you can achieve a nice sanded look that would mean that your painting job can now commence. That’s why there are a few things that you must remember before starting sanding:
1. The first thing that you should note is whether or not you need to prime the area before repainting it. Priming will help prepare the surface for paint application by filling up any cracks and crevices in your walls so that your paint would stick better into that surface. For instance, if you want to re-paint an old wood-paneled wall that has already started peeling (assuming there are no visible cracks), then priming is unnecessary.
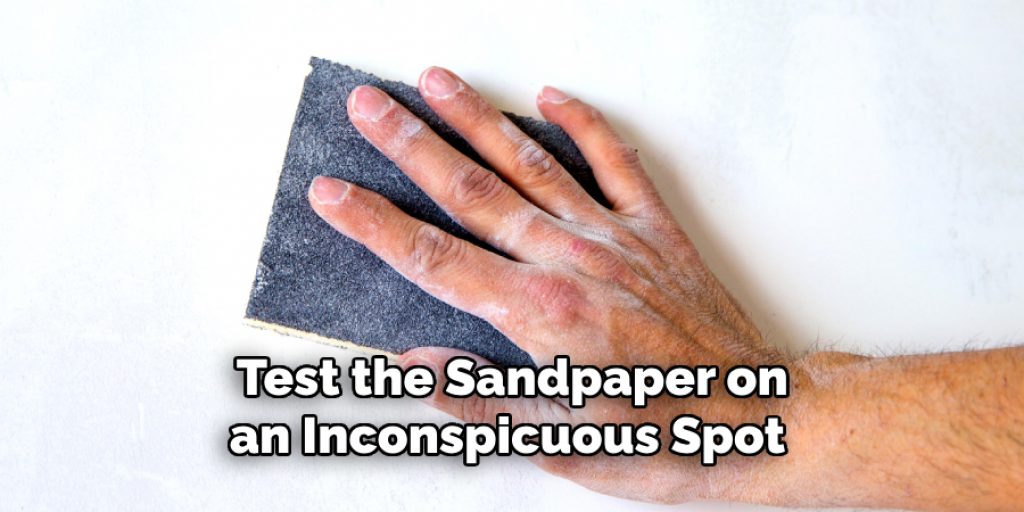
2. Sandpapers (grits 60) could also be used on doors with lead-based paints because this type of paint is soft enough to be sanded using lower grit sandpapers like these; however, make sure to test the sandpaper on an inconspicuous spot first to see if it’s okay.
3. If you are unsure what grit sandpapers you should get, get the higher numbers (grits 60 upwards). The higher the number, the smoother your wall would be- which is great for cleaning up any flaws before painting.
4. On the other hand, if you want a rougher finish- rubbed walls or walls with blemishes and scratches all over them – it’s best to use sandpapers (grits 220) where 220 is very coarse while 320 is quite fine. Sandpapers in the range of 100 to 150 will still be rough but will also smoothen out most surfaces
5. If you only plan to paint a small section of your wall, it’s best to get low-grit sandpapers since higher grits usually come in bigger sheet sizes.
6. If you have a wallpaper that needs stripping down before painting, use a PVA stripper to soften the glue on the sheet first before using an adhesive remover and a scraper to remove as much of the paper as possible. Once you’ve removed all of it, use sandpaper (grade 80) or P120 grits for this one to roughen up the surface before priming and repainting it.
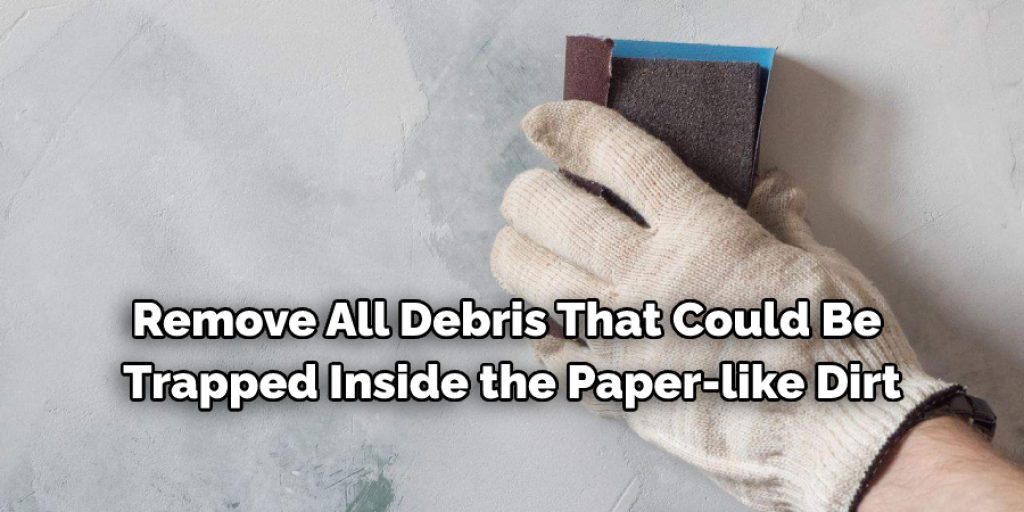
7. Before you start sanding, remove all debris that could be trapped inside the paper-like dirt, leaves, and peels before applying paint. This is to ensure that you are painting a cleaner surface for better adhesion.
8. If your walls tend to become dusty now and then, make sure to wipe them clean using a damp rag or sponge first before hand-sanding them. You’ll only end up scraping off the dust, which will fall off as soon as you start sanding anyway, so there’s really no need for you to dry-sand it first or use an electric sander before starting on your hand-held one.
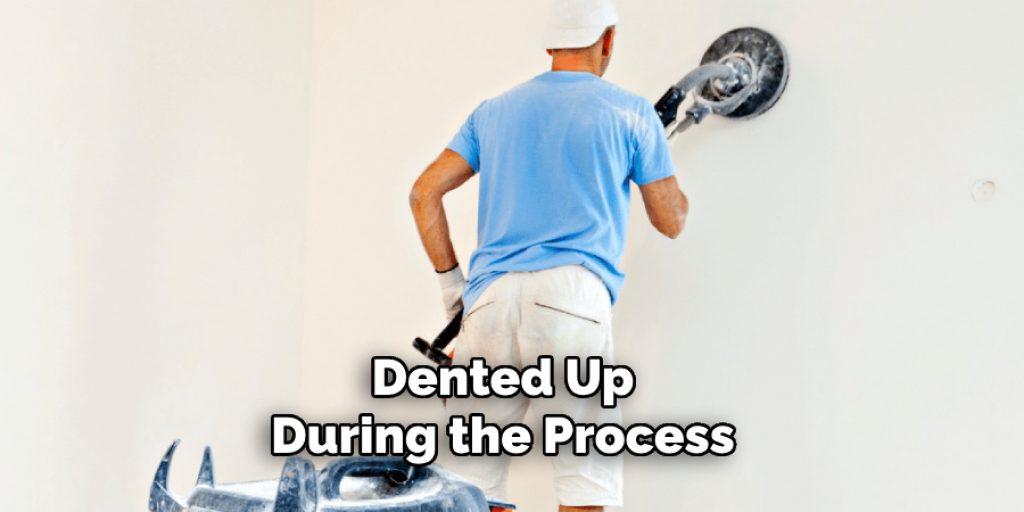
9. Lastly, take note of the direction of the grain in your wall (if there is one) before beginning your sanding job. The general rule of thumb is applying more pressure when moving the sander upwards and less pressure as you go downwards. This helps ensure that your walls are not gouged or dented up during the process.
Stepwise Guide on Using Sandpaper for Walls:
Sanding is an essential part of wall painting. It’s important to smooth the surface of your walls properly and crucial to get rid of dust and contaminants. Thus, it becomes necessary for you to invest in good quality sandpaper for walls that will last long. Here is a helpful guide on using sandpaper for walls:
#1 Using Grit 80/100 Sandpaper For Walls:
If your walls are filthy, this level of grit sandpaper is the best choice for you. The coarseness provided by these papers can remove dust, grime, and dirt quickly when used conveniently with water or solvent along the grain of the wood. With this type of sandpaper, use downward strokes when working on old paint jobs.
#2 Using Grit 120/150 Sandpaper For Walls:
This level of sandpaper is useful not only for eliminating paint but also to give a smooth finish to your walls. To use this paper, you need to apply light pressure and work with the grain of the wood. Go from top to bottom when using grits 120/150 with upward strokes on new paint jobs.
#3 Using Grit 180/220 Sandpaper For Walls:
This type of sandpaper comes in handy to remove old thick or dried layers of paint. It has fine grains that allow you to get rid of stubborn marks easily without scratching the surface. Apply slight downward pressure while working across the grain for an even surface.
#4 Using Grit 220/280 Sandpaper For Walls:
Sandpaper with this level of coarseness is mainly used for leveling and smoothening wood. You can even remove small bumps and defects from these papers while sanding your walls.
It’s advisable to use a dust mask when you’re sanding down old paint. It will not only keep the air free from dust but also protect your lungs against hazardous chemicals that may be contained in old painting layers. Also, make sure you wear long-sleeved clothes and gloves before starting to sand down your walls.

Frequently Asked Questions:
What Sandpaper Should I Use Before Painting Walls?
Grit choices can get pretty confusing. How do you know which one to use for what? After all, there are a lot of different types out there!
The first thing to look at is the type of wall that needs painting. If it’s a smooth surface, maybe a 150 or 180 grit sanding screen will work best. Use a 100 if they’re in between, and when in doubt, no problem!
A 120 grit sandpaper works on most surfaces when prepped with water and wiped down when finished. If you’ve got an especially stubborn paint job (maybe previous renters were awful), then gradually increase the grit until they meet your standards.
We recommend that plaster walls be lightly sanded with wonderful sandpaper after primer application and then wiped down. A good standard is a 240 grit screen folded into thirds before use. When applying primer to plaster walls, lightly wet the wall first and prime with both brush and roller. After the primer dries, it can be lightly sanded with 220 grit paper rolled into thirds or sixths for an even finish.
How Can You Sand Rough Walls without Damaging Surface?
The purpose of sanding rough walls is not to take off layers of paint but to flatten surfaces, so they’re smooth enough for primer. Use fine-grit paper in a circular motion with an electric sander or hand block for best results.
To Sand Rough Surfaces Without Damaging the Surface:
Use coarse-grit paper on your orbital sander to take off thin layers of paint. Once the paint is removed, switch to fine grit and continue sanding. Use a circular motion with an electric sander or hand block for best results. Rough surfaces make it difficult to ensure that you get rid of all bumps and ridges before priming, so work slowly until you have a smooth, even surface.
Applying primer isn’t always necessary if most of the wall is in good condition and the desired color closely matches what’s already there. If you need help choosing a primer designed for existing paints, read about which DIY spray paints are best for wood .
Note: Sanding walls is not recommended if you plan to paint the wall with an oil-based primer, as this type of primer can’t be sanded.
It’s best to use fine-grit sandpaper instead of coarser ones because it does not remove much material at once. This also helps avoid scrapes and damage on surfaces that are already rough. These steps must be done smoothly so there wouldn’t be any issues later on when applying paints or finishing coats. Always remember to read the instructions carefully before doing anything too!
Conclusion:
I hope this article has been beneficial for learning “what grit sandpaper for walls.” Take help from the professionals while sanding the walls. Thank you and have a nice day!


