How to Make a Deer Skull White
Introduction:
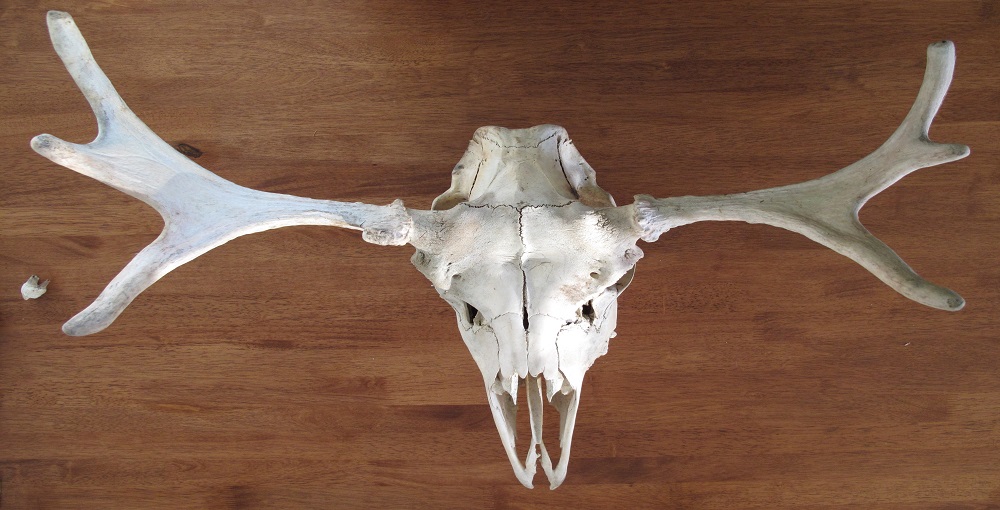
Maybe you are the one who loves to collect the skulls of animals. And that’s why you have put a deer skull in your room that you have got from your previous hunting session.
But did you notice the skull’s color is fading away, It is natural being exposed to different natural elements the color of the skull can fade away, but if you can take the proper steps, you can retain the color for a long time? Wanna learn how to make a deer skull white? Let’s show you how to do that.
Things You Will Need
- Plastic gloves
- Turkey trays
- Plastic wrap and electrical tape
- A brush
- Salon care 40 volume cream peroxide
- Basic White powder
- And something to mix these things
Processes on How To Make A Deer Skull White:
Process One:
To start, get the deer skull. Next, cover it with a plastic bag that has been cut open and filled with boiling water. Remove after 15 minutes or so of cooling down to touch dry and harden as is desired state. If you want an even color on your deer skull, wait until it’s cool enough to handle without being burned before proceeding to the next step.
Wash off hair from the skull using warm soap mixed with water in a bucket for about four hours total time spent washing – then rinse thoroughly and wash out remaining shampoo (may take up to another half-hour). Blow air inside the nose cavity area; remove excess grease around eye sockets, dirt, and grime on teeth surfaces, etc., using moistened cloth diapers or a t-shirt.
Finally, wait a day or two for the deer skull to dry out before applying other finishing touches like varnish and/or painting with acrylic paint if desired.
Process Two:
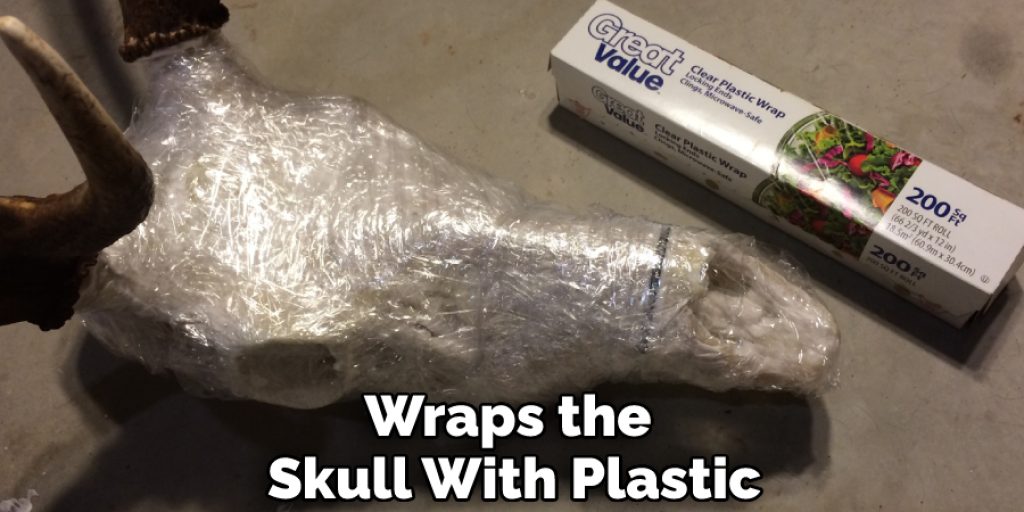
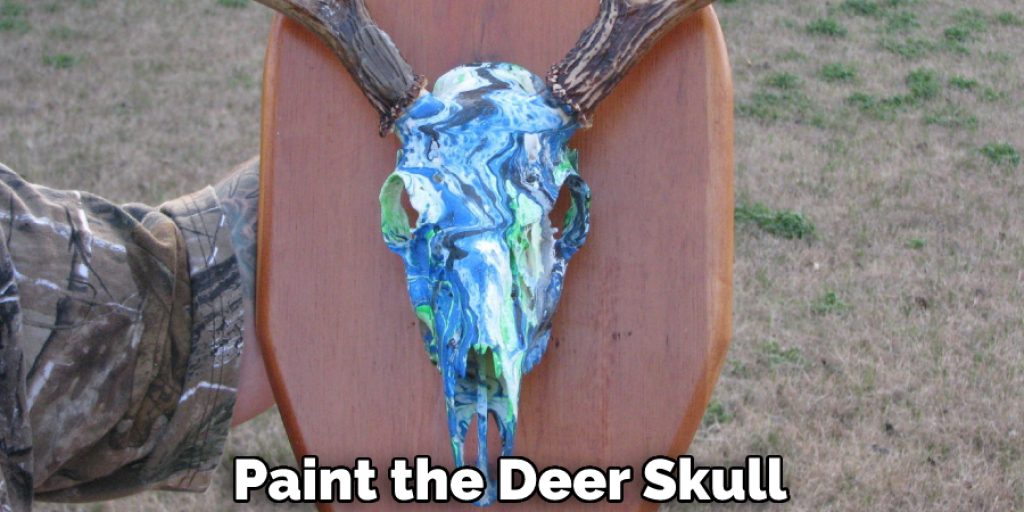
The first thing I will do is wrap the antlers with plastic wrap and some electrical tape. I don’t want the horns to be whitened. Next, I will mix the cream with a few scoops of this basic white powder. By the way, make sure to wear your plastic gloves while working with them.
The consistency of the powder depends on how many deer skulls you will apply. After that, I have taken my little pan and put the skull in it. Then I will grab the mixture and start painting on the skull with my paintbrush.
Paint on this at a pretty liberal amount everywhere, and after completing the painting, it wraps the skull with plastic. Once you complete that, leave the skull for a couple of days. Then unwrap the skull and see if the skull is now whiter enough. If not, then you are gonna have to apply another layer. That’s it; the process is now complete.
Precautions:
- Wear gloves and safety goggles.
- Work in a well-ventilated area with good lighting.
- Do not use any solution that will come into contact with the leather or fur of the skull. This includes acetone, xylene, paint thinner, lacquer thinner, or alcohol solutions such as ethanol or isopropanol.
- These chemicals can cause irreversible damage to these surfaces, making it impossible for them to be stabilized in future treatments if you need to return your deer skull at some point down the road because of repair needs due to accidents.
- Use only water-based solvents like denatured alcohol (available from hardware stores) for all phases of cleaning and treatment, so there’s no chance you’ll get anything.
Frequently Asked Questions:
Which Brush is Suitable for Painting Deer Skull?
The next step in painting a deer skull is to decide what kind of brush you’ll need. You can use just about any type, but some are better for certain jobs than others.
Different types of brushes can be used for different purposes when painting. For example, an angled sable or bristle brush is ideal for softening edges and blending colors, while a flat brush should only be used with thinned paints since it can leave streaks when not loaded with enough paint.
It’s also important that the bristles on all your brushes remain intact as it will produce smoother strokes and less likely result in uneven coverage if one side of the brush becomes frayed from over-use.
What Paint Should I Use to Paint the Deer Skull?
The paint you use to paint the deer skull will depend on personal preference. The most common paints are acrylic, oil, and watercolor. Acrylics provide a glossy finish which is great for those who prefer a more contemporary look, while oils produce an aged effect that some find appealing.
Watercolors offer rich color without being too heavy or overpowering. Still, they have the potential to dry out quickly if not properly stored away from direct sunlight. However, there are ways to counter this issue, such as adding PVA glue into your mix before applying it onto the surface so that it becomes thicker and less likely to drip down once applied.
Final Thoughts:
In conclusion, we hope that all the steps mentioned here are quite clear to you. You must maintain the quality of color to have the best result. Thank you, and have a nice day.
You may read also –
Elizabeth Davis
Elizabeth is a creative writer and digital editor based in the United States. She has a passion for the arts and crafts, which she developed from a young age. Elizabeth has always loved experimenting with new mediums and sharing her work with others. When she started blogging, she knew that DIYquickly would be the perfect platform to share her tutorials and tips. She's been writing for the blog from the beginning, and her readers love her helpful advice and easy-to-follow instructions. When she's not writing or editing, Elizabeth enjoys spending time with her family and friends.