
How to Use Acrylic Paint on Tote Bags
Tote bags are the simplest yet one of the popular fashion accessories known worldwide and used by people of all ages. The thing about tote bags is that they are effortless in design and complement one’s style properly. There are various kinds of tote bags available—one of the known designs is customized ones. So, if you wish to customize your tote bag with paint and create beautiful and unique designs for yourself, you must follow us through learning how to use acrylic paint on tote bags.

What is a Tote Bag?
Assuming you have no knowledge about tote bags, or perhaps you know them by another name, don’t worry! We’re about to give you an excellent description of tote bags.
Tote bags are handbags made out of mostly fabric or sometimes heavy leather. They are prepared for everyday purposes, carry many things around, and of course, as a fashion statement. People, especially students, like to use tote bags a lot.
Most of the designs of tote bags will include a long shape, a long strap, one or two outside pockets or none, one big compartment inside, or a few small ones. That is probably the most basic description one can give you. Also, tote bags are not that luxurious looking. They will have to give off the impression that you were running late and grabbed whatever bag was in front of you. We think you have the idea now!
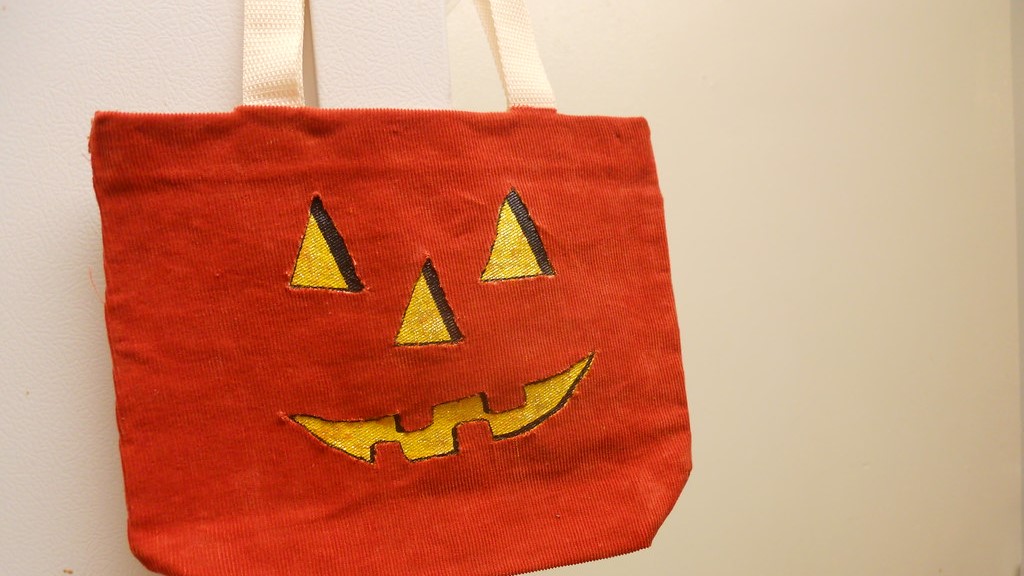
As we have mentioned before, tote bags have the simplest design. Therefore, many people like to customize their tote bags as they may go along with their aesthetics. To do that, some prefer to make it their own by painting. And it is possible as tote bags are available in a blank design with one color.
And, if you do not wish to buy one, you can always make one with some clothes. Tote bags are that simple to have. And to make everything much better, you can also get them customized with simple DIYs. We will teach you how to use acrylic paint on tote bags.
Why Acrylic Paint?
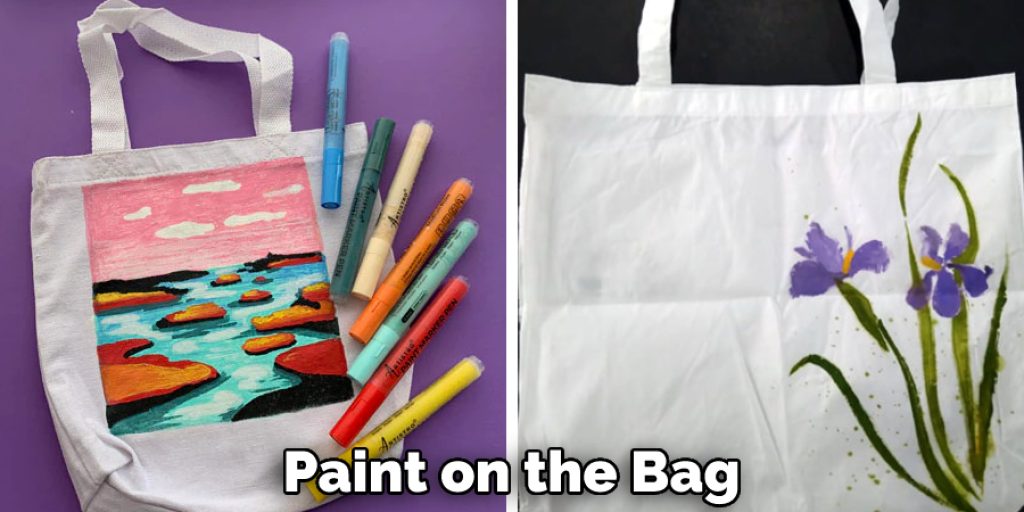
If you wish to paint your tote bags, you would think about what sort of paint to use. The most popular option for tote bag painting is acrylic paints. So, now you may think, why mainly acrylic paints?
It is because acrylic paints are more vibrant, stick properly on fabric, and are easy to dry. Acrylic paints are just like watercolor, but they are more suitable for painting on fabric. They do not wash off easily, either. That is why many people like to work with acrylic paints.
Besides, when trying to paint on your tote bag, you need to use colors that are easily available with all the essential shades and vibrant enough to look good on fabric. And indeed, the acrylic color will do the job for you.
DIY: How to Use Acrylic Paint on Tote Bags
As you are now full of knowledge on how matter of tote bags and acrylic paints, we will move on to how you can use them together to create the perfect customized bags for yourself.
But before doing so, you need to make sure that you know what you will paint on the bag. That is why get the desired bag first and have a mental model of the painting you will do. Once you are done doing that, you need to find out all the required materials.
Materials
The things you need to finish the whole project are-
- A blank tote bag
- Acrylic paints
- Brushes
- Washi tape
- Pencil
- Coloring palette
- A cardboard
- A mug of water
- Eraser (optional)
Steps to Follow
To teach you how to use acrylic paint on tote bags, we will explain everything in several steps so it will be easy for you to follow.
Step 1
The first step is to iron or steam your tote bag to the finest. You cannot have any crease on your tote bag as it will hamper you from correctly painting it.
Step 2
After you are done with ironing or steaming your tote bag, you need to put it on a flat surface where it will be easy for you to work. You can tape down the tote bag so it will not budge around when you are working.
Step 3
Now that your blank canvas-like tote bag is ready, you need to outline the painting you will do.
To draw figures like something in the bag, you need to outline everything using a pencil before painting.
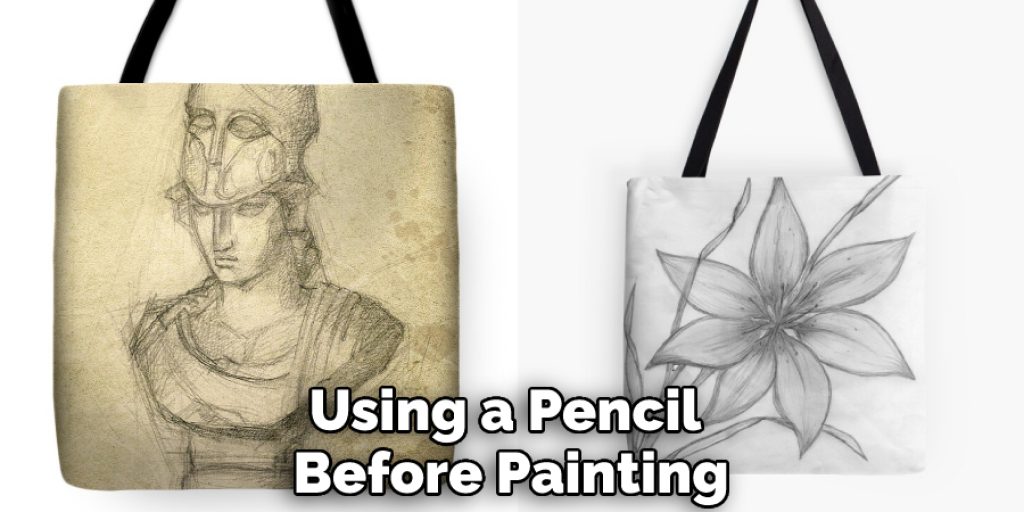
And if you are going to do anything abstract or a scenario, you have to make a square or rectangular outline where the whole scenery will take place. You can outline it with a pencil, or you can use tape to do so.
If you are not so confident about your painting skill and think the color will go out of the line, you better you tape.
Step 4
Now, you have to put the cardboard inside the tote bag. The reason for using cardboard is that it will stop the saturated color from transpiring to the other side of the tote bag. It will also provide you with a firm surface for painting better.
Step 5
Now it is time to work with the color.
Before you start working, gather all the necessary coloring things. And that would be preparing the brushes, the color palette, and a mug of water.
Step 6
You should start by pouring the necessary colors that you are going to use on the palette. You can also begin mixing and making new colors as well.
Step 7
Start by adding the lighter colors first. If you are drawing some figures, you need to bring carefully not to get other colors to mix up.
Step 8
After you are done with coloring or painting, you need to put the tote bag in a place where it can dry properly without anything interrupting. You need to make sure that you do not put in direct under sun or stove as it could mess up with the color. Let the whole thing dry with natural room temperature.
Step 9
After the bag is done with drying, slowly take off the washi tape out. You need to be careful about this not to make any mess with the washi tape. Usually, these tapes do not stick too much, and that is why it is preferable for these kinds of projects, but it is always better to take some measurements.
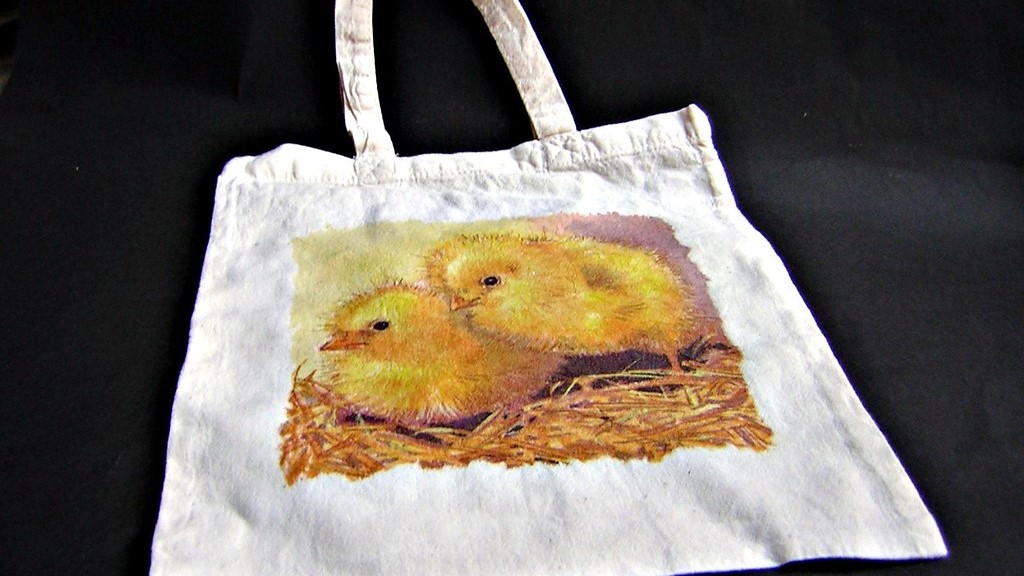
Move the cardboard, and your tote bag is ready to use! All the steps are done, and if you follow them correctly, you will make the tote bags with no trouble.
Tips
If you are an experienced painter who knows everything about acrylic painting and tote bags, these tips may not be needed for you. But anyone who is trying for the first time can use it to learn how to use acrylic paint on tote bags in a better way.
- You need to remember that acrylic paint is just like watercolor. Therefore, it needs to be always wet with water. That is why you cannot skip the glass of water while doing the painting.
- You need to be careful about the color not to get on the other side of the tote bag, and for this, you need to use the cardboard.
- Another important thing is to find the right kinds of brushes. Brushes are extremely important as it will tell you how well you are going to paint.
- You can also write down your name with a permanent marker to make a statement that it is your tote bag!
These are some of the most useful tips you can keep in mind when starting work. They will help your way to achieve victory even in the first try.
Final Thoughts
There you have it- the tutorial on using acrylic paint on tote bags. Tote bags are a useful material that you can use with any outfit you want. Especially in the summertime, the tote bags’ fashion will be high in demand. Customizing your tote bag using acrylic paint will make yours unique, as whatever you draw will not be available at the store. Also, they are a great thing to gift to your loved ones on occasion. So, why not start the DIY session as soon as possible!
Bag Related Article: How to Add a Shoulder Strap to a Bag


