How to Make an Airtight Seal
In our daily life, we often need to preserve foods or other things. An airtight seal does an excellent job for it. If you are looking to make an airtight seal, you are in the right place. Here we will give our best opinions on how to make an airtight seal. What is an airtight seal? An airtight seal, or an air-sealed closure, is a seal that completely prevents air from passing through it.
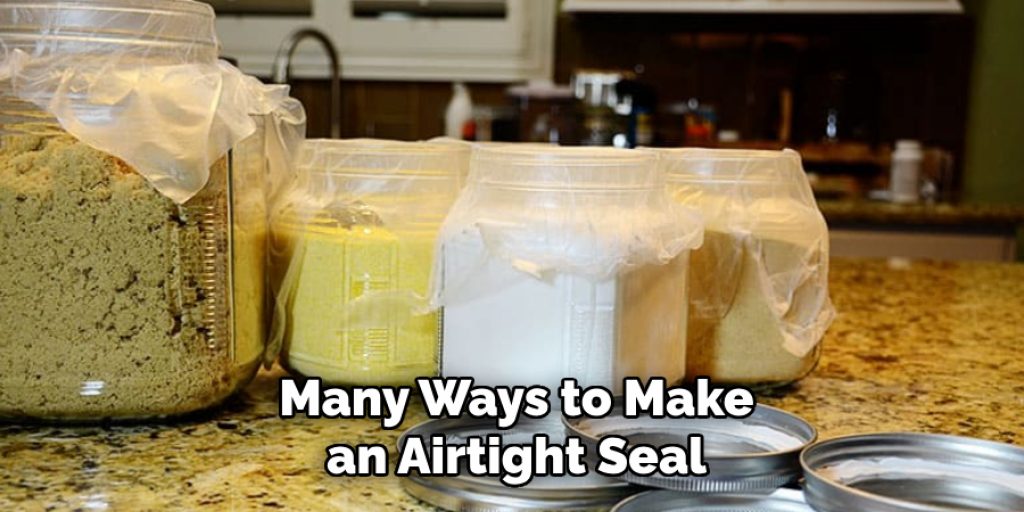
There are many ways to make an airtight seal. Depending on the equipment you have available, you can choose the best method for you.

How to Make an Airtight Seal
First Method:
Necessary Equipment:
- A bottle
- Scissors
- Plastic bag
Process:
- Take a fine bottle that is unnecessary for you. But be careful about the hygienic condition of it.
- With the help of scissors, cut the top part of the bottle where the lid is present.
- You should cut the top part of the bottle as ¼ ratio of the whole piece of bottle.
- Then take a plastic bag and also here, be careful about the hygienic condition. You can choose the plastic bag as long as you want; actually, it depends on your preserving goodies’ size.
- Now, hold the top part of the plastic bag (actually, there will be handles of the bag) and then pass them through the top hole (opened lid) and then spread the plastic bag over there.
- Finally, close the lid over the spread plastic bag, and then you got your airtight seal!
Second Method:
Necessary equipment:
- A box of water
- A plastic bag with a zipper
Process:
- Put the goodies in that zippered plastic bag and put it in water.
- While in water, keep one side of the zipper open, and at the time of the sinking, drain air through that opened part by your hand.
- Do this until the bag is fully sunk, and finally close the zipper of your plastic bag.
- This method is usually suitable for preserving foods like raw meat or fishes.
Third method:
Necessary equipment:
- A container
- Round rubber bands.
Process:
- If your container is loose and you want to make it airtight, this method is for you.
- Open the lid of your container.
- Now get the round rubber bands the same shape as the container and put them around the lid’s rotation place.
- If you find trouble in fittings, then try to remove the rotation circles by scratching with anything suitable that is available to you.
- Then place the lid over the rubber bands at the top of the bottle.

Fourth Method:
Necessary equipment:
- A container
- Plastic shopping bags
Process:
- You will need a shopping bag and a container. Cut the shopping bag into round pieces that are the same size as the container.
- Now, open the lid of the container and place your round-shaped pieces of shopping bag there.
- You can add as many layers as you want. But remember you have to close the lid too.
- Finally, close the lid. If you face any problem while closing the lid, try reducing your layers or a thin plastic shopping bag.
Conclusion
There you have it, our completed tutorial on how to make a vest of a paper bag. With these simple steps and equipment, you can make your vest to show off to your friends the next day or make it for your child or siblings to have some fun with their friends. Either way, this simplified paper vest will save your worry of finding or purchasing a real vest. This vest is more comfortable with making and will come up with the most satisfying look.


