
How to Make a Vest Out of a Paper Bag
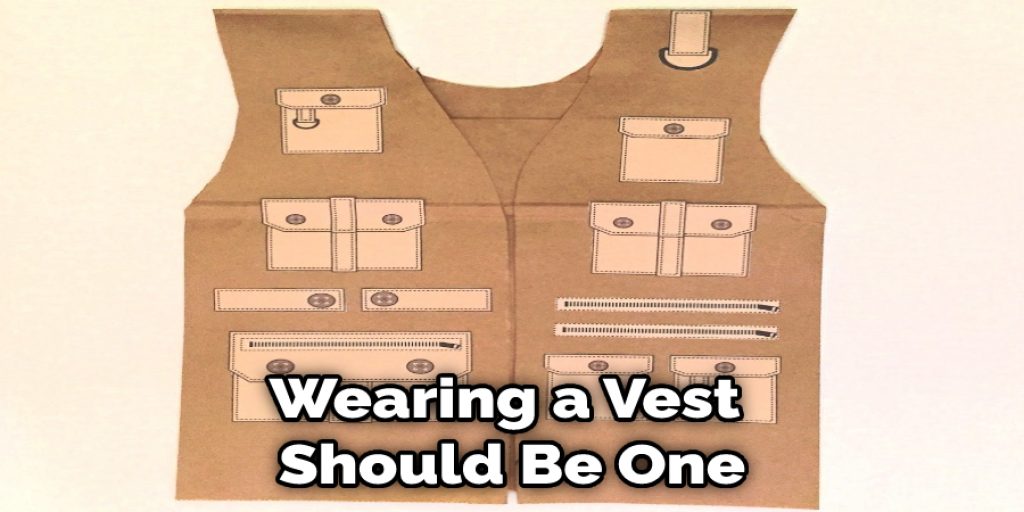
Being a parent means you will have to come up with an innovative idea for something in the middle of the night because your child has an assignment the next, and obviously, they forgot to tell you the whole day. Out of every need they have, wearing a vest should be one. If you are one of the parents looking for how to make a vest out of a paper bag, you are on the right page.

During our childhood, we have made so many DIY things that helped us play or go through certain occasions where we have to impress our friends. Wearing a vest should be one of them. But the matter is that our parents will not agree to buy a vest, and what we had to do is make our own.
Whether you are the child reading or the parents, you will already know that making a vest out of a paper bag is possible. This is the easiest and probably the most satisfying thing ever. It does not require any expensive or unavailable tools. All the things you need to make the vest should be right beside your hand.
Don’t worry if you can’t come up with the whole idea or figure out everything to make a vest out of a paper bag. We’re here to help you find the right steps. We’ll explain the whole process step by step in the most simplified language possible in case any younger maker is reading. Let’s get started with our tutorial.
DIY: How to Make a Vest Out of a Paper Bag
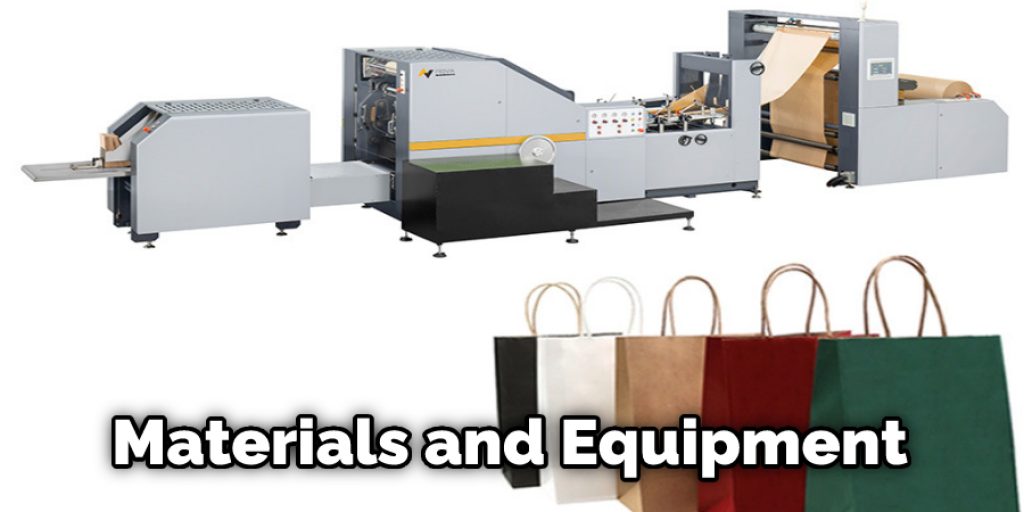
As we have already told you, making the vest will only require equipment available at your house. If you are the one who is going to wear it, ask your mom to provide you with the necessary items.
To start of the process, let us give you a list of the things you need-
- Paper bag
- Scissors
- Measuring tool
- Glue
- Table cloth
- Marker
Before you get started with the steps, get the things you need and put them all in front of you so that you will not face any difficulties ahead.
Steps to Follow
Step One:
To begin the process of how to make a vest out of a paper bag, you will need the paper bag itself. Paper bags are usually available at your home after you do grocery shopping. But if you do not have one, you can always buy one from nearby local stores.
Now that you have your paper bag ready, you need to use the table cloth to cover up where you will do the work so that when you are using glue, it will not make a mess.
Step Two:
Now you have to flatten the paper bag using your hand. Usually, the bag will not be flattened; if you do not do that, it will be harder for you to work with.
Step Three:
As for this step, you will have to measure the person’s neck who will wear it. Take the measuring tool and estimate the amount that will be good for getting the head into the paper bag.
After measuring the neck, with a marker, point out the numbers on the paper bag.
Step Four:
This step is the most crucial one as you will have to do all the cuttings, and if any mistake is made, the chances are that your vest will not look good. But no need to panic if you follow our steps correctly.
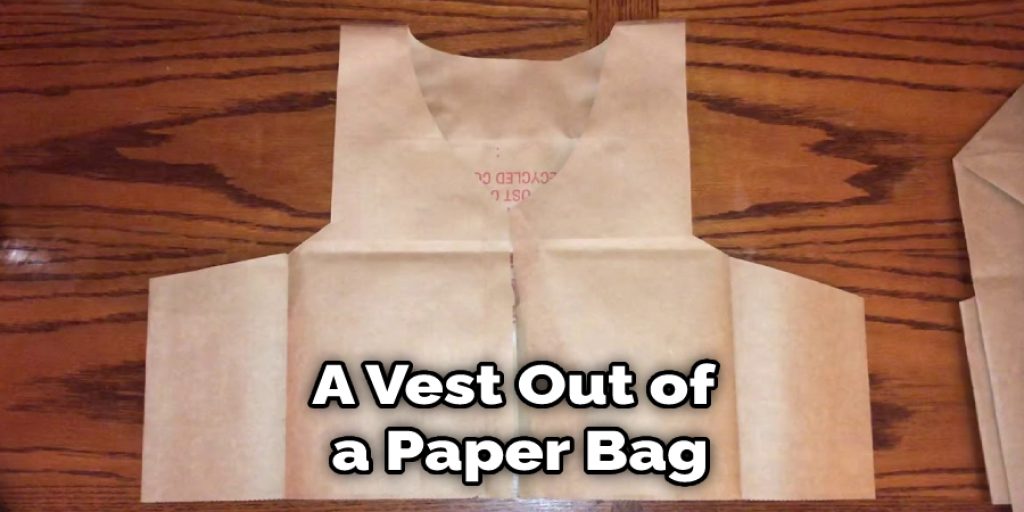
Cut the front of the paper bag in half, and now you will have an opening.
From the top, where you have put the neck measurement, cut it accurately to create a collar for your kid (or you) to put on the vest.
Step Five:
Now that you have your vest ready with collars and front, you will have to make holes on either side of the vest to create a loop for your hands. And with that, you are pretty much done with making the vest!

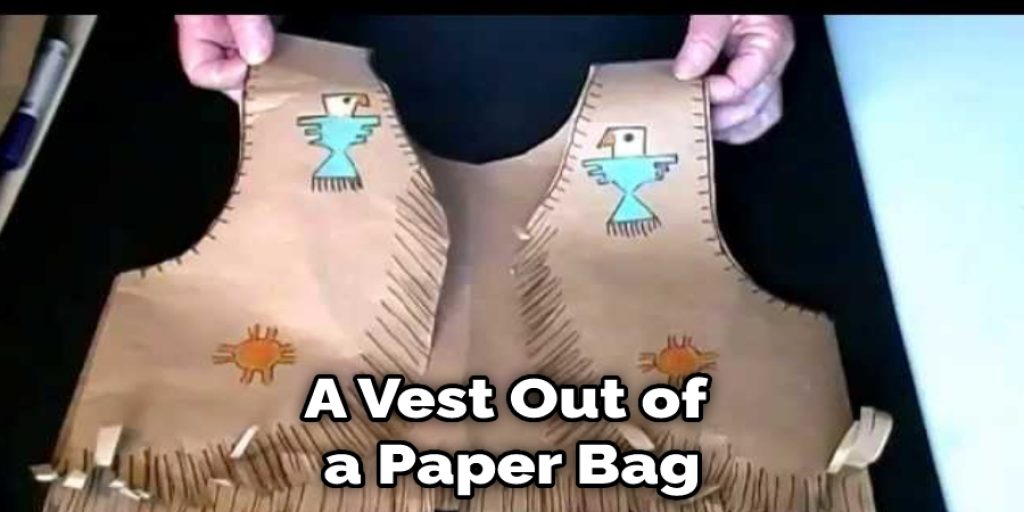
Decoration Time!
You have your basic vest ready; it is not done if you do not do the decoration. The vest will not look like a vest without having all the necessary things that make it a real vest. You can always do some artistic drawing to bring out a little practical experience with the vest!
This is when you glue, and the marker will come in handy.
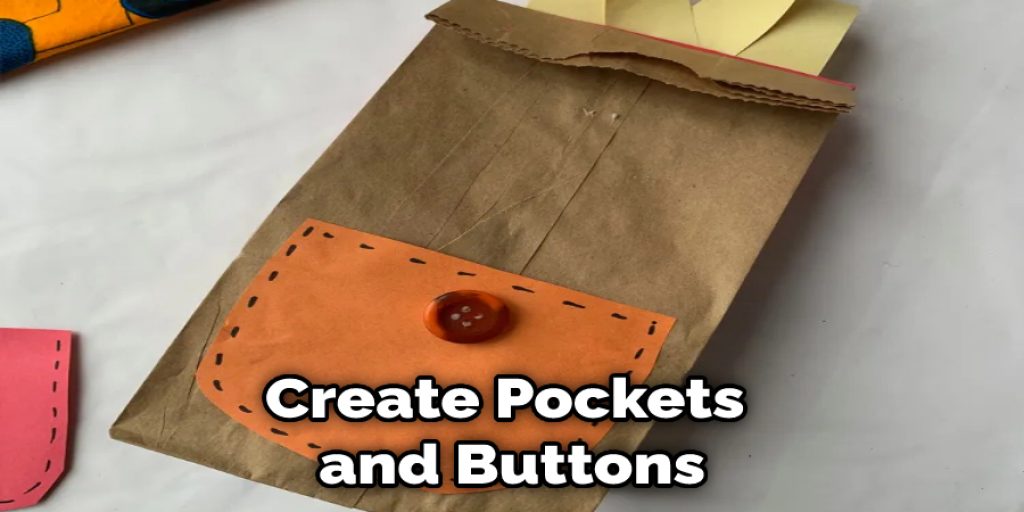
To make all the necessary decorations, you can draw them or put them using other paper.
You are drawing them with being simpler. You must get a picture of a real vest and draw the pockets, collar, and buttons in the right place. You can even do some camouflage design to make it more relaxed!
You can get another paper bag and cut them into smaller pieces to create pockets and buttons. You can use glue to glue them on the vest. Viola! You are done with your DIY paper vest.
Warnings
It is always better to be cautious when doing a DIY project. Even though making a paper vest does not require too many strict steps, remember to use the paper cloth so glues will not get everywhere, and use the scissors with caution.
Final Thoughts
There you have it, our completed tutorial on how to make a vest of a paper bag. With these simple steps and equipment, you can make your vest to show off to your friends the next day or make it for your child or siblings to have fun with their friends. Either way, this simplified paper vest will save your worry of finding or purchasing a real vest. This vest is more comfortable to make and will come up with the most satisfying look.
You may read also –
How to Make Personalized Chip Bags?
Being a parent means you will have to devise an innovative idea for something in the middle of the night because your child has an assignment the next day, and obviously, they forgot to tell you the whole day. Out of every need they have, wearing a vest should be one. If you are one of the parents looking for how to make a vest out of a paper bag, you are on the right page.
During our childhood, we have made so many DIY things that helped us play or go through certain occasions where we have to impress our friends. Wearing a vest should be one of them. But the matter is that our parents will not agree to buy a vest, and what we had to do is make our own.
Whether you are the child reading or the parents, you will already know that making a vest out of a paper bag is possible. This is the easiest and probably the most satisfying thing ever. It does not require any expensive or unavailable tools. All the things you need to make the vest should be beside your hand.
So, you do not have to worry about anything if you cannot come up with the whole idea and figure out everything to process the entire vest-making thing. We are here to help you find the right steps. We will explain the whole process step by step in the most simplified language possible in case any younger maker is reading. Let’s start with our tutorial on making a vest out of a paper bag.
DIY: How to Make a Vest Out of a Paper Bag
As we have already told you, making the vest will only require equipment available at your house. If you are the one who is going to wear it, ask your mom to provide you with the necessary items.
To start of the process, let us give you a list of the things you need-
- Paper bag
- Scissors
- Measuring tool
- Glue
- Table cloth
- Marker
Before you get started with the steps, get the things you need and put them all in front of you so that you will not face any difficulties ahead.
Steps to Follow
Step One:
To begin the process of how to make a vest out of a paper bag, you will need the paper bag itself. Paper bags are usually available at your home after you do grocery shopping. But if you do not have one, you can always buy one from nearby local stores.
Now that you have your paper bag ready, you need to use the table cloth to cover up where you are going to do the work so that when you are using glue, it will not make a mess.
Step Two:
Now you have to flatten the paper bag using your hand. Usually, the bag will not be flattened; if you do not do that, it will be harder for you to work with.
Step Three:
As for this step, you will have to measure the person’s neck who will wear it. Take the measuring tool and estimate the amount that will be good for getting the head into the paper bag.
After measuring the neck, with a marker, point out the numbers on the paper bag.
Step Four:
This step is the most crucial one as you will have to do all the cuttings, and if any mistake is made, the chances are that your vest will not look good. But no need to panic if you follow our steps correctly.
Cut the front of the paper bag in half, and now you will have an opening.
From the top, where you have put the neck measurement, cut it accurately to create a collar for your kid (or you) to put on the vest.
Step Five:
Now that you have your vest ready with collars and front, you will have to make holes on either side of the vest to create a loop for your hands. And with that, you are pretty much done with making the vest!
Decoration Time!
You have your basic vest ready; it is not done if you do not do the decoration. The vest will not look like a vest without having all the necessary things that make it a real vest. To bring out a little practical experience of the vest, you can always do some artistic drawing!
This is when you glue, and the marker will come handy.
To make all the necessary decorations, you can whether draw them or put them using other papers.
You are drawing them with being simpler. You must get a picture of a real vest and draw the pockets, collar, and buttons in the right place. You can even do some camouflage design to make it more relaxed!
You can get another paper bag and cut them into smaller pieces to create pockets and buttons. You can use glue to glue them on the vest. Viola! You are done with your DIY paper vest.
Warnings
It is always better to be cautious when doing a DIY project. Even though making a paper vest does not require too many strict steps, remember to use the paper cloth so glues will not get everywhere, and use the scissors with caution.
Frequently Asked Questions
What Can You Make Out of Paper Bags?
1. You can make a lot of things out of paper bags, including purses, wallets, storage containers, and more.
2. You can also use them to create crafts such as origami, paper flowers, and more.
3. You can also use them to make a garbage bag holder for your kitchen or bathroom.
What Can I Do With Brown Paper Bags?
There are many things that you can do with brown paper bags. You can use them to store items, do a DIY project, or package something. Here are some examples:
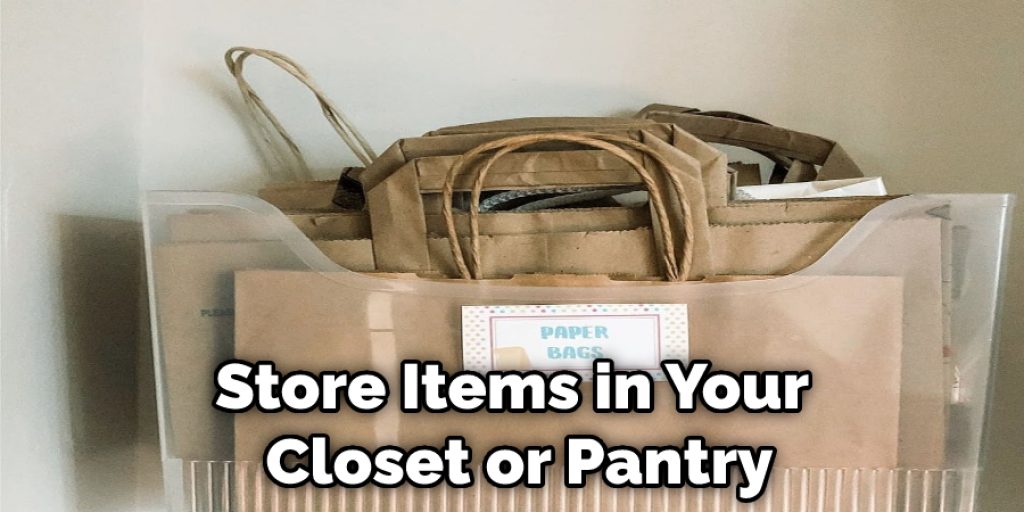
1. You can use brown paper bags to store items in your closet or pantry. This will help you organize your belongings and make finding what you’re looking for easier.
2. You can use brown paper bags to do a DIY project. This is a great way to save time and money by doing something yourself instead of hiring someone else.
3. You can use brown paper bags to package something. This is a great way to protect the item from damage and make it look nicer than if just wrapped in plastic.
What Is a Construction Vest Used for?
A construction vest is a type of clothing workers wear in the construction industry. It protects the wearer from injuries while working on a construction site.
Construction vests typically include features such as:
• A reinforced back and front panel to help protect the wearer from blows to the spine or head.
• Adjustable straps to ensure a comfortable fit.
• Pockets for storage of tools and other equipment.
• Zipper closures to keep debris out of the pockets.
Why Is Safety Vest Needed?
There are many reasons why safety vests are needed.
One of the most common reasons is to protect workers from hazardous materials and equipment. A safety vest can help prevent serious injuries or death if something goes wrong.
Another reason for wearing a safety vest is to keep you safe from falling objects. Fall accidents are one of the leading causes of death in the workplace, and a fall with a heavy object can result in serious injury or even death.
A safety vest also protects you from electric shock, fire, and explosions. In some cases, it can even save your life.
Final Thoughts
There you have it, our completed tutorial on how to make a vest of a paper bag. With these simple steps and equipment, you can make your vest to show off to your friends the next day or make it for your child or siblings to have some fun with their friends. Either way, this simplified paper vest will save your worry of finding or purchasing a real vest. This vest is more comfortable with making and will come up with the most satisfying look.
You may read also –
How to Make Personalized Chip Bags?
Elizabeth Davis
Elizabeth is a creative writer and digital editor based in the United States. She has a passion for the arts and crafts, which she developed from a young age. Elizabeth has always loved experimenting with new mediums and sharing her work with others. When she started blogging, she knew that DIYquickly would be the perfect platform to share her tutorials and tips. She's been writing for the blog from the beginning, and her readers love her helpful advice and easy-to-follow instructions. When she's not writing or editing, Elizabeth enjoys spending time with her family and friends.


