How to Fix Milky Clear Coat
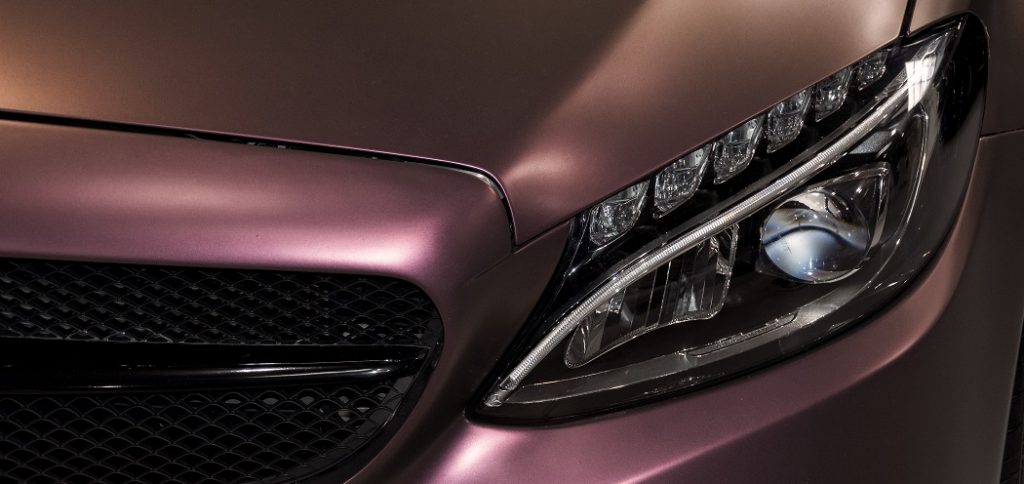
The clear coat on your car is more than just the glossy layer protecting it from scratches and other external damage. It’s also a protective barrier against ultraviolet (UV) light, which can fade paint jobs faster over time. For this reason, when you notice milky patches appear in any part of your vehicle’s clear coat, it might be worth investigating what could cause such an issue before anything irreparable happens. For this reason, today, I will discuss some processes how to fix milky clear coats. So let’s get started.
Why Does Milky Clear Coat Occur?
The clear coat is supposed to protect your car from rusting and oxidizing. It’s also meant to keep headlights shining brightly, but if you notice a milky or white film on the surface of your clear coat, it means that something has gone wrong with this protective layer. This can happen due to many different reasons, but there are ways of preventing and fixing these issues before they become too problematic for your vehicle.
– Vehicles with black or dark color will have this issue more often than lighter colors because it’s tougher to see the milky film on darker surfaces. The best way to find out if your car is dealing with these issues is by going outside and turning them under the sun, where you can clearly see any signs of damage.
– If a clear coat starts looking cloudy after being washed, that means there are tiny scratches all over its surface, which need repair ASAP before they start becoming bigger problems for your vehicle. To fix these small scratches, use sandpaper in circular motions until the white lines disappear; then wipe off the excess residue using an old T-shirt and repeat step three at least two times.
Role of UV Rays in Miky Coat Creation:
The most important factor in determining how clear a coat is and the size of its bubbles are UV rays. The more time that passes, the more it will be exposed to them. As this happens over time, it becomes harder for any surface protectant to do what it needs to do, making sure your car remains shiny without all those imperfections like scratches or water spots. And even with an original factory paint job, if you don’t spend enough money on keeping up with regular waxing appointments (every two months), then chances are good these things will inevitably happen at some point down the line, too.
Materials Required to Fix Milky Clear Coat:
-Clear Coat or acrylic paint, depending on the color of the vehicle
-Paint thinner (if using a clear coat)
-Cloth for wiping excess paint off the brush and onto the floor as you go along to avoid drips that will have to be scrapped later. The cloth also helps with wiping away any specks of dried paint from a newly painted surface. A lint-free towel is another good option.
11 Steps Involved in How to Fix Milky Clear Coat:
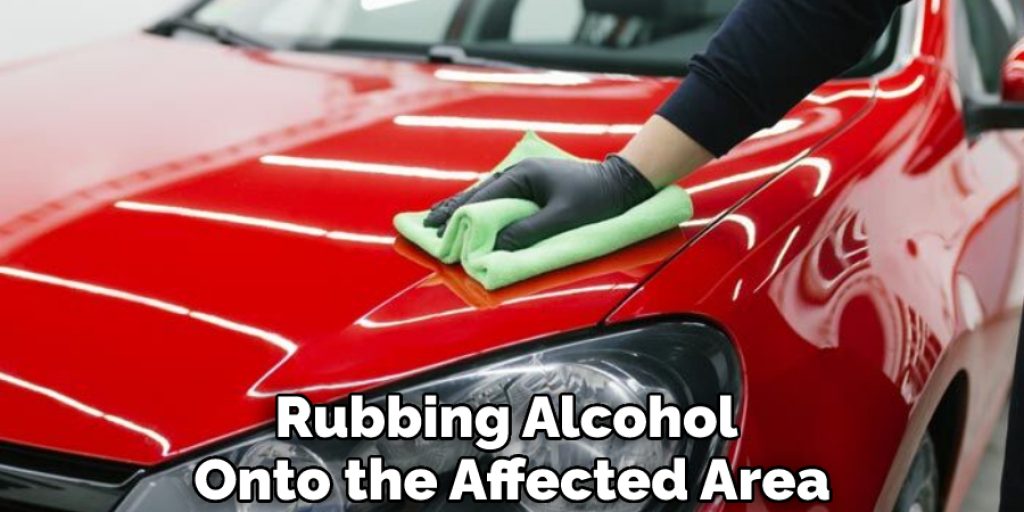
Step One:
Pour a generous amount of rubbing alcohol onto the paint. The first step to fixing your milky clear coat is pouring a generous amount of rubbing alcohol onto the affected area. Doing this will help dissolve any remaining wax residue, which can lead to that dull white appearance in certain areas of your car’s paint finish. However, it’s also important for you to use an ample amount because if not enough product is used, it won’t be effective and could even make things worse with more damage occurring on top of what was already there!
Step Two:
Soak up the excess liquid from around the edges using a clean towel or rag. The next step is to get as much excess liquid form around the edges of your car’s paint finish area using a clean towel or rag. Remember, rubbing alcohol can dry out quickly, and you will want to soak up as much of it before that happens, so you don’t end up with any white residue left behind on top of what was already there!
Step Three:
Apply an auto wax product like Nu Finish Scratch Doctor onto the affected areas. The next step is to apply an auto wax product like Nu Finish Scratch Doctor onto the affected areas. Again, you will want to make sure you use enough because if not, it won’t be effective and could even cause more damage on top of what was already there!
Step Four:
Buff with a clean rag or towel – Do not use cleaning products. The final step is buffing with a clean rag or towel (do not use any cleaning products) until all of the white residues have been removed from your car’s paint finish area. This should remove the milky clear coat problem for good! However, if the issue persists, you may need to try a more drastic solution, like repainting or taking your car to a professional for help.
Step Five:
Start by washing the damaged area with soap and water. Before you begin your repair, wash the affected area thoroughly with soap and water. This will remove any dirt or debris that may interfere with the repair process. It’s best to use a mild soap, such as dishwashing liquid, and a soft cloth or sponge. The goal is to remove any dirt or grime without causing any damage to the clear coat.
Step Six:
Dry the area completely using a clean towel. Make sure to dry the area completely before moving on to the next step. Any moisture left behind can affect the repair and cause further issues. Be sure to use a clean and dry towel, as any dirt or debris left behind can cause scratches or damage. You may also want to use a hairdryer on low setting to ensure the area is completely dry.
Step Seven:
Sand down the affected area using fine-grit sandpaper. Use a circular motion to gently sand down the affected area until you start to see the original color of your car’s paint. Be careful not to sand too aggressively or in one area for too long, as this can cause further damage. Continue until the milky appearance is gone and you see a smooth surface.
Step Eight:
Wipe away any dust or debris from sanding with a clean cloth. Make sure to wipe away any dust or debris from sanding with a clean cloth before moving on to the next step. This will ensure a smooth and even repair. You may also want to use a tack cloth to remove any remaining particles. It’s important to have a clean surface before applying any paint or clear coat.
Step Nine:
Apply primer to the sanded area. Using an automotive primer, apply a thin coat to the sanded area. Make sure to follow the instructions on the product for best results. Let the primer dry completely before moving on to the next step. The primer will help the paint or clear coat adhere properly and provide a smooth surface for the repair. You may need to apply multiple coats if necessary.
Step Ten:
Let the primer dry completely before moving on. It’s important to let the primer dry completely before moving on to the final step. This will ensure a strong bond between the primer and your car’s paint. You may want to wait at least an hour before moving on, but it’s best to refer to the instructions on the product for drying times.
Step Eleven:
Apply touch up paint in light layers until it matches the rest of your car’s paint color. Using a small brush, apply thin layers of touch up paint to the primed area until it matches the rest of your car’s paint color. Let each layer dry completely before adding another for best results.
You are now equipped with the knowledge and steps needed to fix a milky clear coat on your car. Remember, regular maintenance and care will help prevent this issue from occurring in the future, so make sure to wax your car regularly and protect it from harsh UV rays. Happy driving!
Precautions While Fixing Milky Clear Coat:
You should only use this method on your car if the clear coat is chipping and not peeling. This will ensure that you don’t peel away too much of the original layer and end up with a spotty finish.
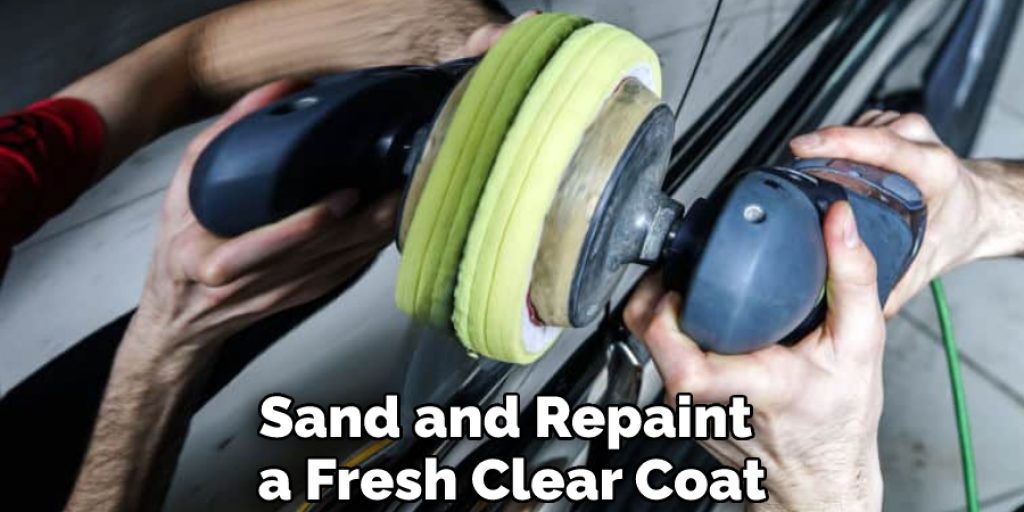
If, for example, large pieces are missing from your car’s exterior paint job or other areas have been significantly damaged by corrosion, then this fix won’t work in those spots. In these cases, it may be best to repaint with an automotive-grade primer so that every inch of the surface has fresh material over it before applying new paint. This will save you from the headache and hassle of trying to fix it yourself or dealing with further damage.
Another precaution to keep in mind is that if your car’s clear coat is damaged due to a chemical reaction, such as bird droppings or bug splatter, it is best to clean and repair the area immediately. Leaving these substances on your car for an extended period can cause irreversible damage, making it nearly impossible to fix without professional help.
It’s also important to note that while this method may work for small and minor damages, larger or severe clear coat issues may require professional assistance. Don’t be afraid to seek help from a trusted mechanic or auto body shop if needed. It’s better to have the job done correctly and efficiently than to risk further damage to your car’s paint finish.
Expert Tip:
Using light colors can help prevent rusting damage because they show any defects very easily! However, darker colors like black and dark blue may hide flaws in the paint, so you should be extra careful when washing these colors.
If small chips don’t expose bare metal, then usually just filling them with touch-up paint is enough. Next, you’ll need an artist’s brush or cotton swab to apply the color to the chipped spot.
For larger areas of damage, sand down any loose, flaky pieces from around the edges before painting over them – this will ensure that they stay.
Do You Need to Use Professionals?
In some cases, it may be necessary to take your car to a professional for help with fixing a milky clear coat. If the issue is widespread or if you are unsure of how to properly fix it yourself, seeking professional assistance can ensure that the problem is resolved effectively and without causing further damage. Additionally, professionals have access to specialized tools and materials that may not be readily available to the general public, making their repair process more efficient and effective.
Remember to regularly maintain your car’s exterior to prevent issues like a milky clear coat from occurring in the future. With proper care and attention, you can keep your car looking shiny and new for years to come. Keep these tips and precautions in mind, and happy driving!
It’s important to note that while these steps can help fix a milky clear coat, they may not be a permanent solution. In some cases, the damage may be too severe and require repainting or other more drastic measures. It’s always best to assess the situation and consult with professionals if needed. Prevention is key when it comes to maintaining your car’s exterior, so regular washing and waxing can help prevent issues like a milky clear coat from occurring.
How Much Will It Cost?
The cost of fixing a milky clear coat will vary depending on the severity and extent of the damage. In some cases, it may only require a small touch-up with touch-up paint and primer, which can be purchased for under $20. However, if the issue is widespread or requires professional assistance, the cost may increase significantly. It’s important to weigh the options and costs before deciding on the best course of action for your car.
You may also want to consider investing in a good quality car wax or sealant to protect your car’s paint and clear coat from future damage. This can help save you money in the long run by preventing costly repair jobs. Again, prevention is key when it comes to maintaining your car’s appearance.
Frequently Asked Questions:
Q: How Can I Prevent a Milky Clear Coat on My Car?
A: Regular waxing and protection from harsh UV rays can help prevent a milky clear coat. It’s also important to address any chips or scratches in the paint as soon as they occur. You can also consult with a professional to get recommendations for specific products or techniques to help prevent this issue. It’s always better to address any small issues before they turn into bigger problems.
Q: Can I Use This Method on Any Color of Car?
A: Yes, this method can be used on any color car as long as the damage is limited to the clear coat. Just be sure to match the touch-up paint color to your car’s original paint color for a seamless repair. The only exception is for darker colors such as black or dark blue, which may require extra care and attention to ensure a perfect repair.
Q: How Often Should I Wax My Car to Prevent a Milky Clear Coat?
A: It’s recommended to wax your car every 3-4 months, depending on the climate and usage. However, it’s always best to follow the instructions on your chosen wax product for the best results. Regular waxing not only helps prevent a milky clear coat but also protects your car’s paint from other environmental factors that can cause damage. So, it’s important to make it a part of your car maintenance routine.
Q: Can I Drive My Car After Applying Touch-Up Paint?
A: It’s recommended to let the touch-up paint dry completely before driving your car. This can take anywhere from 24 hours to a few days, depending on the product used and weather conditions. You should also avoid washing your car for at least 48 hours after applying touch-up paint to allow it to fully cure.
Q: What Should I Do if the Milky Clear Coat Returns?
A: If the milky clear coat returns, it’s important to address the underlying issue. It could be due to a faulty application or poor-quality paint. It’s best to consult with a professional for proper diagnosis and repair options. Remember, regular maintenance and care can help prevent this issue from occurring again in the future.
Final Thoughts:
Sometimes, we can’t avoid having this issue happen, but when it does, don’t worry- with this guide, you’ll be able to fix the milky clear coat problem in no time. Just remember to pay attention to the materials you use, follow all steps carefully, and take precautions while fixing the issue. With a little effort and patience, your car’s paint finish will be back to its original shine! Happy driving!
Check it Out to Learn to Fix a Broken Headlight Cover.
You may read also: How to Fix Bullet Hole in Car
Louis Wein
Louis has always been fascinated by cars. He loves the way they look, the sound of the engine, and how they make him feel when he's driving. He is always keen to learn more about different mechanics of cars and how the engine contributes to other aspects of the car. As an automotive technician with over 10 years of experience, he knew how they worked and loved taking them apart to see how they went back together. He was especially interested in the mechanics of combustion engines and loved finding ways to make them more efficient. He loves to work on cars and help people keep their vehicles running smoothly. As a senior editor, he enjoys contributing to Diy quickly because it allows him to share his knowledge and expertise with others.