How to Sew a Ball With 2 Pieces
Introduction:
The ball with 2 pieces is a staple item of your sewing box. It is used for hemming, attaching zippers and making pouches, etc. Some people call it an umbrella fold, and some refer to it as a French felled seam. But, no matter what you call it, the concept remains the same. In this article, I will discuss how to sew a ball with 2 pieces. So let us get started.

Summary: First, cut a piece of fabric that is slightly larger than the ball you want to make. Then, fold the fabric in half, so that the folded edge is facing out. Sew the folded edge together. Now, turn the ball inside out so that the sewn edge is now the outside. This is how you will attach the second piece of fabric to the first.
Stepwise Guide on How to Sew a Ball With 2 Pieces:
Step : 1
To make a French seam, first press open one side of the seam allowance in the stitching line for 5mm (3/16″). The crease line will indicate where exactly this should be done. This part will eventually form the interior layer, so adjust accordingly based on which side you want to face after finishing.
You can never tell ahead of time which side would look better once attached. So unless you want to plan for this before starting, it is best to experiment as you go.
Step : 2
Now lay the corresponding exterior layer on top of this pressed layer and sew 5mm (3/16″) away from the edge. Make sure to also secure both parts together with pins beforehand.
Step : 3
Finally, press open a 7mm (9/32″) section parallel, which would be about 1 cm (3/8″) from the edge. This will make it easier for us later when we turn inside out and attach the two pieces back together at this level.
Also, ensure that you’ve pinned them together securely enough that they won’t slip apart while stitching or while you’re sewing your ball pattern detail!
Step : 4
Now flip the exterior layer out and sew the 7mm (9/32″) seam allowance parallel to the edge. This is where it might get a little tricky, so ensure you securely hold both pieces together with your fingers while stitching to prevent any slippage.
Step : 5
Fold everything inside out along that crease line created earlier. Flip it back up after that to reveal the ball pattern detail! Make sure that all seams are pressed flat by using an iron or steamer. Also, try to shape it into a sphere using just your hands at this point before actually stuffing it!
Step : 6
Now, stuff your ball solid enough so that no space remains unfilled or empty except for one small opening. Next, use a sharp object like the tip of a scissor or a chopstick to poke a hole in that one small opening.
Then use the same object again to push out all the stuffing from inside gently and reshape it into a sphere. You can also use your hand for this, but be careful not to break anything by applying too much pressure!
Step : 7
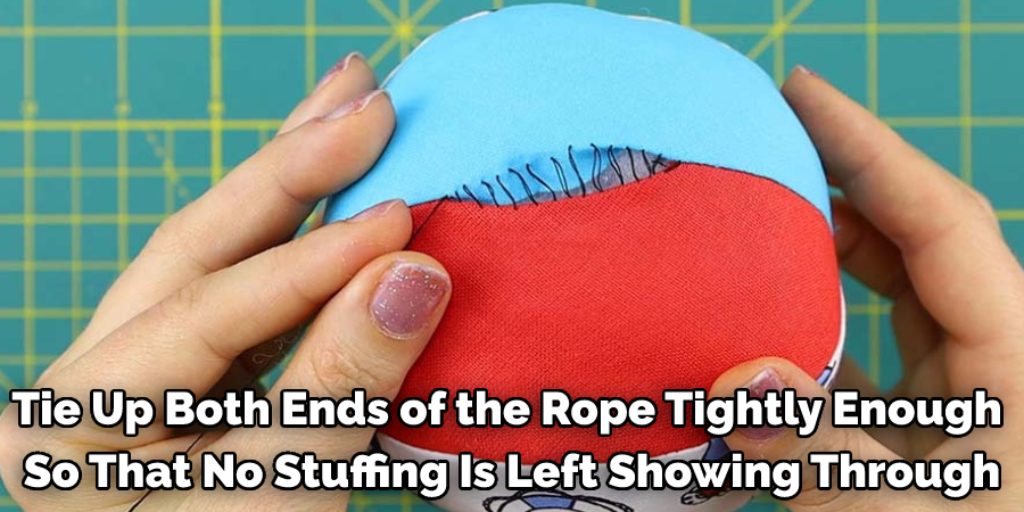
Tie up both ends of the rope tightly enough so that no stuffing is left showing through, but make sure you don’t do this until after step 8 since we will need to fit it back inside at this point! Now thread the two pieces together using needle and cotton thread (see right picture).
Please ensure you match up one end with the other before tying them off securely at both ends and cutting off any excess thread.
Step : 8
Lastly, flip everything back inside out once more and tie the two ends of the rope together tightly at both sides to eliminate all excess hanging threads (see left picture).
Once you’re done, you should end up with something that looks like a ball with a knot tied around it! Just make sure that there is no stuffing poking outside and gently pat down on it if needed so that its shape is fully restored and looking around again.
Step : 9
It’s finally time to sew up some simple details to give your ball some character! You can choose from this part’s stripes, small dots, or any other patterned designs. Make sure things stay attached securely enough without showing too much loose thread, and you’re done!
Precautions While Sewing a Ball With 2 Pieces:
1. Please do not tie knots on both ends of the thread. This will result in a hard time removing them later.
2. Please be aware that removing threads with long tails can result in the deformation of the ball.
3. It’s best to remove all the stitches at once, but please do not cut down all the threads at once either, as it may result in uneven stitching and ragged edges around the ball surface after you massaging it back into shape.
4. Use cotton or nylon spool thread without lint for sewing up a ball with 2 pieces so that there won’t be any fuzz left on your ball coating after you sew up your product! If you use some other type of materials, then there may be fuzz left behind.
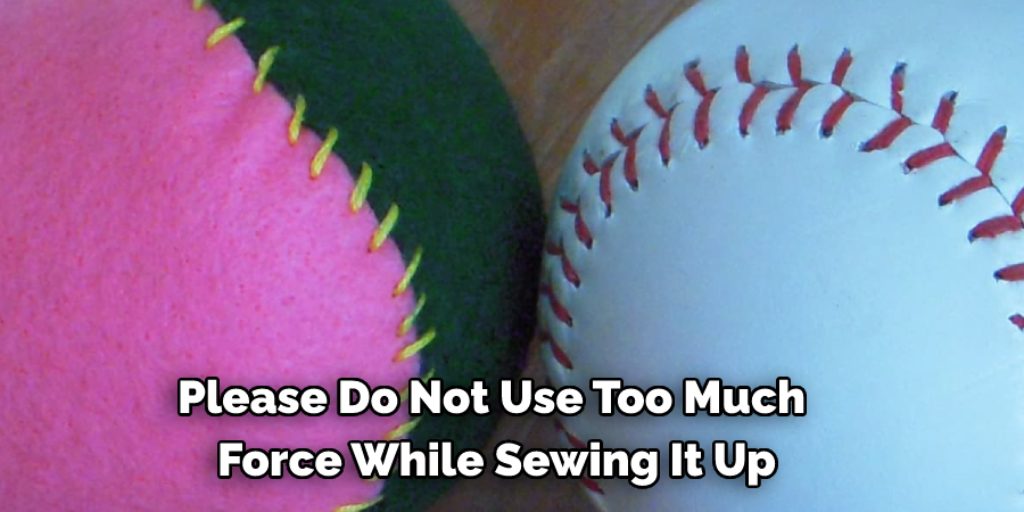
5. Please do not use too much force while sewing it up, as any distortion on the ball surface can result in unevenness after you finish massaging your ball back into shape!
6. Please pay attention to the direction of your stitches because this will naturally show through your fabric.
Make simple straight lines or small zig-zag-like stitch patterns or go back and forth with your stitches (like tic tac toe). It will work out fine, but if you’re stitching is too complicated, then it might end up looking messy even though you took great time and effort sewing up a seemingly good quality product!
For example, Your stitches are crossing each other like an X, and then at that point, the patterns will become “wavy” or blended in with the backing. So try not to overdo it with your stitching!
7. Please do not sew too close to the edge of your product. While doing so can result in distortion on the surface made by sewing, especially when you’re trying to remove threads with long tails left behind while massaging it back into shape!
This may also show up through your fabric–it’s best to stay away from this pattern because once you stitch all around, there will be two raw edges showing at both ends of your finished product, and if they look rough, then people might think that it was rushed production.
Conclusion:
I hope you’ve found this tutorial helpful in learning how to sew a ball with 2 pieces! It looks easy enough when done once, but it’s not necessarily so simple, especially when you’re just starting.
I know because I had to measure and re-measure my fabric multiple times during the process to ensure that everything turned out right in the end! That being said, don’t be discouraged if it doesn’t turn out too well on your first try.
Keep practicing and experimenting with different fabrics and designs until you better grasp things before moving onto something more challenging.