How to Connect Passive Speakers to Mixer
If you’re looking to step up your audio game, connecting passive speakers to a mixer is one way to do that. This will give you more control over your sound and allow you to create a truly customized audio experience. In this article, we’ll walk you through how to connect passive speakers to mixer. So let’s get started!
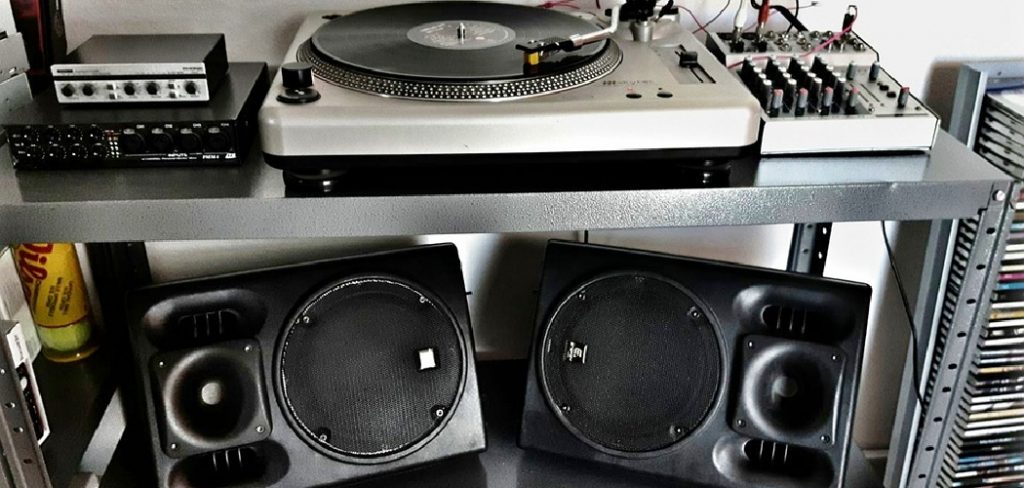
Speakers are a vital part of any audio setup, and by connecting passive speakers to a mixer, you’ll be able to get the most out of your sound. In addition, passive speakers don’t require an external power source, so they’re a great option if you’re looking for something simple.
What are Powered Mixers
A powered mixer is a device that combines multiple signals and sends the combined signal to one or more power amplifiers. Powered mixers come in different shapes and sizes, but all share one common feature: they have a built-in amplifier. This amplifier is responsible for boosting the signal from the mixer to a level that the power amplifiers can handle.
Most powered mixers also include some EQ section, which allows you to fine-tune the sound of your mix. Some mixers also include effects processors, adding flavor to your mix.
Powered mixers are an excellent option for small bands and churches who need a simple way to combine multiple signals and send them to one or more power amplifiers. They are also an excellent option for home studios, where space is premium.
When choosing a powered mixer, consider the number of channels you need. Most mixers have anywhere from 4 to 16 channels, which should be enough for most applications. Also, choose a mixer with the features you need, such as EQ and effects processing.
Now that we know what powered mixers are, let’s look at connecting passive speakers to a mixer. Passive speakers don’t have their power amplifier, so they need to be connected to a power amplifier before being used.
Active Speakers Vs. Passive Speaker
A speaker is either classified as an active or passive speaker. A dynamic speaker has its amplifier built into the speaker cabinet. A passive speaker requires an external amplifier to power it.
Most guitar and bass amplifiers are designed to drive a four or 8-ohm load, equivalent to a single or dual voice coil passive loudspeaker. When connecting a passive loudspeaker to an amplifier, make sure the speaker’s impedance matches the impedance of the amplifier.
When connecting two or more passive loudspeakers, connect them in parallel. This will halve the impedance of each speaker. For example, if you have two 8 ohm speakers, connect them in parallel to get a 4-ohm load. If you have four 8 ohm speakers, connect them parallel to get a 2-ohm load.
The impedance will double when connecting two or more passive loudspeakers in series. For example, if you have two 8 ohm speakers, connect them in series to get 16 ohms. If you have four 8 ohm speakers, connect them in series to get 32 ohms.
Things You’ll Need
- A Power Amplifier
- Passive speakers
- XLR Lead
- 1/4″ Jack Lead
- 13.5mm Jack
- Microphone
A Detailed Guide on How to Connect Passive Speakers to Mixer
Step 1: Choosing Amplifier
The first thing you need to do is choose an amplifier. This will depend on the wattage of your passive speakers. If you’re not sure, check the speaker’s specifications or consult with the manufacturer.
The power amplifier is an essential part of the system and will determine how loudly your passive speakers will play. Make sure that the power amplifier you choose is compatible with the wattage of your passive speakers.
There are five different amplifier classes: A, B, C, D, and G. The class of an amplifier is determined by how it handles energy.
Class A amplifiers are considered the best because they handle energy more efficiently than other classes. However, they also tend to be less efficient in watt output.
Class B amplifiers are less efficient than Class A amplifiers but are more efficient than other classes regarding watt output.
Class C amplifiers are the least efficient and are not commonly used in audio systems.
Class D and Class G amplifiers are more efficient than Class A and B amplifiers but less efficient than Class C amplifiers.
The class of an amplifier will depend on your needs and budget. For example, if you need an efficient amplifier with a high watt output, a Class D or Class G amplifier is the best choice. On the other hand, if you’re looking for an amplifier with good sound quality, then a Class A amplifier is the best option.
Step 2: Connecting Mixer to the Amplifier
Once you have chosen an amplifier, the next step is to connect the mixer to the amplifier. Again, this will depend on the mixer and amplifier you are using.
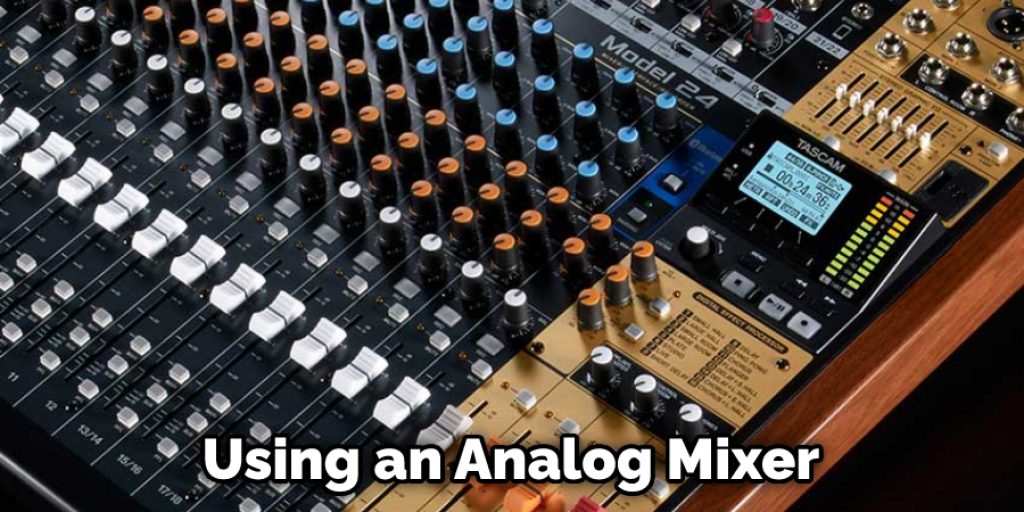
If you use an analog mixer and a Class D or Class G amplifier, you will need to use XLR cables to connect the two devices. An XLR cable has three pins and is usually used to connect microphones to mixers.
If you use a digital mixer and a Class D or Class G amplifier, you will need to use 1/4″ jack cables to connect the two devices. A 1/4″ jack has four pins. It is usually used to connect guitars and other instruments to amplifiers.
Using an analog mixer and a Class A or Class B amplifier, you will need to use 1/4″ jack cables to connect the two devices. A 1/4″ jack has four pins. It is usually used to connect guitars and other instruments to amplifiers.
If you use a digital mixer and a Class A or Class B amplifier, you will need to use 13.5mm jack cables to connect the two devices. A 13.5mm jack has three pins and is usually used to connect headphones to audio devices.
Step 3: Connecting Passive Speakers to Amplifier
Now that the mixer is connected to the amplifier, it’s time to connect the passive speakers to the amplifier. Again, this will depend on the passive speakers you are using.
If you are using a speaker cabinet, you will need to use a speaker cable to connect the two devices. A speaker cable has two pins and is usually used to connect speakers to amplifiers.
If you use a passive monitor, you will need to use an XLR lead to connect the two devices. An XLR lead has three pins and is usually used to connect microphones to mixers.
If you are using a powered monitor, you will not need to use any cables to connect the two devices.
Step 4: Turning on the System
Once all the cables have been connected, it’s time to turn on the system. To do this, press the power button on the amplifier and the power button on the mixer.
The system should now be turned on and ready to use. Congratulations on setting up your passive speakers!
Tips
- If your mixer has an impedance switch, make sure it is set to the correct impedance for your passive speakers.
- Some passive speaker cabinets have multiple inputs, which can be used to connect several different sources at once. If this is the case with your speakers, make sure you use the input corresponding to the signal you want to send to them.
- When using passive speakers, it is essential to keep in mind that they will not produce any sound unless powered by an amplifier. Therefore, make sure your amplifier is turned on and set to the correct output level before trying to play any music through your speakers.
Passive speakers can be an excellent option for anyone looking for a more affordable way to expand their sound system. By following these simple tips, you can ensure that your passive speakers are connected to your mixer correctly and ready to go!
How to Power Passive Speakers Without an Amp
One way to power passive speakers without an amp is to use a mixer. A mixer will give you the ability to connect your passive speakers to an audio source, like a CD player or computer, and then control the speakers’ volume with the mixer’s master volume control.
First, to connect passive speakers to a mixer, find the right cables. You’ll need two RCA cables for each speaker and a 3.5mm stereo cable. The RCA cables are usually red and white, while the 3.5mm stereo cable is typically green.
Next, plug the RCA cables into the corresponding jacks on the back of the mixer. The red RCA cable should go into the “Input 1” jack, while the white RCA cable should go into the “Input 2” jack. The 3.5mm stereo cable should go into the “Headphones” jack.
Once everything is plugged in, turn on your mixer and audio source and adjust the volume levels accordingly. You should now be able to hear your audio through the passive speakers.
Conclusion
If you are looking for a way to connect passive speakers to your mixer, we have the perfect solution. Using our cable and adapter kit, you can easily connect any pair of passive speakers to your mixer. This will allow you to take advantage of all that your mixer has to offer without purchasing new active speakers.
Give our cable and adapter kit today and see how easy it is to get started with excellent sound quality. We hope you have learned how to connect passive speakers to mixer.
You Can Check It Out to: Connect Mixer to Audio Interface

