How to Add Downloaded Fonts to Cricut
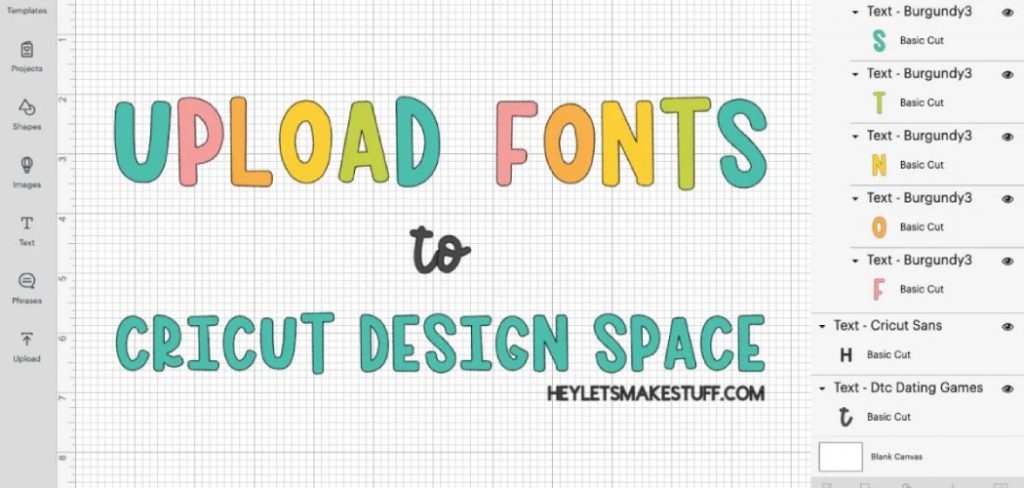
Using Cricut is all about being creative in the simplest ways. A lot of people like to have their unique fonts for use in Cricut, but the thing is that they might not know how to do that. That is why we bring you a tutorial from the stretch to teach you how to add downloaded fonts to Cricut.

When you have the chance to be creative with your Cricut design, it will not flourish properly if the fonts are not unique and up to date. There are tons of fonts available for you in the Cricut design space; the chances are that you may get bored with them or want something different.
What we all love about Cricut is that it does not limit your creativity. They also have ways to do that if you want to add new fonts. Some of us are just in love with different fonts and like to use several models in one design. Those of us must have the opportunity to use fonts as frequently as possible.
Where to Find Fonts
One of the most common questions for those who want to explore different fonts is where to find fonts we are allowed to use. Although we may love fonts, that doesn’t mean we all know how to find or create new ones. With the many limitations on using other people’s work on the internet, we need to be careful.
Suppose you are someone who does business with the product you make in Cricut and use them for commercial purposes. In that case, you will have to be very careful with the equipment you are going to use as you do not want to get struck with copyright infringement, which could cause a lot of damage to your work.
Finding a font online is an effortless task, but half of those fonts have a commercial license, and half do not. And some of the fonts available are not sure if they have a license or not. It is a world full of confusion.

Sure, you can get away by stealing sometimes, but they work is not going to have the authenticity you may have been looking for. So, what to do during these times? Are you going to wait for the time being and learn how to design your fonts?
It is a good option for sure, but you should already know there are other ways to get new fonts. The first thing is that you can always pay for the ones that are available for sale. There are tons of sites where people sell fonts and other equipment. You can easily buy them and get full ownership. You can even ask a font maker to make your desired font and buy it from him.
Here are some website from where you can choose some beautiful fonts and can download it.
How To Add Downloaded Fonts to Cricut
Now that you know how to get your fonts with proper permission to use for commercial purposes, we will move on to tell you how to add downloaded fonts to Cricut. We have already told you that we will teach you how to do everything from the beginning. So, let’s get started.
We can already assume that you own a Cricut and know how to operate things properly. To install fonts on your pc or Mac, we will divide the process into two steps. The first step is to upload the fonts in the Cricut design space. The second step is to work with the fonts in the Cricut design space.
Install Fonts on Your Mac or PC

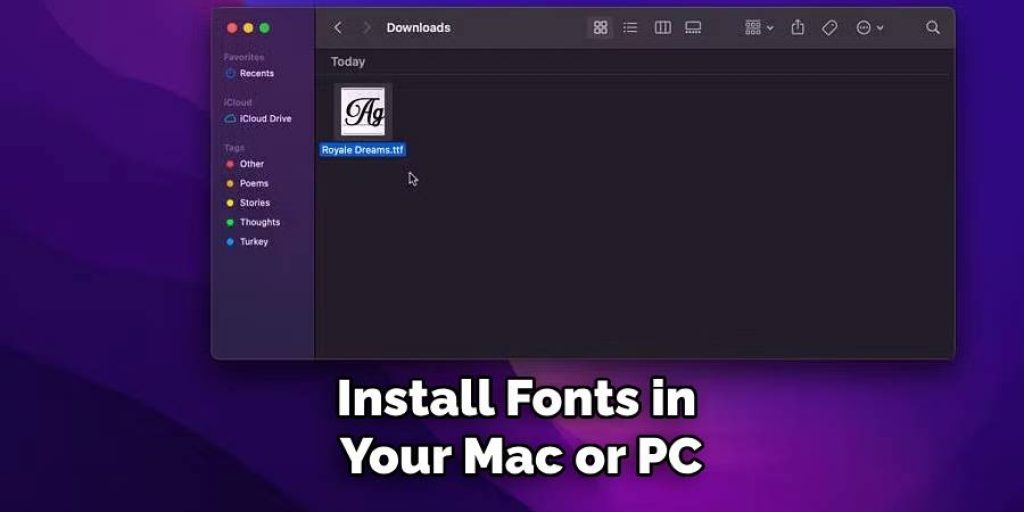
The first thing you will notice after downloading a font is that it will come in a zip file. So, on both Mac and pc, you will have to unzip the zip file.
Another thing is that there are two types of font files available OTF and TTF. Many users find the OTF version much easier, but it is outstanding if your fonts are available in TTF. But if you have the option to choose, we will suggest you go with OTF.
Mac Version
- After unzipping the file, select all the fonts with the zip.
- Double click on them to open a window that will display the fonts with an “install” option.
- Click on install to install the font successfully on your Mac.
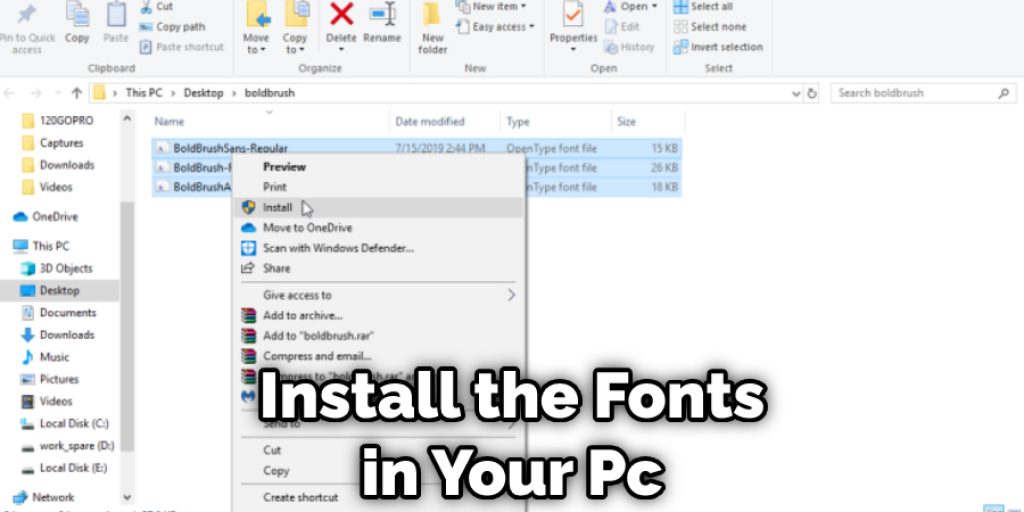
PC Version
- Unzip the zip file, and you will have the font folder.
- Go to the font folder and double click on the font you want to install.
- There you will have an “install” button to click.
- Wait for the font to install and you are done.
Upload the Fonts into Cricut Design Space
Here you have arrived at the main point of how to add downloaded fonts to Cricut tutorial. As you install the fonts in your pc or Mac, you will not have to worry too much about the rest as they are more comfortable.
The first thing you have to do is open the Cricut Design Space page. You will see the text tool on the left side of the page. You have to create a box with the text tool.
With that, the “Text Edit” menu will open up. There you will have all the listed fonts, and you must select the one you want to use on your design.

You will have all the fonts from Cricut and your computer on that page. You can list them up by the system font or Cricut fonts. You can also use the search bar to find the fonts.
Before beginning your project, be sure to restart your Cricut. This will allow any new fonts to be installed properly and without interruption.
Final Thoughts
That was all from our tutorial on how to add downloaded fonts to Cricut. Using technology is much easier than you may think. All you have to do is follow the steps correctly. We hope we made it easy for you to follow through and do your work without facing any difficulties.
You May Read Also


