How to Set Up a Dessert Table
Are you looking for the perfect way to create a memorable evening for your guests? A dessert table is an easy way to make any event special. Setting up a dessert table doesn’t have to be difficult or time-consuming – here are some tips on how to set up a dessert table!
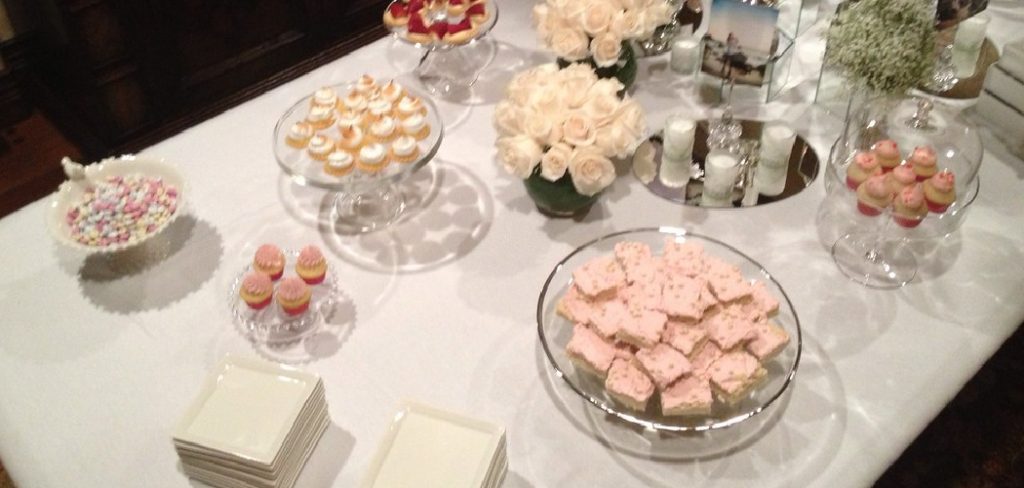
Creating a beautiful dessert table is an art! It’s all about the presentation, and knowing how to set up your display for maximum effect is important. Whether you’re planning a birthday party, wedding reception, or corporate event, having a stunning dessert table will make the occasion extra special.
Carefully considering colors and textures allows you to create an eye-catching centerpiece that will wow your guests. Follow these steps to learn how to set up a delightful dessert table!
What Will You Need?
Gathering your supplies is the first step in setting up a dessert table. You will need the following:
- A sturdy table
- Linens or table runners
- Dishes and serving ware for desserts
- Colorful decorations such as balloons, streamers, and garlands
- Table centerpieces (flowers, candles)
- Desserts (cakes, cupcakes, cookies)
Once you have all the items needed for your dessert table, it’s time to get started.
10 Easy Steps on How to Set Up a Dessert Table
Step 1. Select the Place:
Choose a location for your dessert table that is near the main event, such as near the dance floor or the entrance. The best spot is usually in a corner so that guests can access the desserts from two sides. If you are hosting an outdoor event, make sure to select a spot that is sheltered from the elements.
Step 2. Preparing the Table:
Place your linens or table runners on top of the table and make sure it’s secure before adding any decorations. You can also spritz water on the linens for a light, airy effect. Be careful not to over-saturate the material.
Step 3. Add Colorful Decorations:
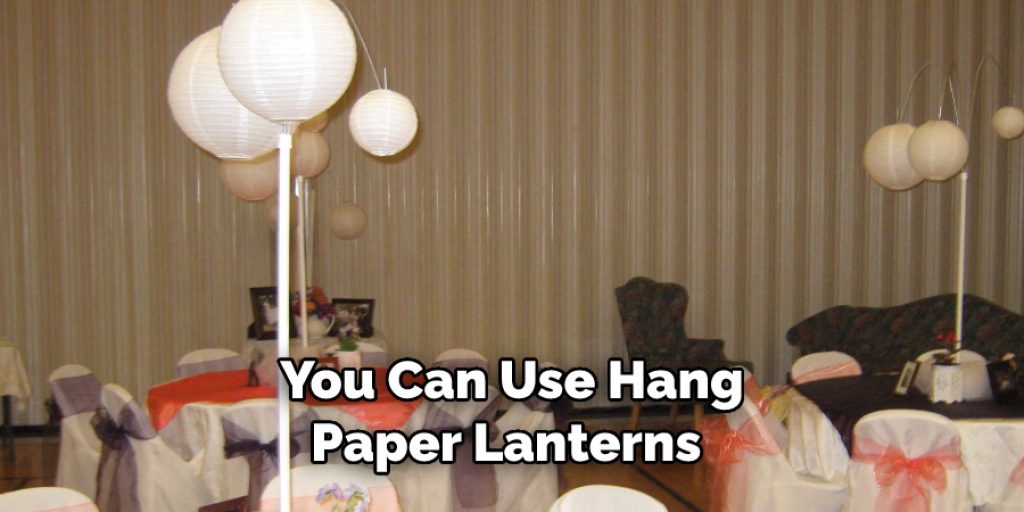
Use balloons, streamers, garlands, and any other colorful decorations to add a festive touch to your dessert table. You can also hang paper lanterns from above for extra effect! it will make your dessert table amazing.
Step 4. Create Centerpieces:
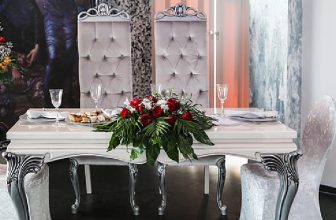
Create beautiful centerpieces with flowers, candles, and greenery to give your dessert display an elegant look. These will be placed around the edges of the table. Additionally, you can use cake stands, tiered trays, and other decorative pieces to highlight certain desserts.
Step 5. Arrange the Dishes and Serving ware:
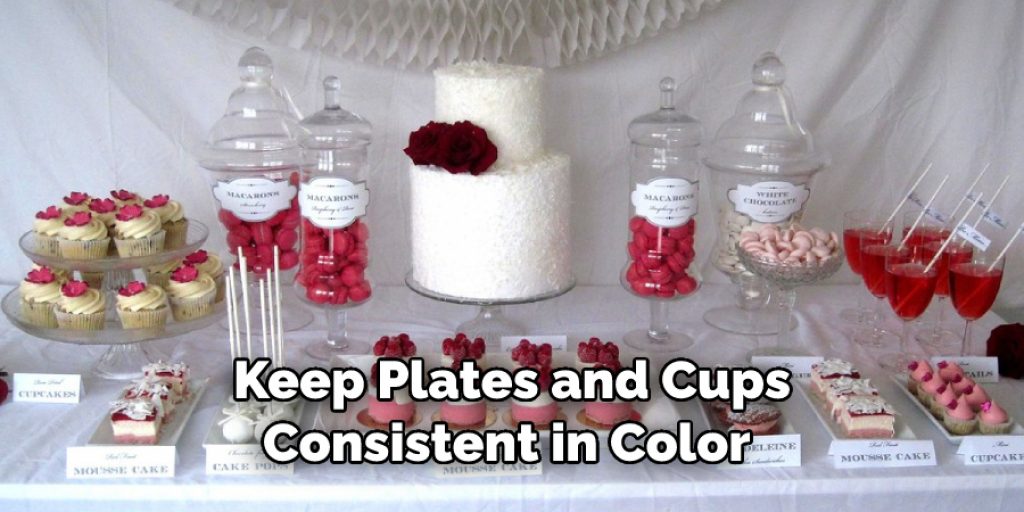
Organize dishes, trays, and other serving ware on your table to create an inviting display for guests to enjoy. There should be enough plates, cups, and utensils for everyone. It would be a great idea to use different shades of the same color for your plates and dishes to create a cohesive aesthetic.
Step 6. Set Up Desserts:
Arrange cakes, cupcakes, cookies, and other desserts on platters or cake stands for easy access. Be sure to leave enough room between each item so that guests can easily reach them. Don’t forget to add labels so that your guests know what each item is!
Step 7. Add Labels:
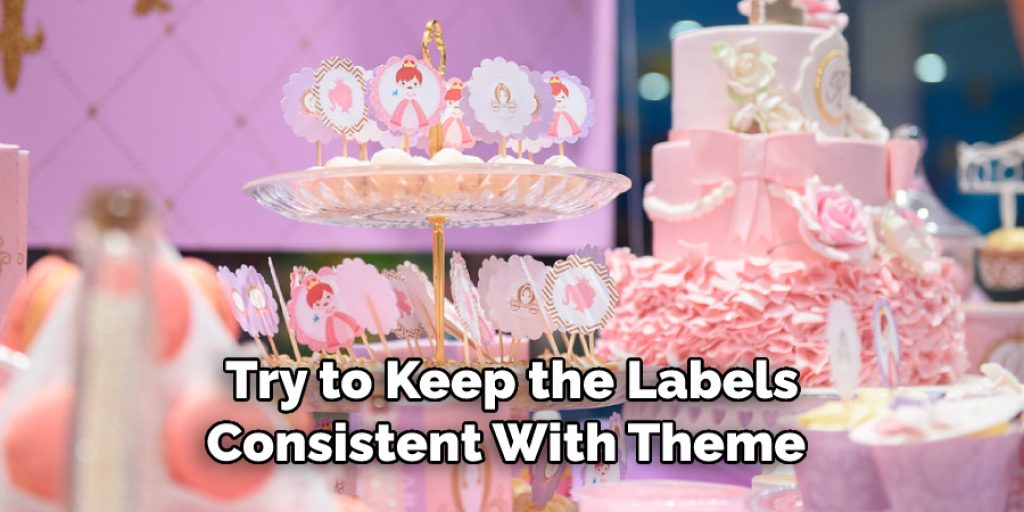
If you’re serving multiple types of desserts, make sure to label each one with its name or ingredients list so that everyone knows what they are eating! Try to keep the labels consistent with your theme or color scheme. Otherwise, you can also use colorful tags or small flags to highlight each item.
Step 8. Add Drinks:
If you’re offering drinks, make sure to place them in an area that’s easily accessible for your guests. There are many creative ways to serve drinks, such as using a beverage dispenser or even setting up an ice bucket with glasses. You add the items to your dessert table to make it look more complete.
Step 9. Final Touches:
Add a few extra touches to the table, such as colorful napkins or small decorations to give it a personal touch. As the finale, you can also add a fun backdrop to your dessert table, such as a poster or banner. It will help draw the guests in and create a great photo op!
Step 10. Enjoy!
Once everything is set up, enjoy your beautiful dessert table! Your guests will be delighted by your creative and tasty display. Remember to take lots of pictures and enjoy the compliments!
By following these simple steps, you will be able to create a stunning dessert table for any special occasion. Now all that’s left is to sit back and watch your guests enjoy the treats you prepared!
Good luck, and happy hosting!
5 Additional Tips and Tricks
- Try out different color combinations for your table to create a unique look.
- Use cake stands and tiered trays to add height and dimension to the display.
- Add small signs or labels with interesting facts about the desserts on display.
- Place a few snacks alongside the desserts for guests who don’t have a sweet tooth.
- Provide scoops and tongs for an easier serving of desserts such as cookies or brownies.
By following these simple steps and using the tips provided, you will be able to create an amazing dessert table that is sure to impress all your guests! With creativity and planning, you can make any event special with a sweet treat they won’t forget!
5 Things You Should Avoid
- Making too many dishes: You don’t want to overload your guests with too many options, as this will make it difficult for them to decide what to try.
- Placing desserts too close together: Leave enough space between each item so that your guests can easily reach them.
- Not labeling the desserts: Make sure to add labels or tags with names or ingredient lists so that everyone knows what they are eating!
- Using dishes and utensils of different colors: Try to keep the plates and cups consistent in color so that it creates a cohesive look on the table.
- Overcrowding the dessert table: While you want lots of delicious items on display, you should leave some empty spaces between each one for a cleaner look.
By following these simple tips and tricks, you will be able to create the perfect dessert table for your guests! You’ll be sure to impress with your creativity and thoughtfulness, making any event special and memorable. Good luck, and enjoy every sweet bite!
5 Tips for Decorating Your Dessert Table
- Create a color scheme – choose colors that are complementary or fit in with the theme of your event. Try combining different shades of the same color for a cohesive aesthetic.
- Use cake stands or tiered trays – this will help create height and add dimension to your display.
- Incorporate decorations –add small decorations like flowers, ribbons, or garlands to the table for a personal touch.
- Use signs or labels – adding tags or labels with the names of each dessert will help guests identify what they are eating.
- Utilize props– use props such as picture frames, vintage books, jars, and vases to add some character and tie everything together.
By following these simple decorating tips, you can make your desserts look even more delicious! With some thoughtful touches and creative ideas, your dessert table will be sure to impress all your guests! Good luck, and have fun creating something sweet!
What’s Trending in Desserts?
1. Donuts: These sugary treats are a modern favorite, with unique flavors and fillings you can customize for any event.
2. Macarons: Light, delicate and colorful macarons make an elegant addition to any dessert table.
3. Cake Pops: These bite-sized cakes on sticks are great for children’s parties or adding a playful touch to the table.
4. S’mores: Get creative with this classic campfire treat – try different types of chocolate, marshmallows, and crackers!
5. Brownies and Blondies: Rich, fudgy brownies and blondies are always crowd pleasers! Try adding toppings like crushed nuts or sprinkles for an extra special touch.
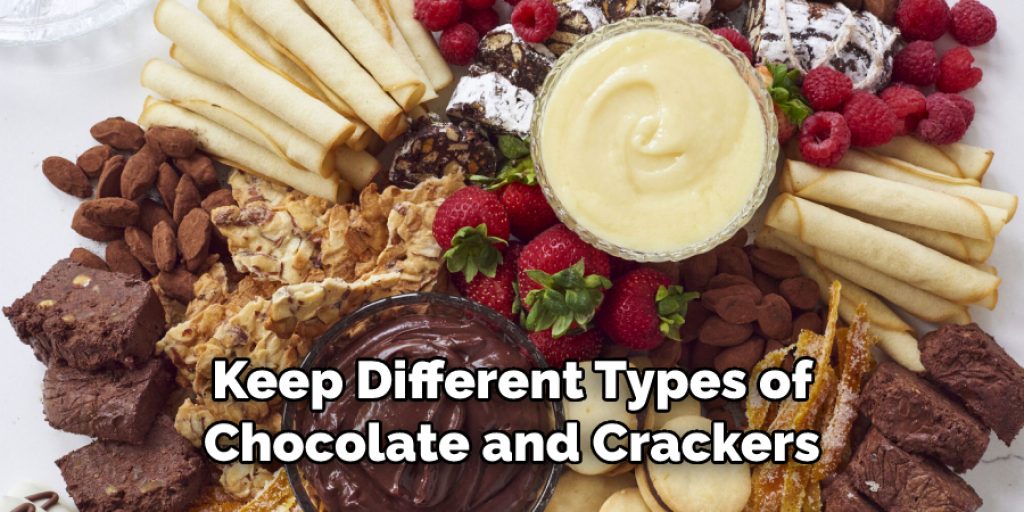
By following the trends in desserts, you can create a unique and modern dessert table that will be sure to wow your guests! Get creative with flavors and decorations, and don’t forget to have fun while doing it! Good luck, and enjoy every sweet bite!
Conclusion
Setting up a dessert table can be an enjoyable and rewarding experience. By following the tips provided in this article, you will be able to create an amazing display that your guests won’t soon forget! You can make any event special with delicious treats with creativity and planning.
Hopefully, the article on how to set up a dessert table has given you some tips and ideas for making your own display. Don’t forget to have fun with it, explore the latest trends in desserts, and enjoy every sweet bite!
Additionally, you can create a unique and modern look for your table by utilizing trends in desserts such as donuts, macarons, or s’mores. So get creative with flavors and decorations – who knows what kind of masterpiece you could come up with? Good luck creating something sweet!

