How to Fill Gaps in Wood Table
If you are the proud owner of a wood table, you know that they can be expensive. But what do you do when there is a gap in your tabletop? The good news is that not only can the gap in wood tables be repaired, but it’s also an easy project!
This blog post will show how to fill gaps in wood table with some simple tools and materials. You’ll find out why filling these voids will help keep your table structurally sound as well as save money on costly repairs down the road. If this sounds like something you are dealing with, then read on!
What is a Gap in Wood Table
A gap in the wood table is an opening or space between two pieces of wood that make up the tabletop. These gaps can occur due to changes in temperature and humidity, which cause the wood to expand and contract. Over time, this can cause small cracks or gaps to form.
Not only do these gaps look unsightly, but they can also lead to more significant issues if left untreated. If food or liquid spills into the gap, it can cause rot and damage to the wood. Additionally, the structural integrity of the table may be compromised, leading to a wobbly or uneven surface.
Needed Materials:
Wood Filler:
The first thing you will need is wood filler. This comes in a variety of colors and types, so make sure to choose one that closely matches the color and type of your wood table.
Sandpaper:
You will also need sandpaper, preferably in different grits (coarseness), for a smoother finish. The grit number indicates how fine the sandpaper is, with higher numbers being finer.
Wood Glue:
Wood glue is essential for this project as it will help hold the wood filler in place. Make sure to use a waterproof option if your table may come into contact with liquids.
10 Methods on How to Fill Gaps in Wood Table:
1. Wood Glue Solution
Many gaps in wood surfaces are filled with glue alone. To fill the gap, use a disposable brush or small paintbrush to apply wood glue into the crevice and wipe away any excess with a paper towel. Finally, scrape off any excess dried glue by running your fingernail against it. Let the glue dry completely. You may need to repeat this process if the gap is large or deep. It’s essential to use waterproof wood glue for this method.
You can also use wood glue and sawdust to create a paste for larger gaps. Mix equal parts of wood glue and sawdust until it forms a thick consistency. Use a small tool, such as a putty knife or spatula, to fill the gap with the mixture. Wipe away any excess and let it dry completely.
2. Wood Filler Paste
Wood filler paste is a mixture of wood dust and adhesive put into tiny holes or cracks in wood surfaces to even out the surface, strengthen it and make it more durable. Add some of the paste to a bowl; be sure not to use more than a pea-sized amount. Next, add some very fine sawdust. This will make the filler paste less evident after it has dried. You can use a toothpick to mix the two until you have an all-white mixture that is about as stiff as peanut butter.
3. Mix Wood Glue with Sawdust
If you need to fill in more significant gaps, you need to have a thicker mixture than normal wood glue. To do this, mix some sawdust with standard wood glue in a bowl or on a piece of cardboard until it has the consistency of oatmeal. You can then use a putty knife to push the mixture into the gap, ensuring it is filled completely. Allow it to dry completely before sanding down any excess.
The best thing about this method is that you can create a custom wood filler to match the color of your table perfectly. It’s also very cost-effective as it utilizes items you most likely already have in your workshop.
4. Spread Wood Filler Paste
If there are significant gaps between boards, use only filler paste in the gaps before sanding. Do this by wiping any dust off the table with a damp cloth and then squeezing some of the paste into your hand. Spread it across the gap using your fingers or a plastic utensil. You can also use an old credit card to spread the filler paste evenly over the crack. Let it dry for two hours.
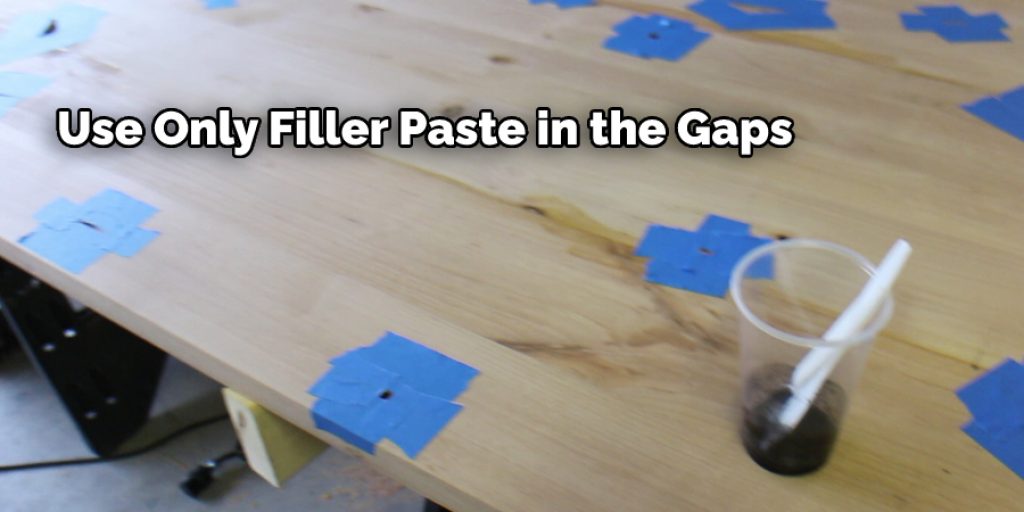
You may also want to mix some wood glue into the paste for extra strength. This method is great if you have multiple gaps or cracks in your wood table. You can also use this method if you need to fill in gaps that are deeper than 1/2 inch.
5. Dap White Caulk into the Gap
Use only white caulk in significant gaps between boards. The gap must be dry and free of any dirt, dust, or oil. If an old caulk line needs to be removed, use a utility knife to score around it, then carefully pull it out with your fingers. Then, wipe the gap clean with a cloth moistened with painting alcohol.
It’s essential to use white caulk as it can be painted over once dry and will blend in with the rest of your table. If you have a colored wood table, you may need to mix some acrylic paint into the caulk before applying it.
6. Cut Open a Latex Glove
Latex gloves are made of natural rubber, which is similar to latex caulk. To get the right consistency of filler paste, cut open one finger of the glove and squeeze it into your hand. Add more glue if needed until you have a mixture that is like toothpaste. You can add more sawdust to make it thicker or more glue to make it thinner.
You can then use this mixture to fill in small or large gaps, depending on the consistency you choose. This method is great if you have a specific color or texture of wood and cannot find a filler that matches.
7. Squeeze White Spread Rubber Cement
In smaller gaps, rubber cement can be used. Spread some on the inside of the gap and let it dry and seal and then sand. This glue is good because it forms a flexible bond that will not crack or split like regular white glues. Plus, it can be sanded smooth once dry. It’s crucial to use white rubber cement as it will blend in better with the wood.
You can also use rubber cement to fill in small cracks and scratches on your wood table. Apply a thin layer of the glue over the imperfection, let it dry, then sand down any excess.
8. Prepare an Epoxy Patch
For small cracks in wood surfaces, cut open an epoxy patch and squeeze equal amounts of the resin and hardener onto a piece of cardboard. Mix it with a plastic utensil to form a beige, clay-like mixture. Spread this into the crack and let it dry for one hour. When it dries, sand it down to fill in the gaps.
The epoxy patch will harden to create a lasting bond and can be sanded down to match the rest of the table’s surface. It’s essential to follow the instructions on the package carefully to ensure proper mixing and application.
9. Prepare a Putty Patch
For small holes that need to be filled in, cut open a two-part epoxy putty patch and squeeze equal amounts of the two components into a clean bowl. Mix it with your hands until it gets sticky and grainy. Apply this mixture to the hole and let it dry for one hour. When the filler is dry, sand it lightly to blend it into the surrounding wood.
You can also use wood stain or paint to match the color of the putty patch to your table. This method is great for fixing small knots or imperfections in your wood table.
10. Fill a Gap with Paintable Caulk
Use paintable caulk from your local home improvement store for large gaps that you just want to hide. This caulking comes in a tube and is easy to apply because it requires no mixing or spreading. Just squeeze the caulk into the gap and smooth it with a wet finger. Once dry, paint over it to hide any signs of a repair.
You can also use paintable caulk to fill in any small scratches or dings on your wood table. Simply squeeze a small amount onto the imperfection and smooth it with your finger before painting over it once dry. This method works best for smaller gaps and imperfections that need to be filled quickly and easily. Overall, there are various methods you can use to fill gaps and imperfections on your wood table. Whether it’s a small scratch or a large gap between boards, these techniques allow you to customize your repair and match it to the color and texture of your table.
Following these methods, you can easily fill in gaps and cracks on your wood table to keep it looking like new. Experiment with different techniques to find the best one for your specific needs, and always follow instructions carefully to ensure a successful repair. With proper maintenance and occasional repairs, your wood table will last for many years to come.
Tips to Prevent Gaps in Wood Table:
Whether made of wood or laminate, Tabletops will warp due to expansive and contractive forces on the material. This is a side effect of changes in humidity, which cause both the top and air around it to expand and contract as they absorb and release moisture. To prevent gaps from appearing between boards, you can use the following tips.
- Use thermal breaks to separate the slabs in laminate tops. A thermal break is a material that holds together two adjacent pieces of wood or laminate, slowing down their ability to expand and contract across the gap. Such materials include metal brackets, set into both slabs and then attached to the tabletop frame or metal rods.
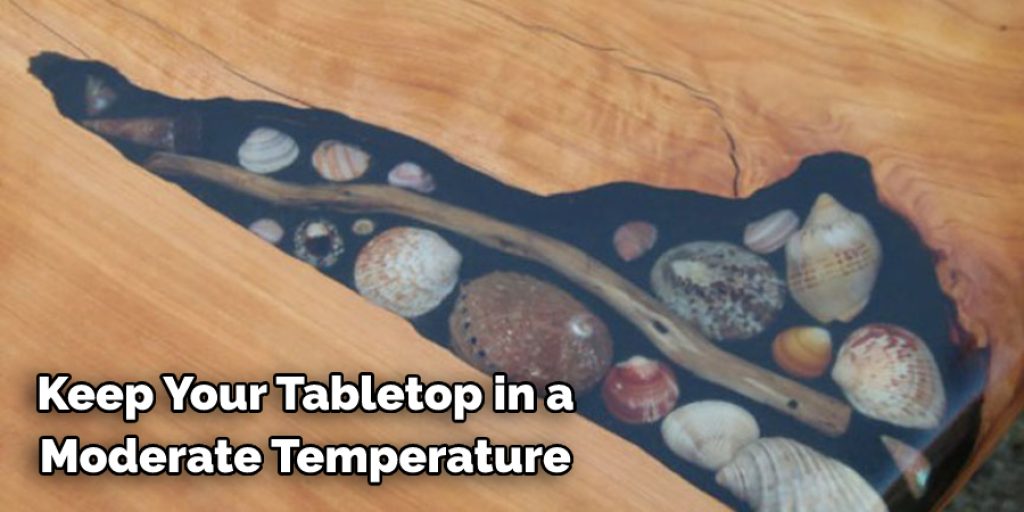
- Keep your tabletop in a moderate temperature and humidity range. Warping can also be caused by dramatic changes in the temperature or humidity of an area. For example, if you have an air conditioner that dries out the air, it can cause tops with stained laminate surfaces to warp slightly. Conversely, if an air conditioner is constantly moistening the room’s perspective, this can cause the tabletop to swell slightly.
- Keep your table covered when not in use. If you don’t have thermal breaks between boards running across your tabletop, it’s still possible to prevent warping by keeping the wood off of an unheated floor or covering it when not in use. When moisture in the air condenses on a cold surface, water is left behind. This can cause local swelling that leads to crowning or warping of the wood.
- Use cross-grain construction for your tabletops. If you are making new tops, consider using cross-grain construction for them. With this method, one layer of boards will have its grain running north-south while the other layer has its grain running east-west. This helps to prevent warping by allowing expansion and contraction to offset each other.
- Rout grooves in the panels before glue-up. As a woodworker, it is important to allow room for the movement of wood as it expands and contracts with changes in humidity. By routing grooves in your tabletop panels before glue-up, you can create space for movement and prevent gaps from appearing between boards. This technique is especially useful for large tabletops made of solid wood.
- Use quarter-sawn lumber for your tabletops. Quarter sawing lumber involves cutting at a 90-degree angle to the tree’s growth rings, creating a straight grain pattern that is less susceptible to warping and shrinking. If possible, use quarter-sawn lumber for your tabletops to reduce the likelihood of gaps appearing between boards.
By following these tips, you can prevent gaps from appearing in your wood table and maintain its beautiful appearance for years to come. Regular maintenance and proper care will also help prolong the life of your table and keep it looking new.
Frequently Asked Questions:
Q: How Do I Prevent Gaps From Appearing in My Wood Table?
A: You can use thermal breaks, maintain moderate temperature and humidity levels, and keep your table covered when not in use. It’s also essential to use high-quality wood and regularly maintain proper maintenance and repairs. You can also follow the tips mentioned in this guide for more specific methods to prevent gaps. It’s essential to remember that some warping and gapping are normal, but proper prevention techniques can help minimize these issues.
Q: Can I Repair Large Gaps in My Wood Table?
A: Yes, you can repair large gaps in your wood table using a combination of methods mentioned in this guide. You can use latex gloves and sawdust paste for filler, rubber cement for smaller gaps, epoxy patches for cracks, and putty patches for holes. Paintable caulk is also an option for larger gaps that you want to hide. However, it’s always best to consult a professional if the gap is too large or complicated to repair on your own.
Q: How Often Should I Maintain and Repair My Wood Table?
A: It’s recommended to maintain and repair your wood table at least once every six months. This frequency may vary depending on the usage and environment of your table. It’s essential to keep an eye out for any gaps or imperfections and address them promptly to prevent further damage. Regular maintenance and repairs will extend the lifespan of your wood table and keep it looking like new.
Q: Can I Use Any Type of Wood Filler on My Table?
A: It’s best to use high-quality, specialized wood fillers made for furniture repairs on your table. These will blend in better with the wood and provide a more durable bond. Using generic or low-quality wood fillers may not hold up well and can lead to further damage over time. Be sure to read and follow the instructions carefully when using any type of wood filler for your table.
Conclusion:
As you can see, there are many ways on how to fill gaps in wood table. The key is to find a suitable filler for your needs and then use that product as directed on the package. This will help you avoid damaging or doing more work than necessary when filling gaps in wood tables.
The best way is to choose the option that matches your style and budget. No matter what material you use for filling in those pesky holes, make sure it’s durable enough to withstand any spills or accidents from family members who might be less than careful!