How to Cut Plexiglass with a Table Saw
Cutting plexiglass with a table saw can seem daunting, but with the right tools and techniques, it can be a straightforward DIY project. Plexiglass, also known as acrylic, is a durable and versatile material often used for various applications, such as windows, signs, and display cases.
However, it requires special care when cutting to prevent chipping or cracking.
In this guide, we will provide step-by-step instructions on how to cut plexiglass with a table saw, including tips on blade selection, safety precautions, and finishing techniques, to help you achieve clean and precise cuts for your DIY projects.
What Kind of Saw Blade Do You Use to Cut Plexiglass?
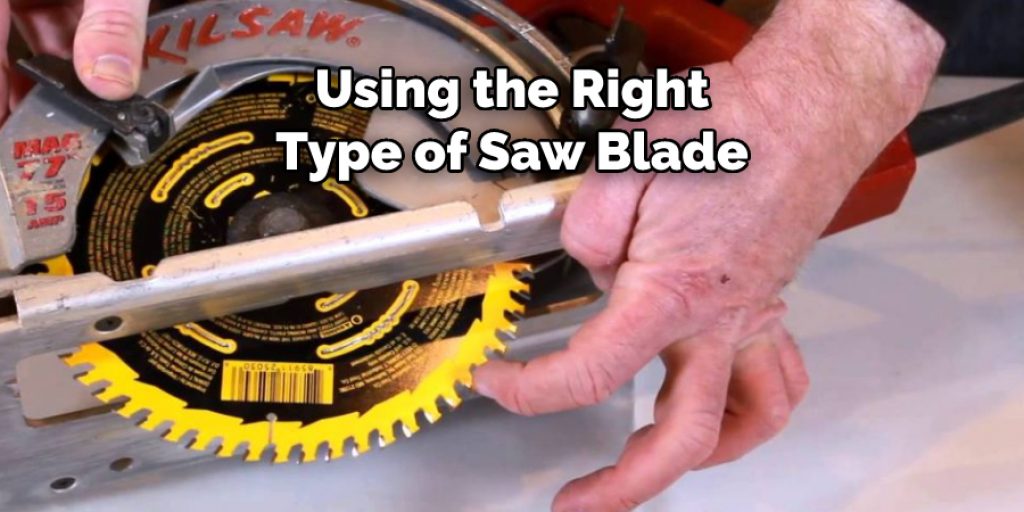
When cutting Plexiglass with a table saw, it is important to select the right type of blade. Using the wrong type of blade can damage the material or create an uneven cut. To safely and accurately cut Plexiglass, you will need a combination of utility saw blade that has 80 teeth or more; this type of blade is often referred to as a “time-saver” blade.
The number of teeth on the saw blade helps create a smoother, cleaner cut with minimal chipping and splintering. Additionally, choose a carbide-tipped blade for better accuracy and less breakage of the Plexiglass material. It is also important to use a slow cutting speed when cutting Plexiglass; this will help prevent it from melting or becoming too hot while cutting.
When selecting a saw blade, try to find one that has an anti-kickback tooth design; this feature helps reduce kickback which can occur when using circular saws or table saws. You should also make sure that the blade you choose has adequate side clearance between the teeth; this allows for a smoother, more uniform cut. Lastly, it is a good idea to use a blade stabilizer with your saw; this will help ensure that the blade does not vibrate or wobble while cutting Plexiglass.
Using the right type of saw blade is essential when cutting Plexiglass with a table saw. Choosing the wrong type of blade can cause damage to the material, uneven cuts, and splintering of the plastic sheets. Always double-check your blade selection before beginning to cut any project materials like Plexiglass or other plastics. With the right knowledge and preparation, you can accurately and safely cut Plexiglass with a table saw!
10 Methods How to Cut Plexiglass with a Table Saw
1. Choose the Right Blade
Select a blade specifically designed for cutting acrylic or plexiglass. Look for a blade with a high tooth count and carbide tips for clean and smooth cuts. If the blade is too dull, it can cause chipping and cracking along the edge of your cut.
While more teeth result in a cleaner cut, it creates more heat that can cause warping. However, if you choose a blade with too few teeth, it won’t cut through the plexiglass cleanly. Make sure the blade has a rake angle of at least 10 degrees.
2. Mark Your Cut Line
Use a pencil or marker to mark the cut line on the plexiglass. Use a straight edge or a carpenter’s square to ensure an accurate and straight line. Make sure you mark the line on the side of the plexiglass that will be discarded. To avoid any risk of injury, it is also important to wear safety glasses at this stage.
While using a pen or marker, hold your hand steady to make sure the line is as accurate as possible. Though it may seem easier to make the mark while the plexiglass is in place on the saw, you should always take it off before making any marks.
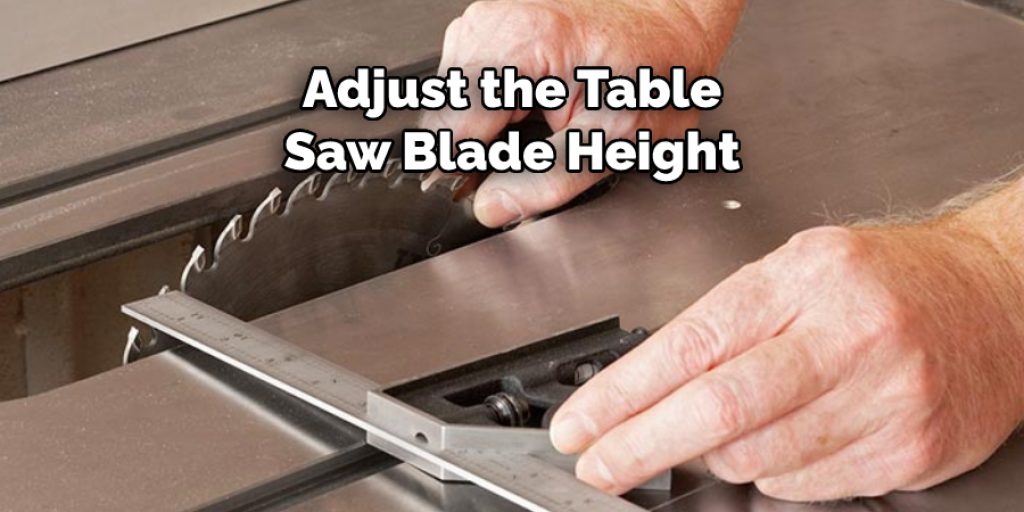
3. Set Up Your Table Saw
Adjust the table saw blade height to slightly higher than the thickness of the plexiglass. Set the fence to align with your cut line, and make sure the blade is perpendicular to the table. When using a miter gauge, set it to the desired angle. If using one, attach a zero-clearance throat plate.
This provides a flat surface for the plexiglass to rest against and will help avoid any chips that may occur. While you’re adjusting the saw, it is important to wear protective gear. Face and eye protection are essential when working with a table saw. Safety gloves are also important, as they will protect your hands when feeding the plexiglass.
4. Apply Masking Tape
Apply masking tape along the cut line on both sides of the plexiglass. This will help reduce chipping and prevent the plexiglass from melting during cutting. Make sure the masking tape is firmly applied with no air bubbles. If you’re cutting thick plexiglass, you may need to double up the tape for extra protection.
Though it may seem like an extra step, applying masking tape is a crucial part of the cutting process. Try to avoid using duct tape as it may be too sticky and leave a residue on the plexiglass. Additionally, you can use a sharpie to draw the cut line on the tape in order to make it easier to follow when sawing.
5. Wear Safety Gear
Put on safety goggles, gloves, and a dust mask to protect yourself from potential debris and dust during the cutting process. Make sure the work area is clean and free of any materials that could potentially be blown away by the table saw. Additionally, make sure to keep your hands and clothing away from the saw blade during operation.
When the saw is running, stand to the side and out of its way. However, do not stand too close to the saw as it can cause injury or kickback of materials. Once the cut is complete, turn off the saw and wait for all parts to come to a complete stop before touching them. Place your hand on the blade guard to ensure no one else can turn it on.
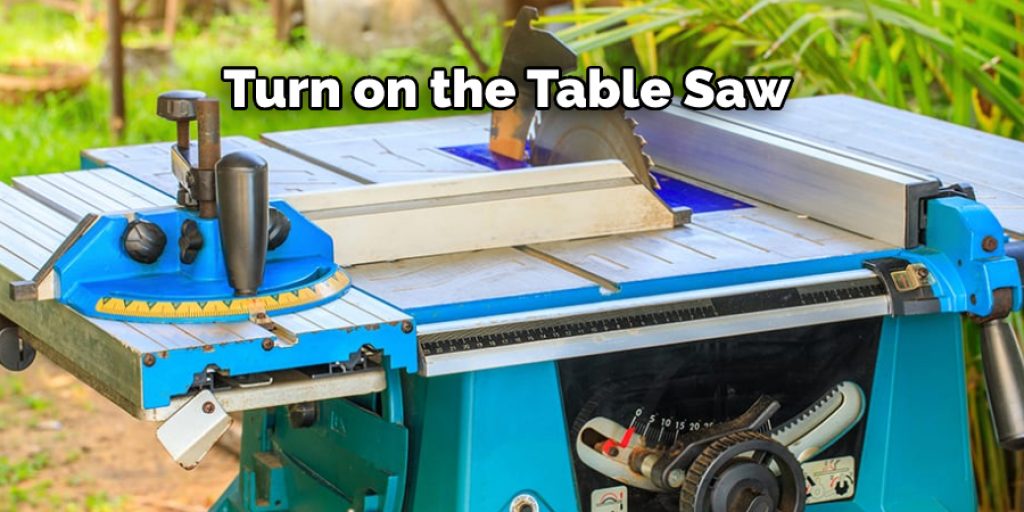
6. Start the Cut
Turn on the table saw and slowly feed the plexiglass into the blade, keeping it against the fence and following your marked cut line. Use a steady and smooth motion to avoid any sudden jerks or movements.
The blade should be moving away from you as the plexiglass is being cut. As the saw moves through the material, slightly lift it up to reduce any binding of the blade. You may need to pause and lift the plexiglass during longer cuts to prevent the blade from overheating.
If you’re having difficulty making the cut, you can use a piece of scrap lumber clamped to the plexiglass as a guide. Once you have completed the cut, carefully remove the plexiglass from the saw and check your results. Make any necessary adjustments or use a file to smooth the rough edges. With a few simple steps and some patience, you can easily cut plexiglass with a table saw.
7. Control the Feed Rate
Plexiglass can melt or chip if the feed rate is too fast. To prevent this, feed the plexiglass through the blade at a moderate pace, allowing the blade to do the cutting without forcing it. Avoid pushing the material too quickly through the blade, as this can cause chipping or melting.
If you feel resistance when using a table saw, stop immediately and adjust the feed rate. Be sure to pay close attention to the direction of the blade, as pushing plexiglass in the wrong direction can cause damage to the material.
However, be sure to keep the feed rate consistent to ensure a clean cut. When cutting thick plexiglass, you may want to use a slower feed rate to reduce the risk of melting or chipping. Also, be sure to use sharp blades for a precise and clean cut.
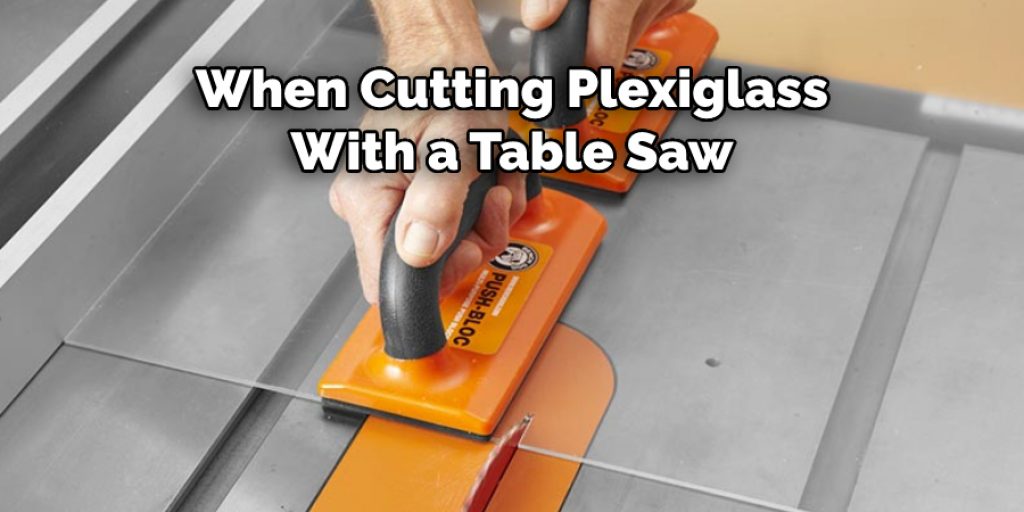
8. Support the Plexiglass
Use a push stick or a second person to support the plexiglass as it passes through the blade to prevent it from sagging or snapping. Be sure to keep hands and other body parts far away from the blade.
You may also want to use a saw sled, or table saw feather board to ensure a smooth and even cut. While the saw is operating, make sure to keep a firm grip on the piece of plexiglass and push it through evenly. Additionally, it is recommended to use a miter gauge to guide the plexiglass along the miter slots as you make your cut.
9. Finish the Cut
Once the cut is complete, turn off the table saw and wait for the blade to come to a complete stop before removing the plexiglass. If any burrs have been left along the edge of the cut, use some fine-grit sandpaper to smooth them out. When finished, you’ll be left with a perfect cut in your plexiglass!
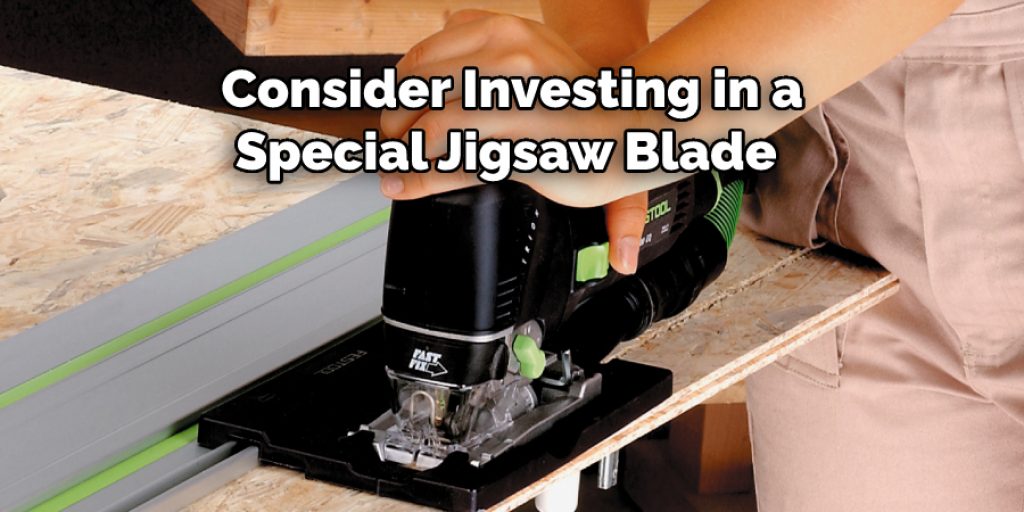
If you need an even cleaner cut, consider investing in a special jigsaw blade designed specifically for cutting acrylic and plastic materials. With the right blade, you can get a sharp, clean cut with minimal burrs and debris. With proper safety precautions and the right tools, cutting plexiglass on a table saw is an easy and efficient way to get the job done. Now you can start creating whatever project you have in mind!
10. Remove Masking Tape and Smooth the Edges
Peel off the masking tape and use fine-grit sandpaper or a deburring tool to smooth out any rough edges or burrs left from the cutting process. This will help to ensure a nice, clean, polished finished product.
Finally, use a soft cloth to buff the edges and give your newly-cut Plexiglass a fresh shine. However, be sure to use caution and avoid scratching the surface. Now your Plexiglass is ready for installation or whatever creative project you have in mind.
Cutting plexiglass with a table saw requires precision, caution, and the right tools to achieve clean and accurate cuts. Follow these methods, along with proper safety precautions, to cut plexiglass with confidence and create professional-looking results for your DIY projects.
Things to Consider When Cut Plexiglass with a Table Saw
1. Safety is Key
It’s important to follow all safety protocols when using a table saw and cutting plexiglass, including wearing safety goggles, gloves and a dust mask. Make sure to keep your hands away from the blade when in use.
2. Set Up Your Table Saw
When you’re cutting plexiglass with a table saw, it’s important to make sure your blades are properly aligned and that the tension is set correctly for the material you are cutting. It’s also best to use a fine-toothed blade specifically designed for cutting plastic. A regular woodworking blade should not be used as it won’t provide accurate cuts on plexiglass.
3. Use Proper Techniques
Make sure to clamp down your material securely before beginning to cut and always feed slowly, using consistent pressure against the fence and the saw blade. Additionally, when cutting plexiglass with a table saw, it’s best to make multiple shallow passes instead of trying to cut all the way through in one go. This will help ensure a clean and even cut
4. Support Your Workpiece
When making larger cuts, use a sacrificial fence or backer board behind your workpiece to provide extra support and avoid tear-out on the back side of your material. This is especially important because plexiglass can be brittle in spots if pressure is applied unevenly while cutting.
5. Clean Up
Once you are done making your cuts, always remember to clean up any debris that may have been created during the process. This not only helps keep your space safe, but it also prevents any plexiglass dust from getting inhaled, which can be hazardous to your health.

Conclusion
In conclusion, cutting plexiglass with a table saw can be achieved successfully by following the right methods and taking proper safety precautions. Choosing the right blade, marking the cut line, setting up the table saw correctly, controlling the feed rate, and supporting the plexiglass during the cut are all essential steps to ensure clean and precise cuts. Thanks for reading, and we hope this has given you some inspiration on how to cut plexiglass with a table saw!