How to Tile Around a Shower Window
Tile is a great choice for any bathroom because of its durability, water resistance, and a wide variety of colors and textures. But what if you want to tile around a shower window? If that’s the case, you may be wondering how to go about it so that your shower looks neat and professional.

In this blog post, we’ll be discussing all the steps you need to learn about how to tile around a shower window — from choosing the right tiles to properly grouting them once they’re in place! We’ll even provide tips on troubleshooting any problems along the way. So get ready to become an expert tiler – with our guidance, anyone can learn how to make their own bathroom space look like something out of a magazine!
Step-by-Step Guidelines on How to Tile Around a Shower Window
Step 1: Choose the Right Tiles for Your Project
Before you start tiling, make sure to pick out tiles that are suitable for your shower window project. Look for tiles that have a water-resistant glaze and are rated for use in wet environments. Make sure they’re easy to clean, as well! Choosing the right tiles can make all the difference in how your shower window looks.

Step 2: Measure and Mark Your Window Area
Once you’ve chosen your tiles, it’s time to measure and mark out the area around the window. Using a tape measure, figure out the dimensions of the space you’ll be tiling. Then, use a pencil to mark the edges of where the tiles will go. This will help you make sure all the tiles are evenly spaced when you start tiling.
Step 3: Prepare the Wall Surface
Before starting your tiling project, it’s important to make sure the wall surface is ready for tile installation. Start by cleaning the area thoroughly with a mild cleanser and making sure it’s free of dirt, dust, and other debris. Then use painter’s tape to secure loose wallpaper or paint around the window frame.
Step 4: Start Laying Your Tiles
Now that you’ve prepped the wall surface and marked out the window area, it’s time to get tiling! Begin by applying a thin layer of thin-set mortar or mastic adhesive to the wall with a notched trowel. Then starting at the center of your marked-out area, start laying tiles onto the wall in a staggered pattern. As you go, use spacers to make sure the tiles are evenly spaced and your lines stay straight.
Step 5: Cut Tiles to Fit
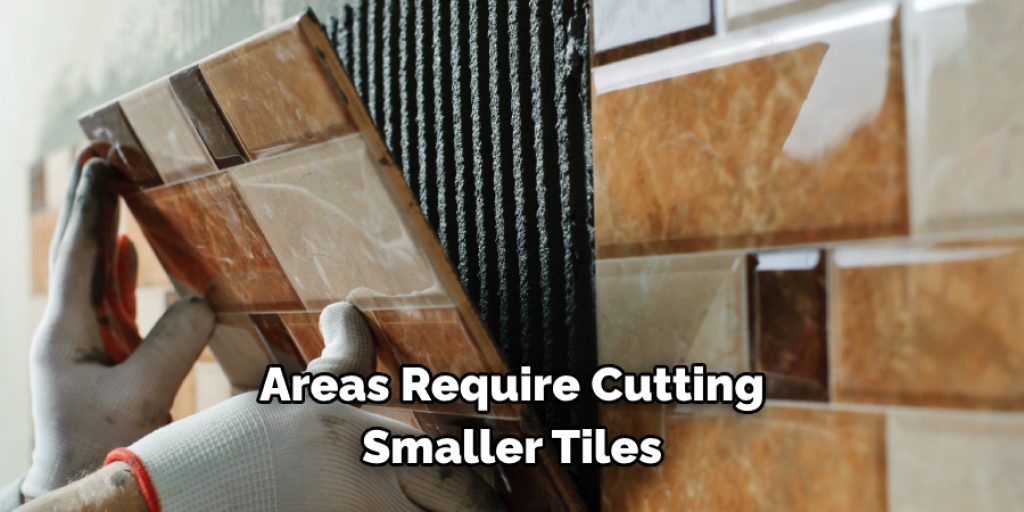
Once you’ve laid all the full-sized tiles, you may find that some areas require cutting smaller tiles to fit in those odd spaces. To do this, use a tile saw or wet saw and measure twice before you make each cut. While cutting, be sure to wear proper safety gear like goggles and gloves. Carefully clean up tile pieces that may have splintered away during the cutting process.

Step 6: Grout the Tiles
Once all your tiles are in place, it’s time to grout them! Start by mixing up some grout and then using a rubber float to fill in the spaces between the tiles. Make sure that you wipe off any excess with a damp sponge and then let the grout dry for at least 24 hours. If you’d like, you can also seal the grout to give it a more finished look and extra protection.
Step 7: Seal the Grout
Finally, it’s time to seal the grout. Make sure to follow the manufacturer’s instructions when applying grout sealer, as some types require you to wait a certain amount of time before sealing. Be sure to give your shower window tiling project a few days to completely dry before using it.
And there you have it – now you know how to tile around a shower window! We hope this guide has been helpful in giving you the tools and knowledge needed for success in your own tiling projects. Good luck, and happy tiling!
Additional Tips and Tricks to Tile Around a Shower Window
1. Before tiling around a shower window, make sure you have the right tools for the job: a tile saw and a rubber grout float. Also, be sure to wear safety glasses when cutting tiles and mortar.
2. Use grout that is designed specifically for showers to ensure it won’t crack or stain. The grout should be a slightly lighter shade than the tiles you are using so that it won’t show through.
3. To ensure even spacing around the window, use spacers between each tile. This will also make sure your tiling job looks uniform and professional when finished.

4. When tiling around a shower window, start from the up. This will make sure that your tiles are level and even when finished.
5. To prevent water penetration, be sure to use a waterproof membrane or caulking around the edges of the window before laying down the tile.
6. After the tile is laid, apply grout along all of the seams and allow it to dry for at least one day before using the shower.
7. To finish off your tiling job, be sure to seal the grout and tiles with a waterproof sealer in order to prevent stains or water damage. This will keep your tile looking beautiful for years to come.
With these tips and tricks, you’ll be able to tile around a shower window with confidence. Taking the time to do it right will ensure that your tiling job looks beautiful and lasts for many years. Good luck!
Things You Should Consider While Tilling Around a Shower Window
1. Choose the right type of tile. If a shower window is exposed to water, you’ll need a waterproof, durable tile like ceramic or porcelain. Different tiles will also have varying levels of slip resistance, making it important to take into consideration who will be using the shower and if they may be elderly or young children.
2. Measure the size and shape of the shower window. This is important to ensure that you have enough tile pieces to cover the space around your window, as well as make sure they fit properly. Take into account any ridges in the wall or beading that may need to be cut to fit the tiles perfectly. Taking accurate measurements will help avoid any wasted tile pieces.
3. Consider the grout type and color. Grout will fill in the spaces between tiles, creating a waterproof seal and protecting your shower window from water damage. There are many different colors to choose from; it is recommended to choose one that compliments the tile’s hue or matches the trim around the window. You will also need to consider the type of grout (sanded, unsanded, etc.), as this can affect how easy it is to clean and maintain.
4. Use spacers around the edges. This will help keep the tiles evenly spaced out and give you a professional-looking finish. There are many types of spacers available, so be sure to choose one that is appropriate for the size of your tiles and grout lines.
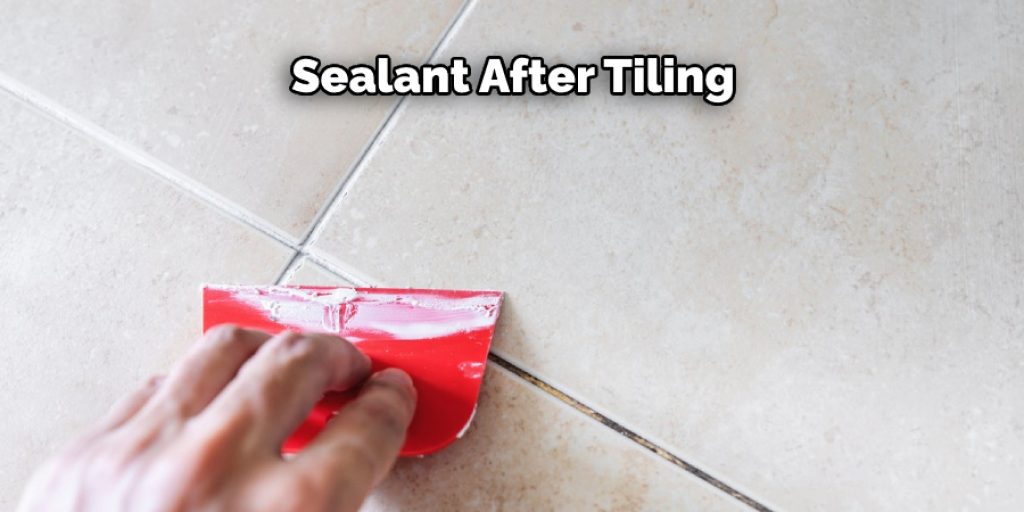
5. Consider a sealant after tiling. A sealant will ensure that water does not penetrate between the tile and the window frame, protecting both from damage. Be sure to leave sometime after you finish laying the tiles before you apply a sealant so that everything has time to dry and adhere properly.

By keeping these tips in mind, you can tile around your shower window with confidence. With the right preparation, tools, and materials, you’ll be able to finish the job quickly and confidently. Happy tiling!
Frequently Asked Questions
What Type of Tile Should I Use Around a Shower Window?
You should select tiles that are waterproof, non-porous, and easy to clean. Ceramic or porcelain tiles are popular choices, as they come in a variety of colors, shapes, and sizes. Additionally, glass mosaic tiles can be used to create a unique and modern look.
How Should I Measure for Tiling Around the Window?
The measurements should include the area around the window, as well as the width of each tile. The tiles should fit snugly next to one another, so it is important to measure carefully and accurately. Additionally, you will need to make sure there is enough space for expansion joints to be placed between the tiles.
Are There Any Special Considerations for Tiling Around a Shower Window?
When tiling around any window, it is important to select tiles that are rated for wet or humid environments. Additionally, consider the size of your tiles; if you’re using small mosaic tiles, then it is important to make sure they fit together properly and that the grout lines are even. Finally, make sure the tiles sit firmly against one another and the window frame to ensure a watertight seal.
Conclusion
Knowing how to tile around a shower window is essential for creating a waterproof and attractive bathroom. Selecting the right type of tile, measuring accurately, and considering special considerations can help you create the look you desire. With careful planning and preparation, you can create a beautiful tiled shower window that will provide years of enjoyment.


