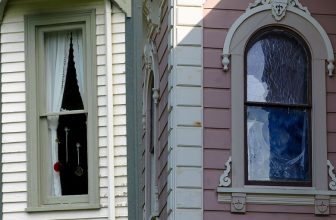
How to Frame a Window in Existing Wall
It is important to frame a window properly in an existing wall to ensure that the window is securely installed and will provide adequate ventilation. A properly framed window also helps maintain the wall’s structural integrity and can add aesthetic value to a room.
One of the biggest advantages of framing a window in an existing wall is that you can save time and money by avoiding having to tear down part or all of the existing wall. This also has the added benefit of preserving the architectural integrity of the space, which may be important in historic homes or buildings.
Framing a window can also help increase the amount of natural light that comes into a room, making it feel much brighter and more open. In this blog post, You will learn in detail how to frame a window in existing wall.
Step-by-Step Processes for How to Frame a Window in Existing Wall
Step 1: Inspect the Area
Before you start framing a window, you need to inspect the area where you will be working. Check for any potential issues, such as water damage, electrical lines, plumbing pipes, or other existing structures that may get in your way.
Step 2: Measure and Mark Your Window Frame
Use a tape measure and chalk line to mark off the window opening size on the wall. Be sure to measure twice and double-check your measurements before continuing. Using a saw or reciprocating saw, begin cutting into the existing wall where you have made your marks. Take extra caution when cutting, as you don’t want to damage any of the existing walls, frame, or other components.
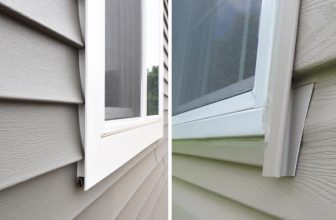
Step 3: Install Window Studs and Header
Once you have cut out your window opening, you must add header boards and studs to provide extra stability for the window frame. Make sure they are securely fastened in place before moving on. Now you can install the window sash. Make sure it fits properly and is sealed well with caulking before making any final adjustments.
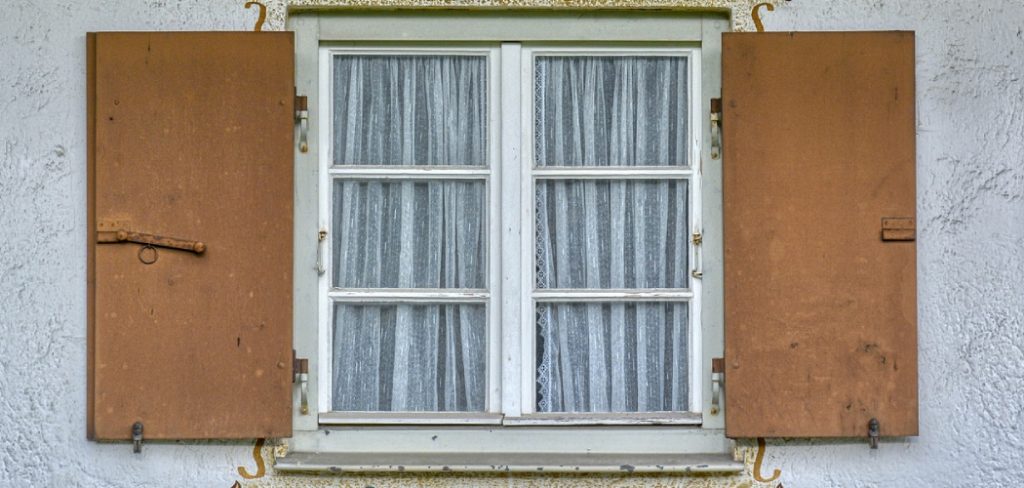
Step 4: Install Trim and Casing Around Window Frame
Once the window sash has been installed, you can start to trim out around the edges of the window. You will need to use mitered corner trim and finish nailer to ensure a tight fit around all edges. You can also install window casings, such as pediments or dentil molding, to give your frame an elegant look. Use finishing nails and wood glue to fasten them in place.

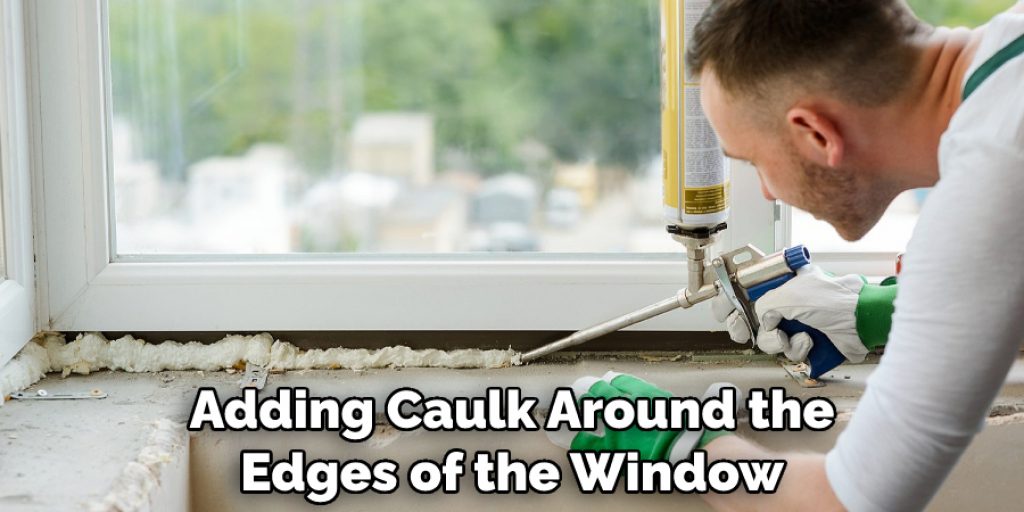
Step 5: Paint and Caulk Window Frame
Once all of your trim and casing have been installed, you can move on to painting the window frame. Be sure to use quality paint that is suitable for exterior use. Then caulk any gaps or cracks between the window frame and trim or casing. Now it’s time to install your window blinds, shutters, or shades. Ensure they fit snugly and that all the hardware is securely fastened in place.
Finally, you can sit back and enjoy your newly framed window. You have successfully completed all of the steps to frame a window in an existing wall.
Safety Tips for How to Frame a Window in Existing Wall
- Wear protective clothing and gear such as safety glasses, gloves, long pants, and steel-toed boots while working on the project.
- Make sure you know where the electrical wiring is located in your wall before framing the window to avoid any potential risks of electric shock.
- Use a stud finder and level to check for any obstructions in the wall that could interfere with your framing process.
- Make sure to secure all lumber pieces together before you start cutting or nailing them into place.
- When measuring for the window frame, make sure to double-check your measurements to ensure an accurate fit.
- Don’t forget to wear ear protection when using power tools such as a saw or nail gun.
- If you need to cut into the existing wall, mark your cutting lines with a pencil before proceeding with the job.
- Take all necessary safety precautions and follow the manufacturer’s instructions when using any electric tools or machinery.
By following these safety tips, you can ensure that the job of framing a window in an existing wall is done properly and safely.
How Can You Prevent Air Leaks From Occurring After Framing the Window in an Existing Wall?
When framing a window in an existing wall, there are several steps you can take to prevent air leaks. First, make sure the rough frame of the window is placed securely and level within the wall opening. This will help keep gaps that could let air through sealed off. After installing the frame, use expanding foam to all seams and gaps around the window frame. This will help reduce air infiltration from drafts or wind and provide a better insulation factor for the wall.

You may also want to consider weather stripping to prevent further air leakage. Weatherstripping is a strip of material that creates an extra layer of protection against air infiltration. It is typically applied around the perimeter of the window frame and should be checked regularly to ensure it has not become cracked or loose over time.
Finally, you may want to consider applying Silicone caulk around any exposed surfaces of the window frame. This will help keep air from entering through cracks or other small openings in the wall or window frame.
How Can You Ensure a Professional-looking Finish When Framing a Window in an Existing Wall?
When it comes to framing a window in an existing wall, the key to achieving a professional-looking finish is all about proper preparation and technique. Here are some tips for ensuring you get the job done right:
- Start by measuring the dimensions of the frame opening that needs to be created, and double-check your measurements before cutting out the opening.
- After you’ve cut out the hole, use a level to ensure that the frame’s edges are straight and plumb.
- Once your frame is aligned correctly, secure it in place by screwing it into the surrounding wall structure. Use shorter screws near the corners of the frame for the best stability.
- As you build out your new window frame, use foam insulation to fill in any gaps or cracks that may be present in the existing wall structure. This will help ensure a good seal and keep energy costs low.
- Finish up by adding caulk around the edges of the window frame to keep out moisture, bugs, and other air drafts.
By following these steps carefully, you can ensure that your window framing project is done right the first time and will look professional for years to come.
Are There Any Common Mistakes That Should Be Avoided When Framing a Window in an Existing Wall?
Yes, there are a few common mistakes to avoid when framing a window in an existing wall. One of the most important is measuring correctly and ensuring that you have enough space for the window frame. You should also ensure that your measurements are accurate so that the window frames up properly and fits snugly against the walls.
Before starting any project, use a level to check if the walls are straight. This will ensure that the window frames up evenly and is properly sealed against air leaks.
Another mistake to avoid is not allowing enough space for insulation around the window frame. When installing windows in an existing wall, you should make sure there is enough room between the framing and the wall to insulate the area properly. This will help keep heat in during colder months and reduce energy costs.
Finally, make sure that you are using appropriate materials for framing a window in an existing wall. Using too thin of wood or low-quality nails can lead to structural damage and water leaks over time.

Conclusion
The main disadvantage of framing a window in an existing wall is the difficulty and complexity of the process. It can be difficult to cut an opening in an existing wall without damaging it, as well as add support to prevent sagging or buckling when the new window frame is installed.
Additionally, ensuring the window frame properly fits into the wall can be tricky, as it may require cutting a hole slightly larger than the frame and then using shims to ensure the correct fit.
In conclusion, framing a window in an existing wall is not difficult and can be achieved with basic tools. The most important steps are to measure carefully, check for load-bearing walls, cut the opening accurately, and use the right materials. With careful preparation and attention to detail, it’s possible to frame a great-looking window on any wall easily.
For the best results, consulting a professional is always recommended if you need further assistance. I hope reading this post has helped you learn how to frame a window in existing wall. Make sure the safety precautions are carried out in the order listed.
Angela Ervin
Angela is the executive editor of DIY quickly. She began her career as an interior designer before applying her strategic and creative passion to lifestyle and home. She has close to 15 years of experience in creative writing and online content strategy for housekeeping, home decorations as well as other niche efforts. She loves her job and has the privilege of working with an extraordinary team. She lives with her husband, two sons, and daughter in Petersburg. When she's not busy working she spent time with her family.