How to Install a Picture Window
Do you have a stunning view from your home that you’d like to take full advantage of with a picture window? For homeowners looking to spruce up their living space, there are countless opportunities for updating the look and feel of any room. Installing one can improve your views and provide more natural light in the room, but before you head outdoors to get started, it’s important to understand some of the basics.
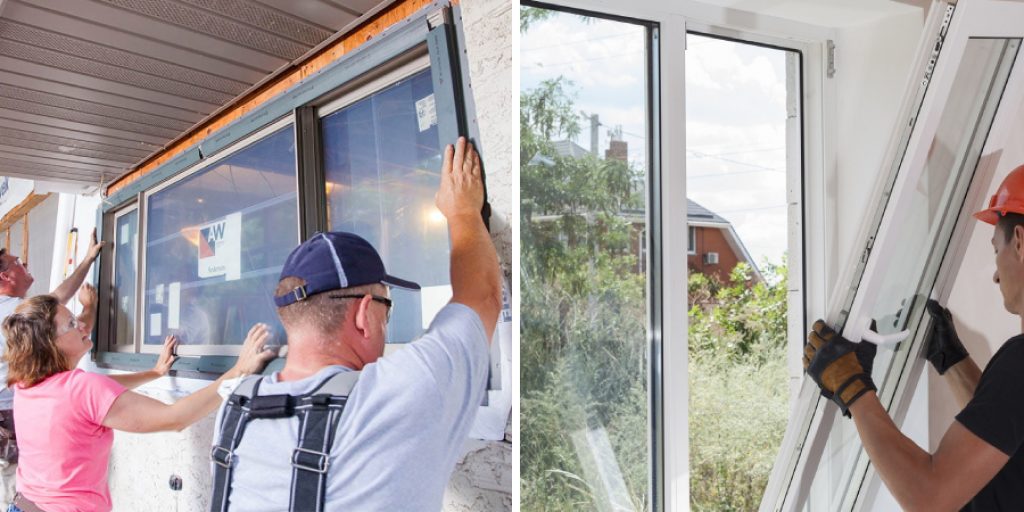
In this blog post we’ll explore what my home needs for picture window installation, what tools and materials I need to get started on the project, and lastly offer step-by-step instructions on how to install a picture window so that anyone can successfully install a picture window themselves. Read on to learn how to install your own picture window and enjoy the unique benefits it brings.
What is a Picture Window?
A picture window is a large, rectangular window that typically doesn’t open or close. Its purpose is to bring natural light into the home and also provide a beautiful view from inside your living space. Picture windows usually go on the wall opposite where you enter the room, creating an attractive focal point in any room.
The Function of Picture Window
Picture windows are available in a wide variety of shapes, sizes, and colors, providing homeowners with flexibility when it comes to styling their living space. As such, the installation of a picture window is not just about putting up a piece of glass into the wall. It involves ensuring that the frame fits perfectly into your home’s existing structure and that it is securely fastened for safety and stability.
Tools and Materials
When installing a picture window, you’ll need the following materials:
- Window frame
- Glass pane or panel
- Caulk or sealant
- Nails/screws
- Wood shims
- Level
- Tape measure
- Hammer/drill
- Crowbar
10 Instructions on How to Install a Picture Window
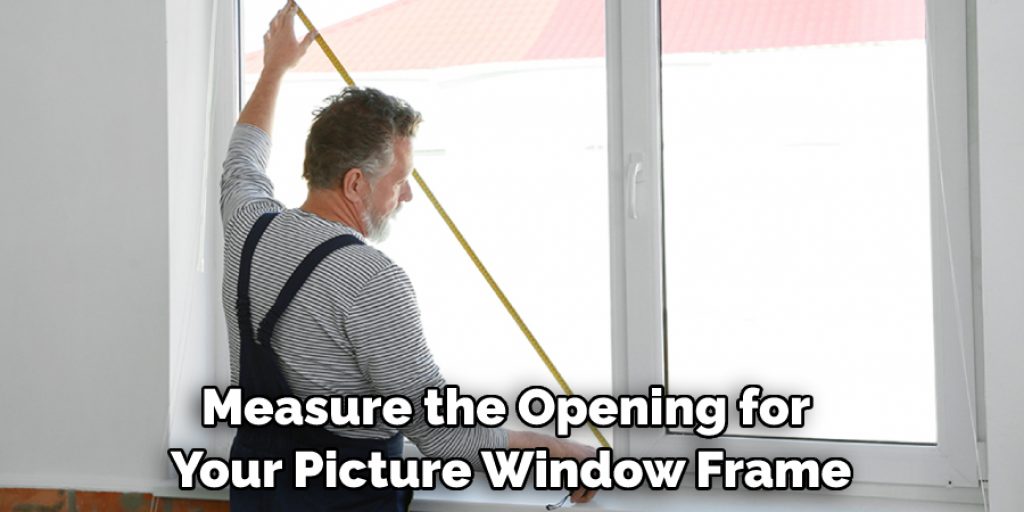
1. Measurement
Measure the opening for your picture window frame. Measure both the height and width of the window opening to ensure you have an accurate fit. It will need to be the same size or slightly smaller than your picture window frame.
2. Preparing the Frame
Lay out and inspect your frame for any damage or imperfections. Make sure all edges are properly sealed with caulk or sealant, as this will help keep air from entering your home when you complete installation.
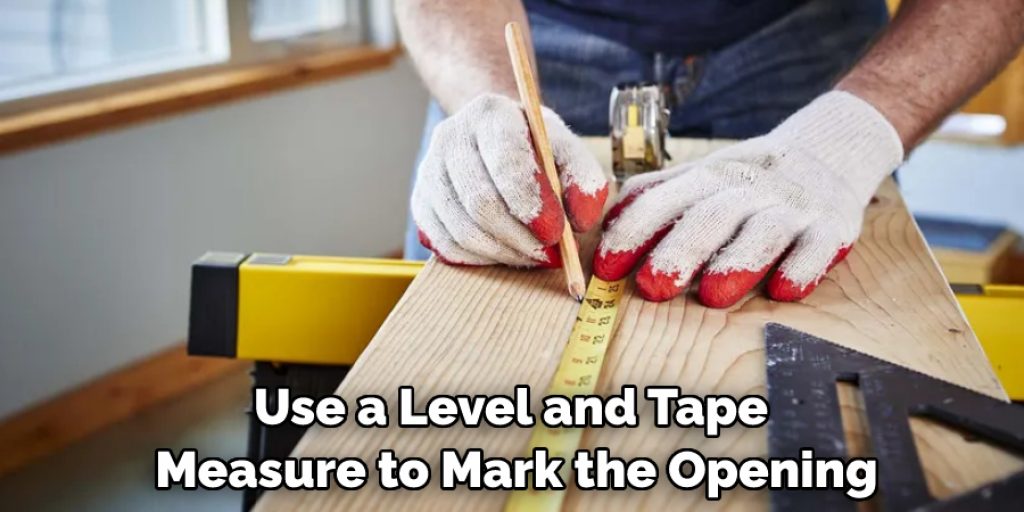
3. Marking the Opening
Use a level and tape measure to mark the opening for your picture window. Make sure that you use a pencil or marker so you can easily see the lines when you start cutting. The opening should be slightly smaller than the window frame.
4. Cut the Opening
Using a saw or jigsaw, cut along the markings you made to create an opening for your picture window frame. Make sure that all cuts are even and straight for a secure fit. Cutting too small or too large can cause issues later on.
5. Adjust the Frame
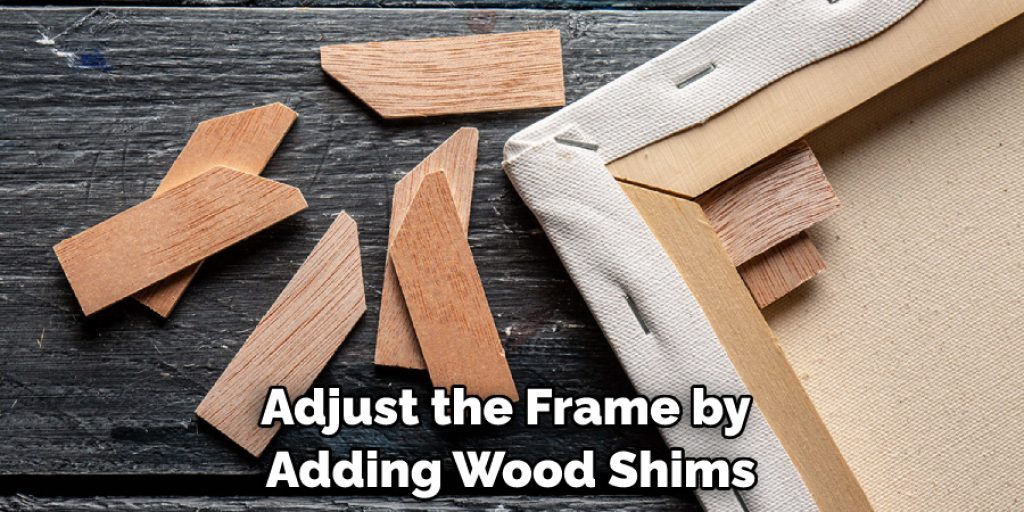
Place your frame into the opening and make sure that it is level. You may need to adjust the frame by adding wood shims to make it fit properly in the opening. The frame should fit snugly without any gaps or spaces.
6. Secure the Frame
Once you have the frame adjusted, secure it in place by using nails or screws. Make sure that these are driven into the wall studs to provide a stronghold. It is recommended that you use at least four screws on each side of the frame for extra security.
7. Insert the Glass Panel or Pane
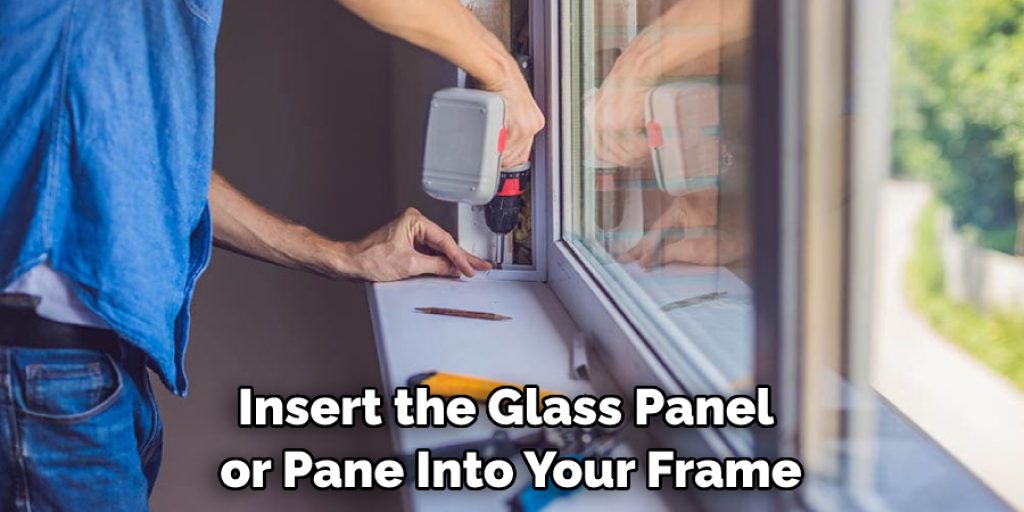
Carefully insert the glass panel or pane into your frame, making sure that it is not cracked or damaged in any way before doing so. If you are using a pre-made window panel, make sure that it fits correctly in the frame and is sealed properly against air gaps.
8. Seal the Frame
Seal or caulk around the edges of the frame to ensure that air does not enter your home when you complete installation. Make sure that these seals are strong and secure for extra protection against drafts.
9. Install Trim
Use trim pieces along the edge of the frame to give it a more finished look. This trim can also help to better secure the frame in place and provide an additional layer of protection against air and moisture.
10. Enjoy Your New Picture Window
Enjoy your newly installed picture window! With its unique design, you’ll be able to enjoy natural light, stunning views, and an improved aesthetic for your home.
Installing a picture window is an easy and relatively straightforward process, but it’s important to take your time and follow these steps carefully. This will guarantee that the frame fits correctly and securely in place, ensuring its stability as well as protecting your home from air leaks or drafts. With the right tools and materials, you’ll be able to enjoy your new picture window in no time.
7 Maintenance Tips
1. Replace any broken glazing points or fasteners that hold the window in place. If you can, use the same type of fastener for a more secure fit. Also, use a strong sealant to ensure that the window is watertight.
2. Inspect the frame for any signs of damage or wear, and perform necessary repairs as needed. If possible, use durable materials such as aluminum or vinyl-clad wood frames in order to reduce future maintenance needs.
3. Clean the window regularly with mild detergent and a soft cloth. Avoid using harsh chemicals such as abrasive cleansers to clean the frame, as they can cause discoloration or damage. Cleaning the window regularly will also help to reduce the buildup of dirt and grime, as well as protect against weather damage.
4. Check the seals around the frame periodically in order to ensure they are still tight and have not become loose over time. If necessary, use a sealant or caulk to fill any gaps or cracks that might have formed.
5. Replace any weather stripping that has become worn or damaged in order to keep the window insulated and drafts out.
6. Inspect the hardware, such as hinges, locks, and latches, on a regular basis in order to ensure they are still secure and working properly. If necessary, lubricate them with oil or WD-40 to keep them from sticking.
7. Check the window for any signs of condensation buildup, which could be a sign that there is an issue with the insulation or weather-stripping. If necessary, contact a professional to assess and repair the window if needed.
Following these simple maintenance tips can help ensure that your picture window remains in good condition. Taking the time to properly install and maintain the window can prevent costly repairs down the road and help keep your home more comfortable year-round.
Frequently Asked Question
How Long Will It Take to Finish the Project?
The amount of time it takes to install a picture window depends on the level of difficulty and experience of the installer. On average, a simple installation can be completed in a few hours, while more complex installations could take up to several days. It’s important to remember that the quality of the installation is more important than speed. Taking extra time to make sure the window is properly installed will ensure that it lasts for many years.
How Much Will It Cost?
The cost of a picture window installation can vary greatly due to factors such as the size and type of window, necessary materials, and labor costs. To get an accurate estimate for your particular project, it’s best to contact a licensed contractor who can assess the situation and provide you with an accurate price quote.
Are There Any Safety Considerations?
When installing a picture window, safety should always be the priority. It’s important to wear protective gear such as goggles and gloves during the installation process since glass shards can cause serious harm. Additionally, make sure that you have a sturdy ladder and stable work surface available for reaching higher windows. If there is any doubt about your safety or the safety of others present, contact a professional contractor for assistance.
By following these guidelines and taking extra time to make sure the installation is done properly, you can enjoy the beauty and benefits of a picture window safely and securely.
Conclusion
Installing a picture window might seem like a daunting task, but with the right knowledge and preparation, you can do it! With the steps on how to install a picture window outlined here, you now have all the information you need to properly install your own picture window. Remember to always wear the appropriate safety equipment when performing any installation activity, use quality tools and materials for best results, and double-check your measurements multiple times before cutting.
Most importantly, take your time and let yourself be creative when updating your home – not only will you be rewarded with an improved view of the outdoors from within your home, but you’ll also end up feeling satisfied knowing that you completed this project on your own.

