How to Clean a Window Fan
Are you looking for an effective way to clean and maintain your window fan? Look no further! Cleaning a window fan is easy when you know what tools and supplies to use and the right steps to take.
In this blog post, we will provide all of the information needed so that you can keep your window fan in top shape with as little stress and hassle as possible. Read on for our step-by-step guide on how to clean a window fan, including what products work best, advice on safety precautions, and more helpful tips
Necessary Materials
Given below is a list of items you will need to clean your window fan thoroughly:
- Vacuum Cleaner
- Sponge or Soft Cloth
- Mild Dish Soap or Detergent
- Soft Bristled Brush
- White Vinegar
- Bucket of Warm Water
Safety Precautions
Before you begin cleaning your window fan, make sure to take the necessary safety precautions. Wear protective gloves to keep your skin safe from the chemicals used in the cleaning process. In addition, make sure that you unplug the fan first before attempting any type of cleaning. It is also important to keep the fan away from any kind of water source.
10 Step-by-step Guidelines on How to Clean a Window Fan
Step 1: Unplug the Window Fan
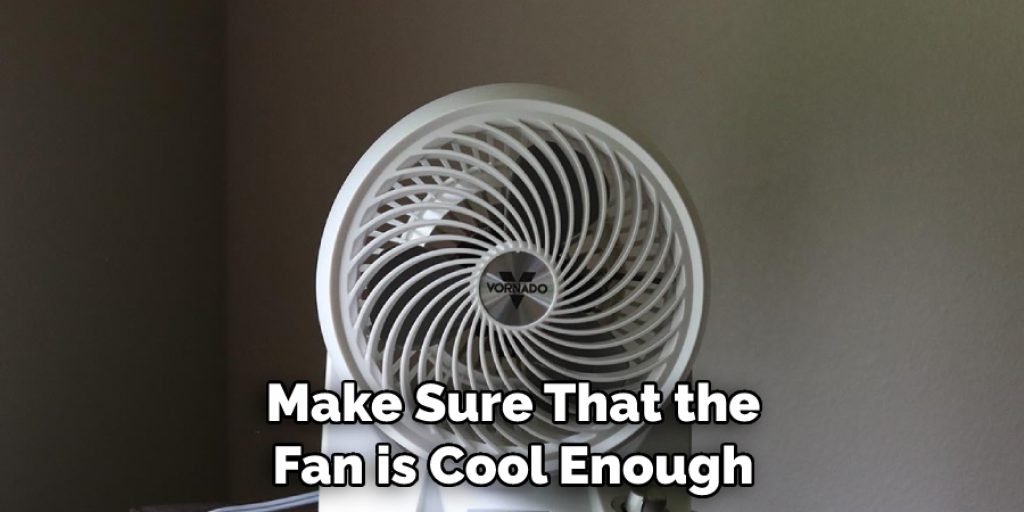
Before you begin your cleaning process, make sure to unplug the fan and remove it from the window. If there is an attached filter, remove it as well. Otherwise, you may get some unpleasant shocks while cleaning. It is also important to make sure that the fan is cool before you begin.
It’s best to wait at least 30 minutes after you unplug it to make sure that the fan is cool enough to handle. Always be mindful of safety first. If you have any doubts, it is always best to contact a professional to help with the cleaning process.
Step 2: Vacuum the Fan Blades and Filter
Using a handheld vacuum cleaner, gently vacuum around the fan blades to remove any dust or debris that may be trapped in the fan. Be sure to get into all of the crevices, as this will help ensure that your window fan is clean and free from dust and dirt.
You can also use a soft-bristled brush or an old toothbrush to remove any stuck dirt particles. Otherwise, you can also use a lint roller for more stubborn debris and dust. Once finished, vacuum the filter if it is still attached to the fan.
Step 3: Clean the Fan Blades with Warm Water
Once you have vacuumed away any dust and debris, it’s time to wipe down the fan blades with warm soapy water. Use a microfiber cloth or sponge dipped in soapy water to gently scrub away any remaining dirt and grime.
If there are stubborn spots, you can use a safe household cleaner like baking soda mixed with water. Be sure to rinse the fan blades off after cleaning them.
Step 4: Clean the Filter
The filter should be cleaned on a regular basis, as it helps keep your window fan operating at its best. To do this, you can either use a vacuum cleaner or hand wash it. If you are hand washing it, make sure to use warm soapy water and let it air dry before putting it back in the window fan. It’s also a good idea to replace the filter every few months. This will help ensure that your window fan is efficient and effective.
Step 5: Disinfect the Fan Blades and Filter
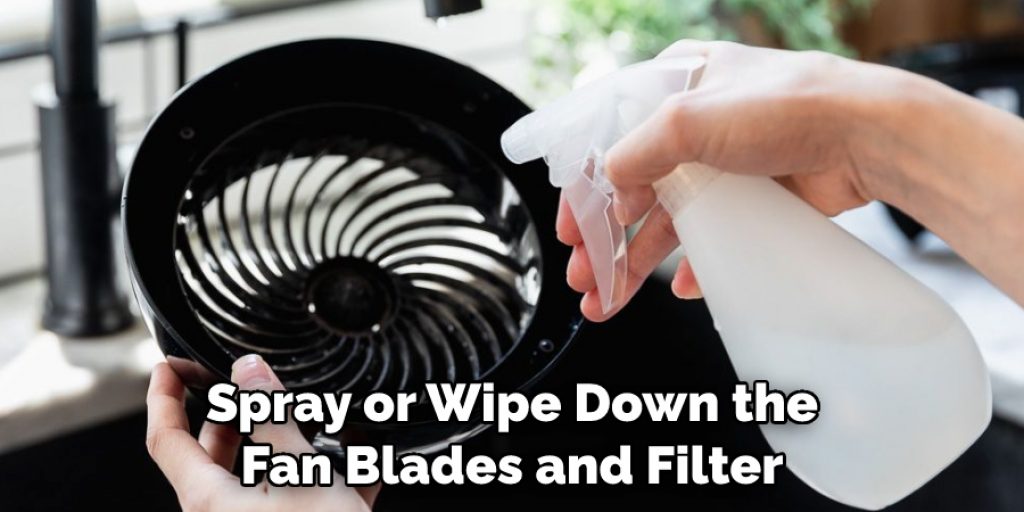
Disinfecting your window fan is another important step in keeping it clean and well-maintained. You can use either an antibacterial spray or wipes to help keep things sanitary, or you can mix together a solution of equal parts water and white vinegar to create a natural disinfectant. Spray or wipe down the fan blades and filter with your chosen cleaning product and let it sit for at least 10 minutes before wiping it off with a clean cloth.
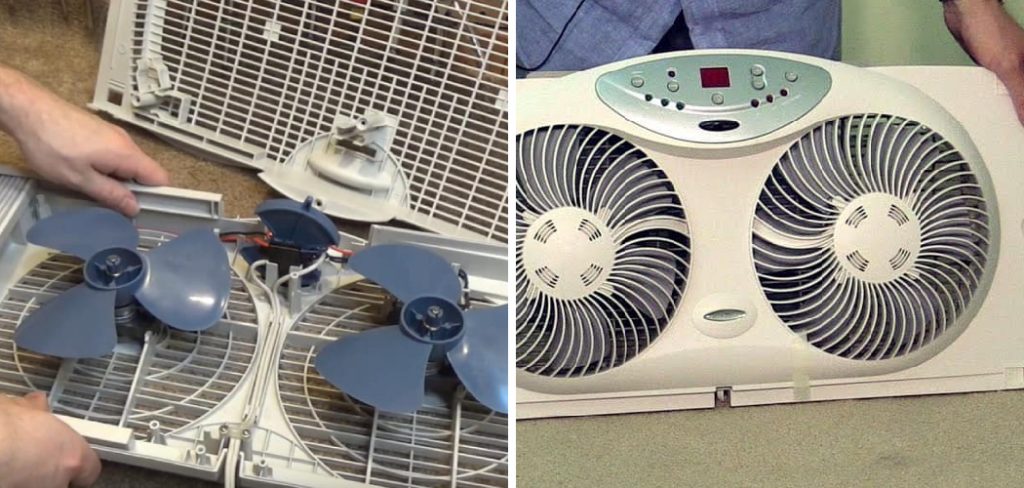
Step 6: Reassemble the Window Fan
Once everything has dried, you can put the window fan back together by reattaching the filter and plugging it in. Make sure to check that all of the screws are tightly secured too! If you notice any weak spots or damaged parts, it’s best to replace them before using the fan again. This will help ensure that your window fan is in top shape and ready to cool down your space. It’s also important to make sure that the fan is on a stable surface, such as a table or dresser.
Step 7: Test Your Fan Out
Now that your window fan is all clean and assembled, it’s time to test it out! Turn on your window fan and make sure that it is functioning properly. If there are any issues or it doesn’t seem to be working correctly, you may need to call a professional for help. It’s best to do this before the summer heat arrives. If all goes well, your window fan should be ready to go! But remember to keep up with regular cleaning and maintenance to help keep it running smoothly.
Step 8: Turn on the Fan and Let it Run
Once you have checked that your window fan is working properly, turn it on and let it run for at least 10 minutes to help circulate any air that may be trapped in the system. This will help prevent dust and dirt from building up and also ensure that your window fan is working at its best. It’s also a good idea to check the fan again periodically throughout the summer to make sure that it is still running smoothly.
Step 9: Monitor Your Window Fan Regularly
Make sure to check your window fan regularly to ensure that it is operating properly and clean any dirt or debris buildup as soon as possible. This will help extend the life of your window fan, so regular maintenance and cleaning are key!
It’s also a good idea to turn off and unplug the fan when it’s not in use. This will help save energy and keep your fan running efficiently. Although cleaning a window fan may seem like a tedious task, it’s well worth the effort for a cooler and more comfortable home.
Step 10: Replace Filters as Needed
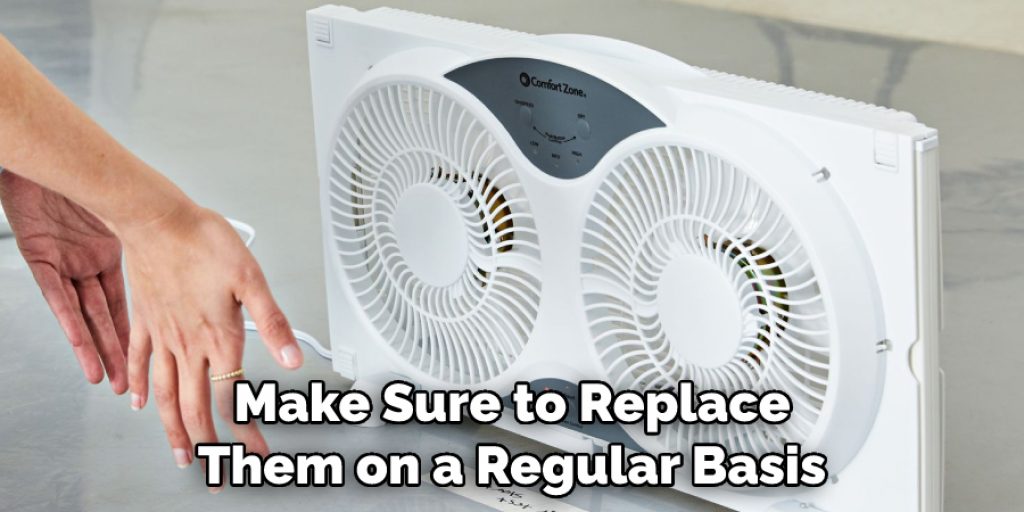
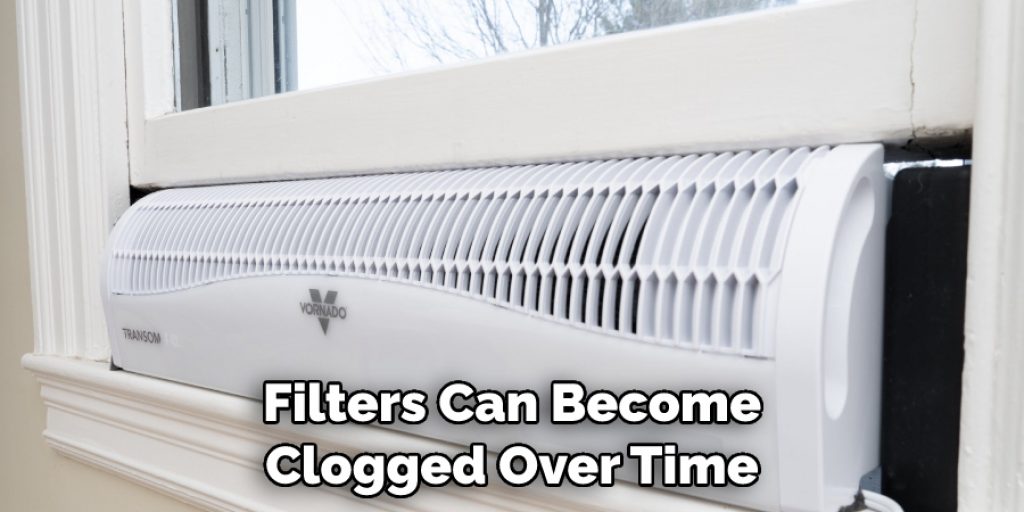
Filters can become clogged over time, so make sure to replace them on a regular basis as needed. This will help ensure that your window fan continues to operate at its optimal level for years to come. If you aren’t sure when the last time your filter was replaced, it’s best to check with the manufacturer for their recommendation on how often it should be done.
Cleaning and maintaining your window fan is an important part of keeping it working correctly and efficiently. Following the steps on how to clean a window fan above will help keep your window fan clean, safe, and running at its best!
Do You Need to Hire a Professional?
If you are not comfortable carrying out any of the steps above yourself, or if your window fan is not in working order after cleaning it, then it might be best to hire a professional for help. A professional will be able to assess the situation and determine what needs to be done in order to get your window fan back up and running. They may also be able to offer advice on how to prevent dirt and debris buildup in the future.
It’s important to take care of your window fan in order to keep it running properly and efficiently. Cleaning and maintaining your window fan on a regular basis is the best way to ensure that it stays in top shape for years to come!
Frequently Asked Questions
Q: How Often Should I Clean My Window Fan?
A: It is recommended to clean your window fan at least once a month or more depending on how often you use it. If you use it frequently, then cleaning it more often may be beneficial.
Q: What Kind of Cleaner Should I Use to Clean My Window Fan?
A: You can use warm water and mild soap, an antibacterial spray or wipes, or a natural disinfectant made from equal parts water and white vinegar when cleaning your window fan.
Q: Should I Replace the Filter Regularly?
A: Yes, filters can become clogged over time so it’s important to replace them regularly to keep your window fan running at its optimal level.
Conclusion
Thanks for reading this article on how to clean a window fan. Cleaning a window fan is an easy task that can keep your fan running better for longer. It’s important to be mindful of the type of materials you use and to practice standard safety precautions like unplugging before cleaning.
Cleaning regularly can help ensure that your window fan runs smoothly and efficiently all season, so now that you have the knowledge and tools needed, get started on your next cleaning session! With a little bit of effort, you will find keeping your window fan clean and in good condition is well worth the time it takes.
Now that your window fan is back in perfect condition, bask in the cool air it provides – this is sure to be a reward more than worth any work put into the process.
Angela Ervin
Angela is the executive editor of DIY quickly. She began her career as an interior designer before applying her strategic and creative passion to lifestyle and home. She has close to 15 years of experience in creative writing and online content strategy for housekeeping, home decorations as well as other niche efforts. She loves her job and has the privilege of working with an extraordinary team. She lives with her husband, two sons, and daughter in Petersburg. When she's not busy working she spent time with her family.