How to Wire a Ceiling Fan to a Wall Switch
Wiring a ceiling fan to a wall switch is essential for both safety and convenience. It allows you to easily control the fan’s speed and lighting without having to get up from your comfortable spot. Additionally, wiring the ceiling fan to a wall switch can also help reduce energy consumption by allowing you to turn off the fan when it’s not in use.
Ceiling fans are a popular addition to many homes, providing both decorative and functional benefits. They can help circulate air, cool down a room, and even save energy costs by reducing the need for air conditioning. However, controlling a ceiling fan often requires getting up from your comfortable spot on the couch or bed to manually adjust the speed or turn it off. In this blog post, You will learn in detail how to wire a ceiling fan to a wall switch.

Tools You Will Need
- Ceiling fan with light fixture
- Wall switch
- Wire strippers
- Screwdriver
- Voltage tester
- Ladder or step stool
- Electrical tape
- Wire nuts
- Pliers (if needed)
Step by Step Processes for How to Wire a Ceiling Fan to a Wall Switch
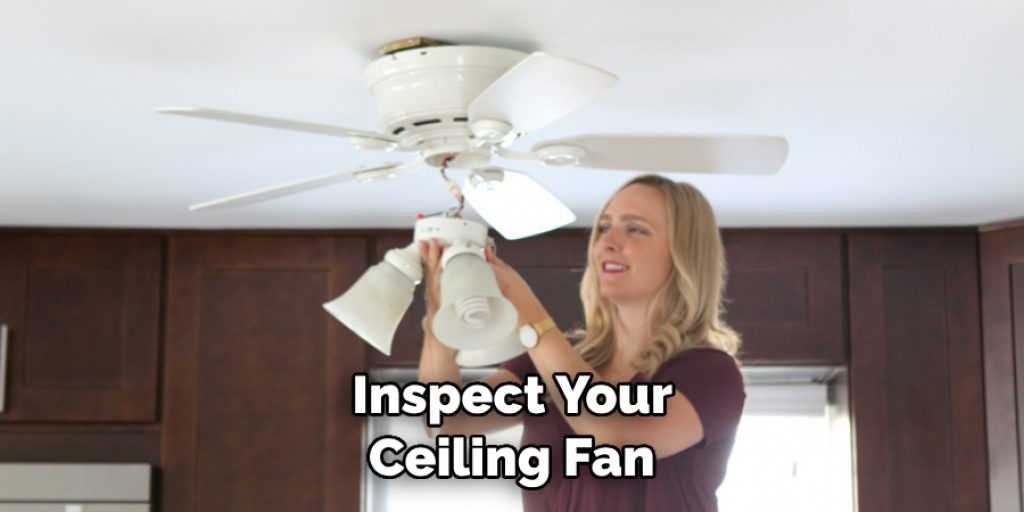
Step 1: Inspect your Ceiling Fan
Before starting the wiring process, it is essential to inspect your ceiling fan to ensure that all its parts are in good condition. Check for any damages or broken pieces that may cause issues during the installation.
Step 2: Gather your Tools and Materials
To complete this task successfully, you will need a few tools and materials such as wire strippers, pliers, wire nuts, electrical tape, and a ladder. Make sure to have everything you need before starting the wiring process.
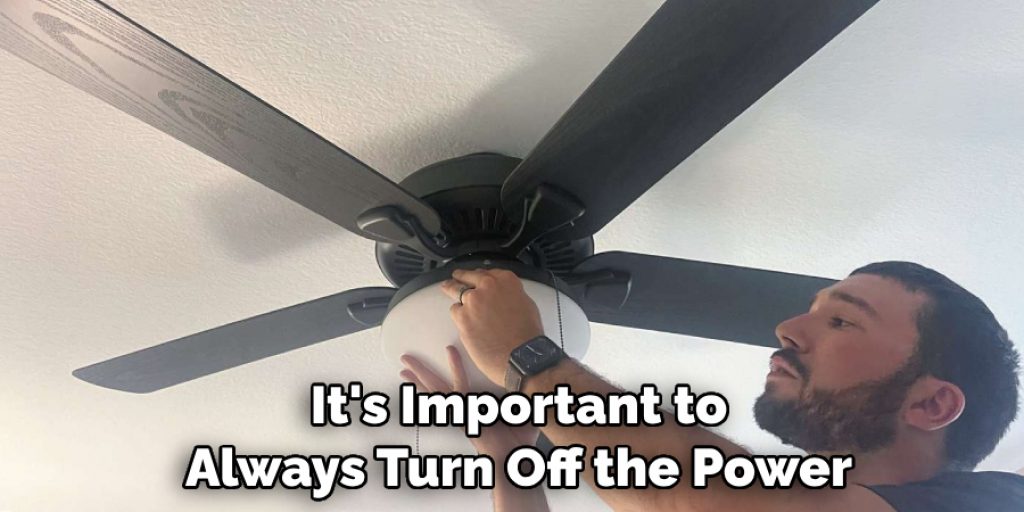
Step 3: Turn off the Power
Before handling any electrical work, make sure to turn off the power at the circuit breaker or fuse box. This step is crucial for your safety and to avoid any accidents while handling live wires. Most modern ceiling fans come with color-coded wires for easier identification. However, if your fan does not have this feature, you can use a voltage tester to identify the hot (black), neutral (white), and ground (green) wires.
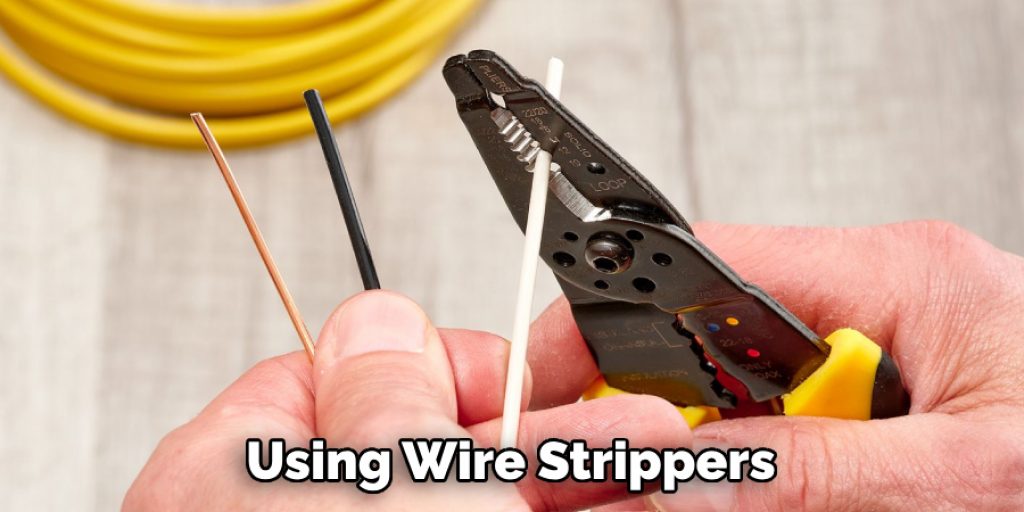
Step 4: Prepare the Wires
Using wire strippers, strip off about half an inch of insulation from the end of each wire. Make sure to twist the exposed wires to prevent any fraying. Attach the mounting bracket securely onto the ceiling joist using screws. This is where you will hang your fan motor.
Step 5: Connect the Wires
Using wire nuts, connect the black (hot) wires together and the white (neutral) wires together. The green (ground) wire should be connected to the grounding screw on the mounting bracket. Attach the fan motor onto the mounting bracket using screws. Make sure it is securely in place.
Step 6: Install the Ceiling Fan Blades
Follow the manufacturer’s instructions to attach the ceiling fan blades onto the motor. Make sure they are evenly spaced and balanced. Turn the power back on at the circuit breaker or fuse box and test your fan to ensure it is working properly. If everything is in order, you have successfully wired your ceiling fan to a wall switch.
By following these step by step processes, you can easily wire a ceiling fan to a wall switch and enjoy the benefits of having control over your fan’s settings from one convenient location. Remember to always prioritize safety and consult a professional if you have any doubts or concerns.
Safety Precautions for How to Wire a Ceiling Fan to a Wall Switch
- Before starting any electrical work, make sure to turn off the power to the room or area where you will be working.
- Always read and follow the instructions provided with your ceiling fan and wall switch.
- Use a voltage tester to ensure that there is no live electricity in the wires before touching them.
- Use proper tools and equipment while wiring a ceiling fan, such as wire cutters, wire strippers, and screwdrivers.
- Do not attempt to wire a ceiling fan if you are not confident in your abilities. It is always better to hire a professional electrician for more complex wiring tasks.
- Make sure all wires are properly connected and secure before turning the power back on.
- Regularly check your ceiling fan and wall switch for any signs of damage or wear, and make repairs or replacements as needed.
By following these safety precautions, you can ensure a safe and successful wiring process for your ceiling fan to a wall switch. Remember to always prioritize safety when working with electricity.
How Do You Properly Secure and Mount the Ceiling Fan to Ensure Safety and Stability?
When installing a ceiling fan, it is important to properly secure and mount it to ensure the safety of both the fan and anyone underneath it. Here are some guidelines for securing and mounting a ceiling fan:
- Choose the right type of mount for your ceiling fan. This can include a standard mount, sloped mount, or flush mount depending on the angle and height of your ceiling.
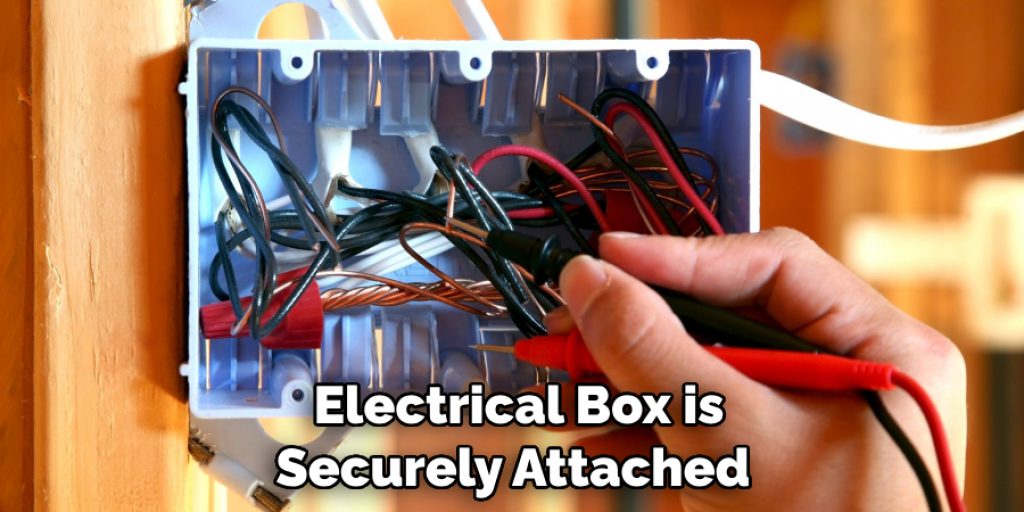
- Make sure the electrical box is securely attached to a ceiling joist or support bracket. This will provide a strong and stable foundation for your ceiling fan.
- Use appropriate hardware, such as screws and bolts, to secure the mounting bracket to the electrical box.
- Double check that all screws and connections are tight and secure before attaching the fan blades.
- If installing a heavier fan, consider using a ceiling fan hanger or brace to provide extra support and stability.
- Once the fan is mounted, test it by gently pulling on each blade to make sure it is securely attached.
- Regularly check and tighten any screws or bolts as needed to maintain the stability of your ceiling fan.
By properly securing and mounting your ceiling fan, you can ensure its safety and stability for years to come. Always refer to the manufacturer’s instructions for specific installation guidelines for your particular ceiling fan model.
Is There Any Risk Involved in Wiring a Ceiling Fan Yourself, or Should You Hire a Professional Electrician?
If you are considering wiring a ceiling fan to a wall switch yourself, it is important to understand the potential risks involved. While it may seem like a simple task, electrical work can be dangerous and should not be taken lightly. First and foremost, if you do not have experience or knowledge in electrical work, it is highly recommended that you hire a professional electrician. They have the necessary training and expertise to safely handle wiring tasks.
If you do choose to wire a ceiling fan yourself, be sure to turn off the power at the circuit breaker before beginning any work. Failure to do so could result in electric shock or other serious injuries. It is also important to use caution when handling wires and making connections. Improperly connecting wires can cause electrical fires or damage to your fan. Be sure to consult the manufacturer’s instructions and follow them carefully.
What Are Some Common Mistakes to Avoid When Wiring a Ceiling Fan to a Wall Switch?
Wiring a ceiling fan to a wall switch is not as complicated as it may seem, but there are still some common mistakes that people make when attempting this DIY project. In order to ensure a safe and efficient installation, it’s important to be aware of these potential pitfalls. So, let’s take a look at some common mistakes you should avoid when wiring a ceiling fan to a wall switch.
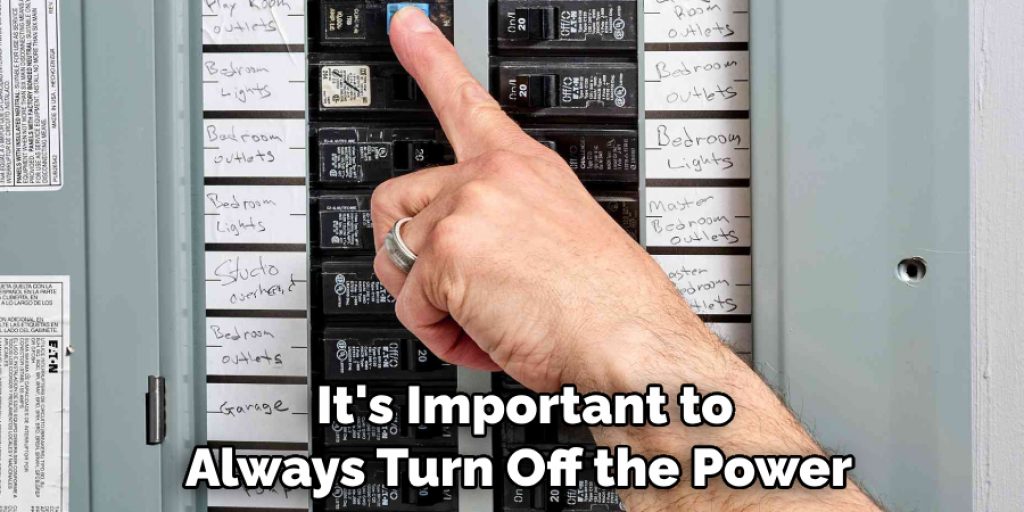
1. Not Turning off the Power
This may seem obvious, but it’s important to always turn off the power before beginning any electrical work. Many people make the mistake of assuming that flipping the light switch off is enough, but this only cuts off the current to the fan’s light fixture. You must also turn off the circuit breaker that supplies power to the fan.
2. Not Checking the Amperage
It’s crucial to make sure that the wall switch and wiring can handle the amperage of the ceiling fan. Most fans require a 15- or 20-amp circuit, but it’s always best to check the manufacturer’s specifications before beginning installation.
3. Using Incorrect Wire Connections
The wires coming from the ceiling fan must be connected to the correct wires in the wall switch box. Many people make the mistake of connecting all black wires together and all white wires together, but this can lead to a dangerous situation. Always follow the wiring diagram provided by the manufacturer.
4. Overlooking Proper Grounding
This is another important safety measure that is often overlooked when wiring a ceiling fan to a wall switch. The grounding wire must be connected to the grounding screw in both the fan and the wall switch box.
5. Not Securing Wires Properly
It’s crucial to secure all wires with wire nuts and electrical tape, as loose or exposed wires can lead to short circuits and potential fire hazards.
6. Using Incorrect Tools
When working with electricity, it’s important to use the correct tools for the job. Using improper tools can result in damaged wires and a faulty installation.
7. Not Testing Before Finishing
Before completing the installation, it’s important to test the fan and wall switch to ensure everything is working properly. This will allow you to catch any mistakes or issues before they become bigger problems.
By avoiding these common mistakes, you can ensure a safe and successful wiring of your ceiling fan to a wall switch. Remember, if you are unsure about any step in the process, it’s always best to consult a licensed electrician for assistance.
Conclusion
In conclusion, wiring a ceiling fan to a wall switch is a simple and straightforward process that can be completed by anyone with some basic electrical knowledge. By following the steps outlined in this blog, you can easily and safely install your own ceiling fan and enjoy its cooling benefits.
One important thing to keep in mind when wiring a ceiling fan to a wall switch is to always turn off the power at the circuit breaker before beginning any electrical work. This will ensure your safety and prevent any accidents from occurring. I hope reading this post has helped you learn how to wire a ceiling fan to a wall switch. Make sure the safety precautions are carried out in the order listed.
Angela Ervin
Angela is the executive editor of DIY quickly. She began her career as an interior designer before applying her strategic and creative passion to lifestyle and home. She has close to 15 years of experience in creative writing and online content strategy for housekeeping, home decorations as well as other niche efforts. She loves her job and has the privilege of working with an extraordinary team. She lives with her husband, two sons, and daughter in Petersburg. When she's not busy working she spent time with her family.