How to Remove Carpet from Hardwood Floor
When it’s time for a change in interior design or flooring preferences, removing carpet from a hardwood floor can rejuvenate a space and reveal the natural beauty lying beneath. The task may seem daunting, as carpets are often securely attached, but with the right guidance and approach, the process can be smooth and straightforward. In this comprehensive guide, we will walk you through the steps of how to remove carpet from hardwood floor.
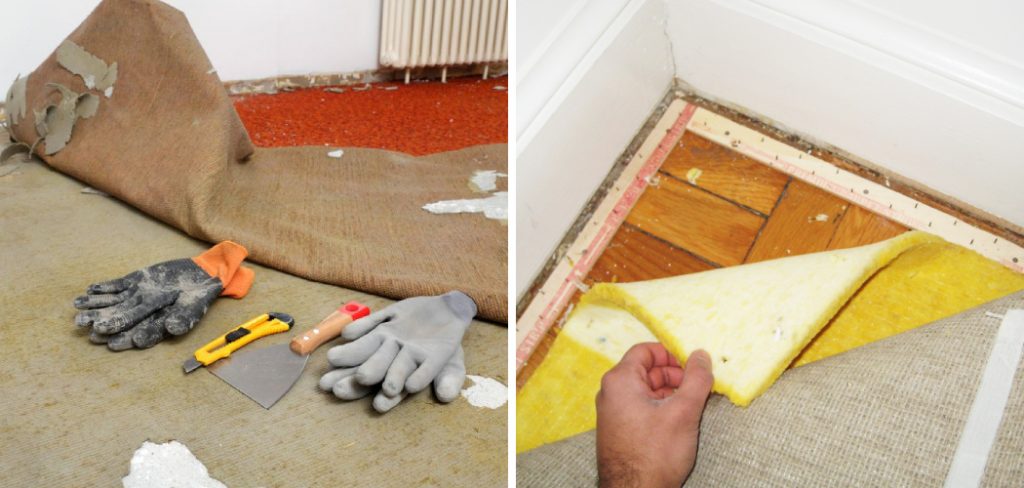
From gathering the necessary tools to tackling any challenges that may arise during removal, we’ll cover it all. By the end of this guide, you’ll have the knowledge and confidence to restore your hardwood floor to its original glory, unlocking the potential for a fresh and appealing look in your living space.
Reasons for Removing Carpet from Hardwood Floors
In this section, we will discuss some of the most common reasons for removing carpet from hardwood floors.
- Restoration: One of the main reasons for removing carpet from hardwood floors is to restore their natural beauty. Over time, carpets can become worn and stained, making them look dull and unappealing. By removing the carpet, you can reveal the original hardwood floor underneath and give it a new lease on life.
- Allergies: Carpets can harbor dust, dirt, and allergens, making them a potential health hazard for people with allergies or respiratory issues. If you or someone in your household suffers from allergies, removing the carpet can improve the indoor air quality and make the space more comfortable to live in.
- Damage: Another reason for removing carpet from hardwood floors is to repair any damage that may have occurred. This could include water damage, stains, or scratches on the floor. By removing the carpet, you can assess the extent of the damage and take measures to restore or replace the affected areas.
- Style Preference: Some people simply prefer the look and feel of hardwood floors over carpets. By removing the carpet, you can customize the space to your personal style and aesthetic preferences. Hardwood floors also tend to be more timeless and versatile, making them a popular choice for many homeowners.
- Pet-friendly: Carpets can be difficult to maintain with pets in the household, as they tend to trap pet hair and odors. By removing the carpet and opting for hardwood floors, you can make the space more pet-friendly and easier to clean.
Identifying the Type of Carpet and Its Installation Method
When it comes to removing carpet from a hardwood floor, the first step is to identify the type of carpet and its installation method. This information will be crucial in determining the best approach for removal.
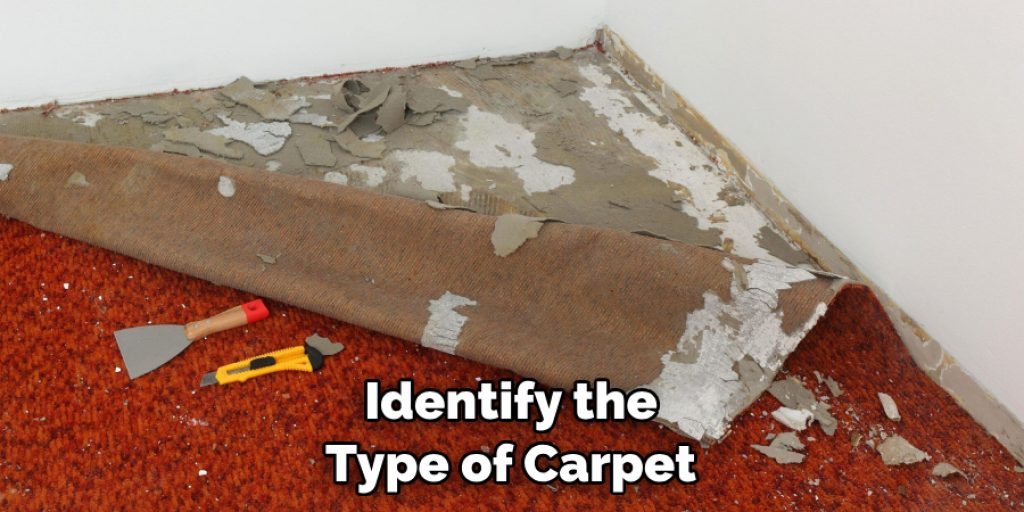
There are several types of carpet, including wall-to-wall, glued-down, and stretch-in carpets. Wall-to-wall carpets cover an entire room and are usually installed with tack strips along the edges. Glued-down carpets are attached directly to the floor with adhesive, while stretch-in carpets are secured by tucking and stretching them over tack strips.
To determine the type of carpet you have, inspect the edges and corners of the room. If you see tack strips, it is likely a wall-to-wall carpet. Glued-down carpets will have visible glue residue on the floor, and stretch-in carpets will have loose edges that can be pulled away from the wall easily. Although it may be tempting to skip this step and start removing the carpet right away, knowing the type of carpet and its installation method will save you time and effort in the long run.
Examining the Condition of the Hardwood Floor Beneath the Carpet
When removing carpet from a hardwood floor, it is important to carefully examine the condition of the wood beneath. This will give you an idea of how much work and restoration will be needed once the carpet is removed.
Begin by inspecting the edges of the room where the carpet meets the walls. Use a pry bar or pliers to lift up a corner of the carpet and padding. This will give you a glimpse of the condition of the wood underneath.
Look for any signs of damage, such as scratches, stains, or discoloration. This could indicate that the hardwood floor is in need of repair or refinishing.
In addition, check for any areas where the carpet was glued down. Removing glued-down carpet can be more difficult and may require extra care to avoid damaging the wood underneath.
10 Methods How to Remove Carpet from Hardwood Floor
1. Pull Up the Carpet
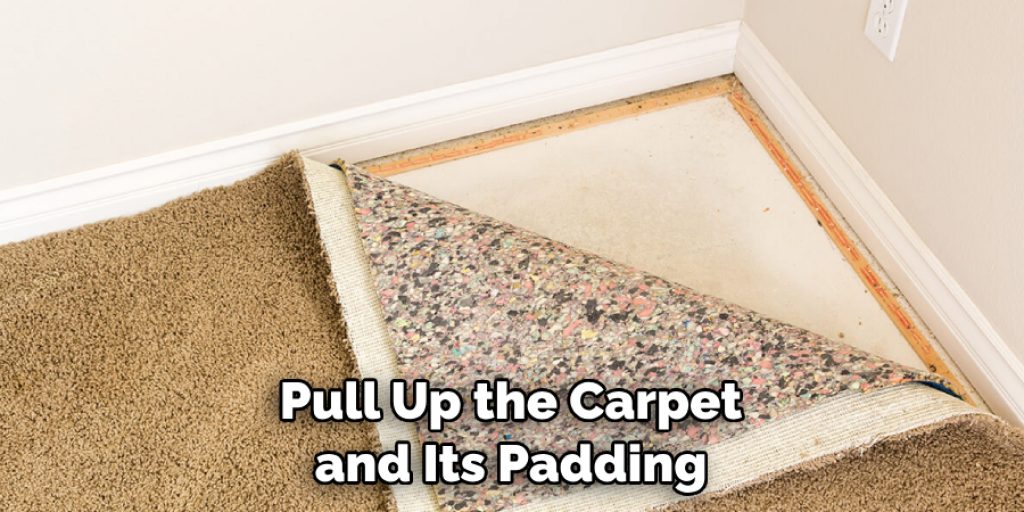
The first step in removing carpet from hardwood floors is to pull up the carpet and its padding. This can be done by hand, but it may be easier to use a utility knife or other sharp tool to cut the carpet and padd it into small sections that can then be pulled up more easily. It is important to be careful when using a sharp tool so as not to damage the underlying hardwood floor.
2. Vacuum the Floor
Once all of the carpet and padding have been removed, it is important to vacuum the floor thoroughly in order to remove any dirt, dust, or debris that may have accumulated underneath. This will help ensure that no particles remain on the surface of the hardwood floor once it has been exposed.
3. Apply Adhesive Remover
If there is any adhesive residue left on the hardwood floor after pulling up the carpet, it will need to be removed before continuing with the process. There are many different types of adhesive removers available on the market, so it is important to choose one that is specifically designed for use on hardwood floors.
4. Scrape Away Residue
Once an adhesive remover has been applied, it will need to be scraped away with a putty knife or other suitable tool in order to remove any remaining residue from the surface of the hardwood flooring. It may take some time and effort in order to get rid of all of the residue, but this step is necessary in order for the flooring to look its best once it has been exposed again.
5. Sand Down Any Imperfections
After scraping away any remaining residue from the surface of the hardwood flooring, it may be necessary to sand down any imperfections that are present in order for them to blend into surrounding areas more seamlessly. An orbital sander should be used for this step as it will provide an even finish without causing too much damage or wear and tear on delicate wood surfaces.
6. Clean Thoroughly
Before applying any type of sealant or finish onto newly exposed hardwood floors, they must first be cleaned thoroughly in order to remove any remaining dirt or debris that may have accumulated during previous steps in this process.
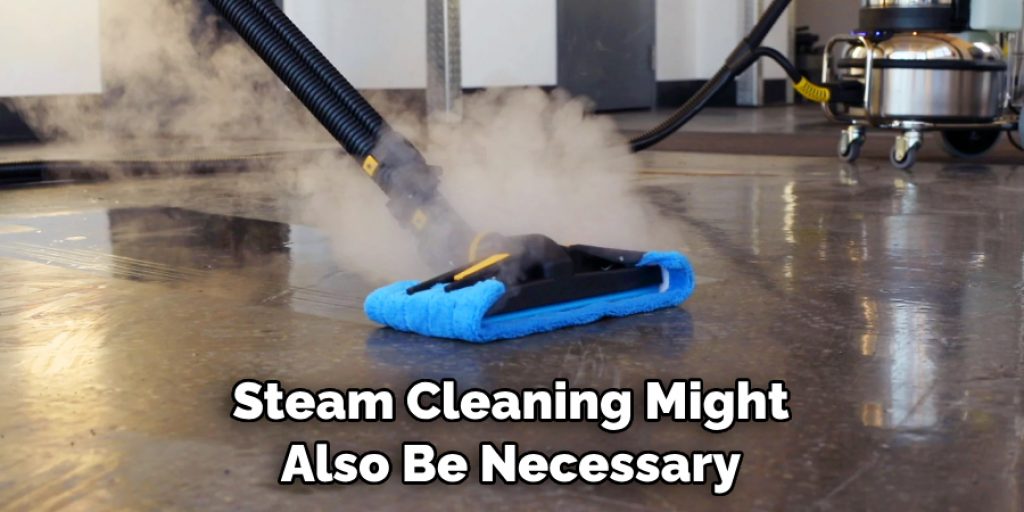
A damp mop should do a sufficient job at removing most dirt and grime from these surfaces; however, steam cleaning might also be necessary if there are particularly stubborn stains present that refuse to come off with a regular mop alone.
7. Apply Sealant/Finish
Once all of these steps have been completed and all dirt and debris have been removed from newly exposed hardwood floors, a sealant or finish should then be applied in order to protect them against future damage caused by moisture or wear and tear over time.
There are many different types of sealants and finishes available on today’s market; therefore, it is important for homeowners to research their options carefully before making a final decision about which product would best suit their needs and budget constraints accordingly.
8. Reinstall Baseboards/Trimwork
Once all steps related directly to removing carpets from hardwood floors have been completed (i .e . , pulling up carpets/padding, vacuuming, scraping away adhesive residue, sanding down imperfections, cleaning thoroughly, applying sealant/finish ), baseboards/trim work must then be reinstalled around edges of the room(s) where carpets were previously located.
This will help give room(s) a finished look while also protecting newly exposed edges of wood floors from potential damage caused by water seeping through gaps between walls & floors
9. Add Furniture Back Into Room(s)
After baseboards/trim work have been reinstalled around the edges of the room(s) where carpets were previously located, furniture can then begin being added back into the room(s) until the desired layout has been achieved.
It is important not to place furniture directly onto recently exposed areas of wood floors until sealant/finish has had ample time (i.e.. 24 – 48 hours )to dry completely; otherwise, furniture could inadvertently cause marks/scratches onto unfinished surfaces, which would require additional sanding & refinishing work prior being able fix issue completely.
10. Enjoy Newly Exposed Hardwood Floors
After following each step outlined above (i.e. pulling up carpets/padding, vacuuming, scraping away adhesive residue, sanding down imperfections, cleaning thoroughly, applying sealant/finish ) & adding furniture back into the room(s), homeowners can finally sit back & enjoy newly exposed hardwood floors, which have been restored to their original beauty & charm.

Conclusion
Removing carpets from hardwood floors can seem like an intimidating process, but it doesn’t have to be. With the right tools and preparation, you can remove your carpet quickly and efficiently. It takes a bit of time to gather all the necessary materials and prepare your work area for the project, but once everything is ready it is quite straightforward to complete.
Make sure you research which method works best for your situation and follow all safety protocols to avoid accidents or injury. Always wear protective equipment such as gloves, glasses, and a dust mask when handling chemicals.
With a little care and patience, you can have your carpets removed in no time at all allowing you to enjoy the beauty of your original hardwood flooring. So don’t wait – get started with how to remove carpet from hardwood floor today!

