How to Pull Up Vinyl Plank Flooring
Are you looking to do a DIY vinyl plank flooring installation in your home? Pulling up old ceramic and linoleum to create new hardwood or laminate floors can be a rewarding experience, but it’s important that you know what steps to take.
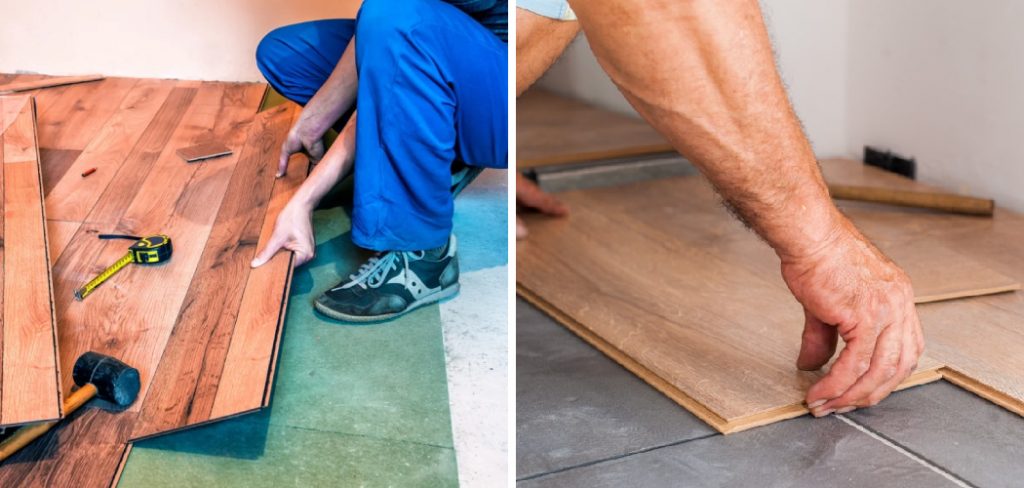
In this blog post on how to pull up vinyl plank flooring, I’m going to talk about the process of removing nails, tearing up old planks, and getting the job done quickly. By following easy instructions we’ll have your space back on track in no time! So if you’re ready for some new floorboards, let’s get started.
10 Step-by-step Guidelines on How to Pull Up Vinyl Plank Flooring
Step 1: Gather Your Tools
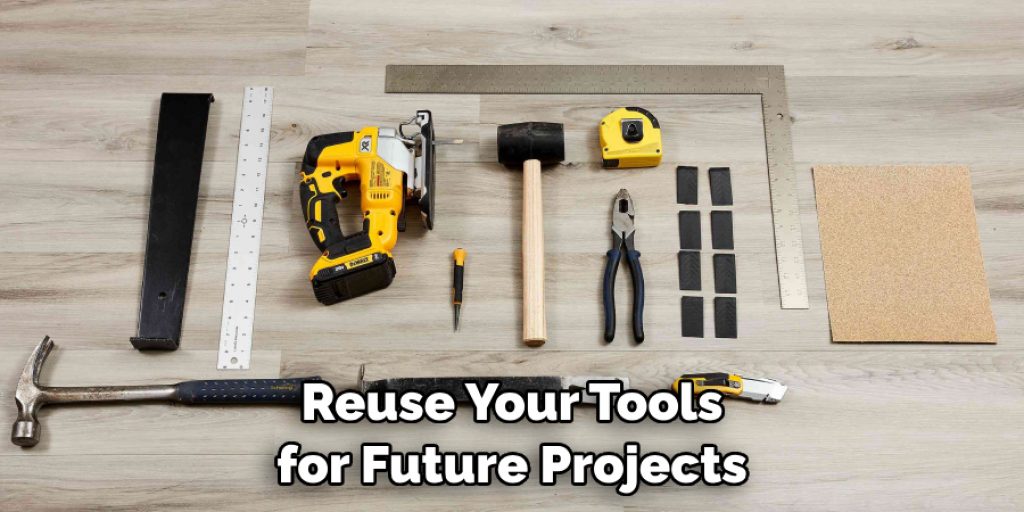
Before you start pulling up your vinyl plank flooring, make sure you have all the necessary tools handy. You will need:
- A pry bar
- Utility knife
- Hammer
- Crowbar (optional)
- Dust mask and gloves for safety
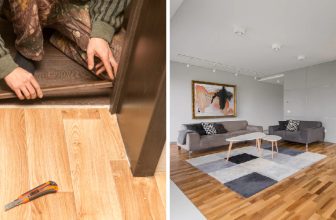
Step 2: Prepare the Area
Clear out any furniture or objects in the room to give yourself space to work. It’s also a good idea to lay down drop cloths or tarps to protect your subfloor from any damage. It’s important to note that vinyl plank flooring can contain asbestos, so you may want to have it tested before beginning the removal process. But if your flooring is newer, it’s unlikely to contain asbestos. You can also wear a dust mask as an extra precaution.
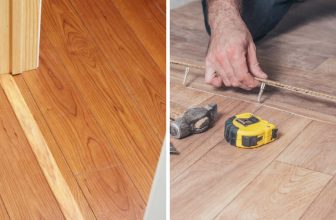
Step 3: Start Removing Baseboards and Trim
Using your pry bar or crowbar, gently remove any baseboards and trim around the edges of the room. This will make it easier to pull up the vinyl planks without damaging them. It’s best to start in a corner and work your way around the room. But be careful not to damage the walls or floors underneath.
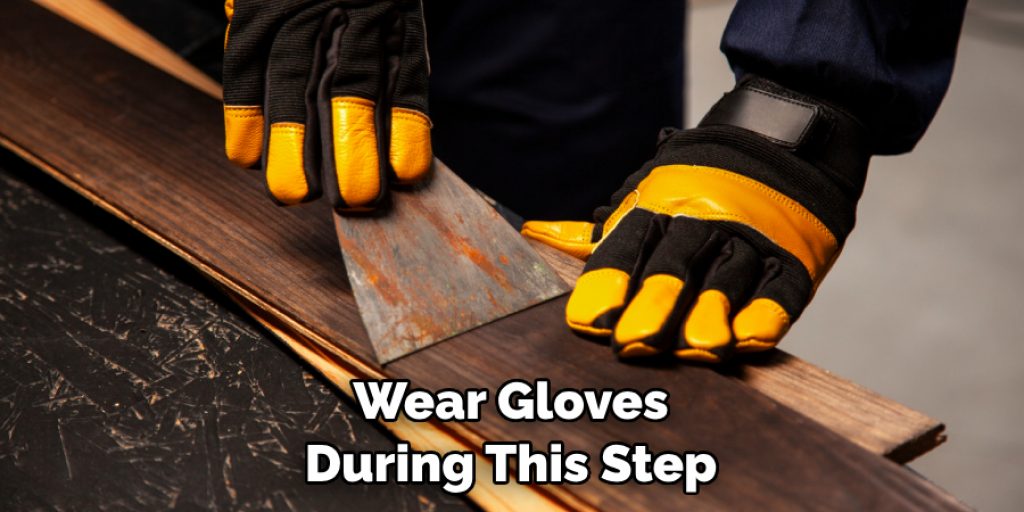
It may also be helpful to label the baseboards and trim pieces for easy reinstallation later. But if you’re not planning on reusing them, you can discard them. It’s also a good idea to wear gloves during this step to avoid any splinters. This is an optional step, but it can make the process smoother.
Step 4: Score the Vinyl
Using a utility knife, score the vinyl plank flooring along the seams to make it easier to remove. This will also help prevent damage to the subfloor. It’s important to score only the top layer of vinyl and not cut into the subfloor. It may also be helpful to score the planks multiple times to ensure easy removal.
This step can also be done before removing the baseboards and trim. You can use the pry bar or a hammer to gently lift up the scored edges. You can also use the pry bar to separate any adhesive holding down the planks.
Step 5: Pry Up Planks
Starting at one corner of the room, use your pry bar or crowbar to gently lift up a plank. Once you have a good grip, pull up the plank at a 45-degree angle. If you encounter any difficulty, use your hammer to lightly tap the pry bar for added leverage. It’s important to go slow and steady to avoid damaging the subfloor or other planks.
You can also use this method to remove any stubborn adhesive residue left on the subfloor. It’s also important to note that some vinyl planks may be interlocked, so you may need to lift and twist them to disconnect them.
Step 6: Remove Nails or Staples
Once you’ve pulled up a few planks, you may come across nails or staples that were used to secure the flooring. Use your hammer and pry bar to remove them carefully, being mindful not to damage the subfloor. This step may not be necessary if your vinyl planks were glued down instead of nailed or stapled.
You can also use pliers to pull up any remaining staples or nails after using the pry bar. But be careful not to leave any behind, as they can cause problems when laying down new flooring.
Step 7: Continue Pulling Up Planks
Continue pulling up planks until you reach a wall or another obstacle. If there are any stubborn pieces that won’t come up, use your utility knife to score around them and then try again with the pry bar. It’s important to work slowly and carefully to avoid any damage.

If you come across any damaged or broken planks, you can use a putty knife to scrape off the remaining pieces. You may also need to remove any adhesive residue on the subfloor before moving on. You can use a scraper or sandpaper for this step.
Step 8: Dispose of Old Flooring
Once all the planks are removed, carefully dispose of them in a designated trash bin or bag. If you encounter any flooring that contains asbestos, be sure to follow proper disposal guidelines. But if your vinyl plank flooring is newer, you can dispose of it in a regular trash bin. Be sure to also clean up any debris or dust left behind.
It’s important to dispose of old flooring properly to avoid potential health hazards. It’s also a good idea to vacuum or sweep the subfloor to remove any remaining debris.
Step 9: Clean and Inspect the Subfloor
With all the vinyl planks removed, take some time to clean and inspect your subfloor. Remove any remaining staples or debris, and make sure the surface is smooth and free of damage. You can also use a vacuum or mop to clean up any dust or dirt. It’s important to have a clean and level subfloor before installing new flooring.
It’s also a good idea to inspect the subfloor for any potential problems, such as mold or water damage. If any issues are found, be sure to address them before proceeding.
Step 10: Dispose of Tools and Materials
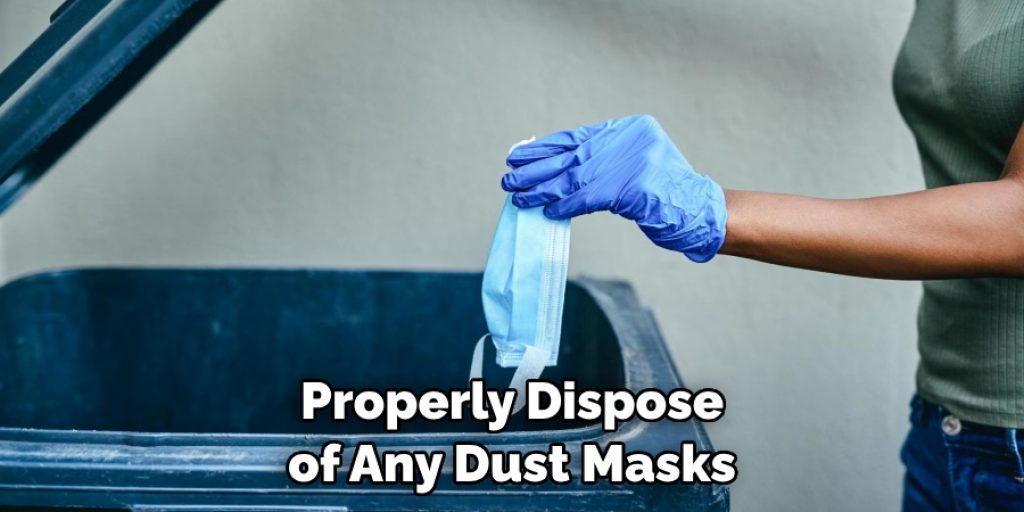
Properly dispose of all your tools and materials used during the removal process. Be sure to clean them off and store them safely for future projects. Always follow proper disposal guidelines for any potentially hazardous materials, such as asbestos. It’s also a good idea to properly dispose of any dust masks or gloves used during the process.
By following these step-by-step guidelines on how to pull up vinyl plank flooring, you can successfully pull up vinyl plank flooring in your home. With a little bit of time and effort, you can have a beautiful new floor without having to hire professionals.
Just remember to stay safe, follow proper disposal guidelines for any hazardous materials, and take your time to ensure a job well done. Happy DIY-ing! So, if you’re ready to tackle this project, gather your tools and let’s get started!
Additional Tips
- If You’re Having Trouble Removing the Planks, Try Using a Hairdryer or Heat Gun to Soften the Adhesive and Make It Easier to Pry Up.
- Be Sure to Wear Protective Gear, Such as a Dust Mask and Gloves, When Working With Any Potentially Hazardous Materials Like Vinyl Plank Flooring.
- It’s Always a Good Idea to Test for Asbestos Before Beginning Any Flooring Removal Project. If Asbestos is Present, It’s Best to Hire Professionals for Safe Removal.
- Take Your Time and Work Carefully to Avoid Damaging the Subfloor or Surrounding Walls During the Removal Process.
- Once You’ve Removed All the Planks, Take Some Time to Let the Subfloor Air Out and Dry Before Installing New Flooring.
- Consider Donating Any Gently Used Vinyl Plank Flooring to a Local Habitat for Humanity or Other Charity Organization. This Can Be a Great Way to Give Back to Your Community and Reduce Waste.
- Don’t Forget to Properly Dispose of Any Materials That May Contain Hazardous Substances, Such as Asbestos, in Accordance With Local Regulations.
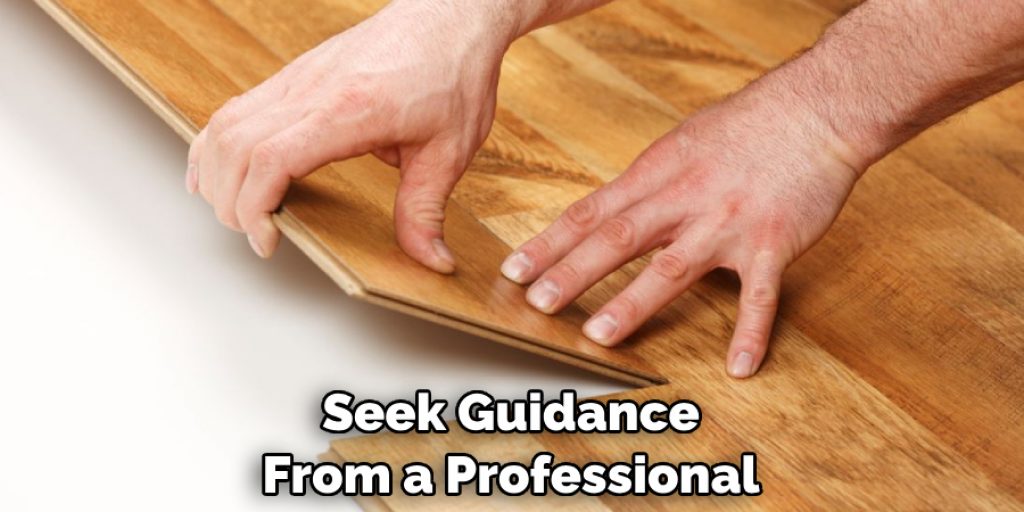
- If You’re Unsure About Any Part of the Process, Don’t Hesitate to Seek Guidance From a Professional or Refer to the Manufacturer’s Instructions for Your Specific Type of Vinyl Plank Flooring.
Frequently Asked Questions
Q1: Is It Necessary to Remove Baseboards and Trim Before Pulling Up Vinyl Plank Flooring?
A1: While it is not necessary, removing baseboards and trim can make the removal process easier and prevent damage to the planks. If you are planning on replacing your baseboards and trim, it may be best to remove them before pulling up the vinyl plank flooring.
Q2: Can I Reuse Vinyl Plank Flooring After Removing It?
A2: In most cases, vinyl plank flooring cannot be reused after removal as the adhesive used during installation can damage the planks. It’s also important to note that vinyl plank flooring can contain asbestos, so it’s best to dispose of it properly.
Q3: Can I Pull Up Vinyl Plank Flooring By Myself?
A3: While pulling up vinyl plank flooring can be a DIY project, it’s always recommended to have someone help you. This will make the process easier and safer, especially when removing heavy furniture or appliances from the room. Additionally, if you encounter any difficulties during the process, having a second set of hands can be helpful. So consider enlisting a friend or family member to help you with this project.
Q4: Can I Reuse the Tools Used for Removing Vinyl Plank Flooring?
A4: Yes, you can reuse your tools for future projects after properly cleaning and storing them. Just be sure to inspect them for any damage before using them again. It’s also a good idea to replace any tools that may have been damaged during the removal process.
Conclusion
Pulling up vinyl plank flooring may seem daunting, but with a little patience and the right supplies, anyone can pull up their old vinyl plank flooring with ease. This same technique can also be used to easily remove hardwood, laminate, and luxury vinyl tile flooring. When all is said and done, you will have a beautiful new look in your space that you can be proud of.
One thing to keep in mind when replacing your flooring is the amount of dust this project creates. Be sure to turn off power outlets before beginning and cover furniture with plastic sheeting if present.
Once you’re ready to tackle the project, ensure that all materials needed are purchased ahead of time so you don’t need to worry about finding them as you move through the process. With these few tips in mind, any property owner can improve their home’s look by following our easy tips for removing vinyl plank flooring! Thanks for reading this article on how to pull up vinyl plank flooring.
Angela Ervin
Angela is the executive editor of DIY quickly. She began her career as an interior designer before applying her strategic and creative passion to lifestyle and home. She has close to 15 years of experience in creative writing and online content strategy for housekeeping, home decorations as well as other niche efforts. She loves her job and has the privilege of working with an extraordinary team. She lives with her husband, two sons, and daughter in Petersburg. When she's not busy working she spent time with her family.