How to Fix Ceiling Tiles
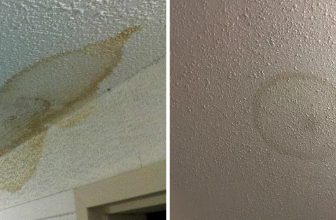
Ceiling tiles are an important element in any building, whether it be a residential or commercial space. They not only provide insulation and help with soundproofing, but they also add aesthetic appeal to the room. However, over time, ceiling tiles can become damaged or worn out due to various reasons such as water leaks, mold growth, or simply age.
Ceiling tiles are an important part of any interior design, providing both functional and aesthetic benefits to a space. However, over time ceiling tiles may become damaged or dislodged due to various factors such as age, moisture or improper installation. In these instances, it is necessary to fix or replace the affected ceiling tiles in order to maintain the integrity and appearance of the space. Read this blog post to learn how to fix ceiling tiles.
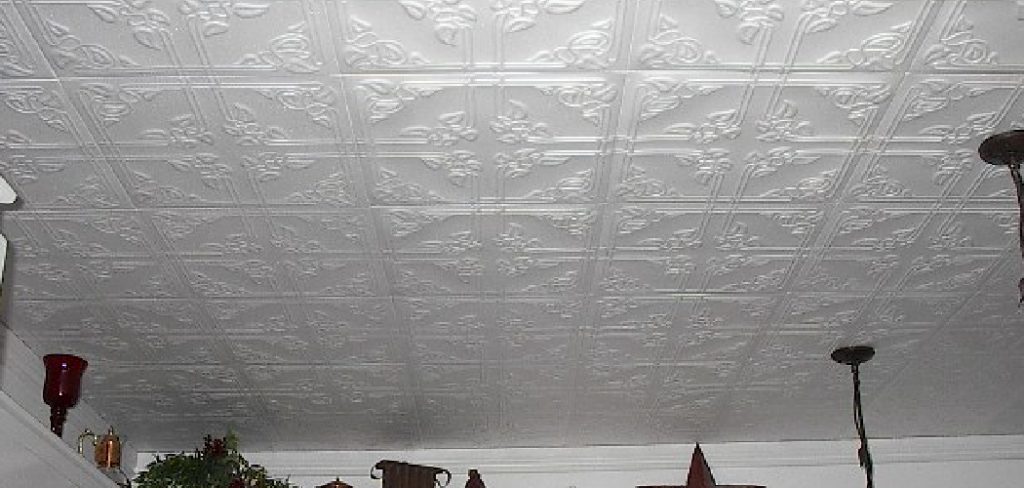
Tools You Will Need
- Ladder
- Ceiling tile replacement
- Pencil
- Measuring tape
- Utility knife
- Caulking gun
- Caulk adhesive
- Paint and brush or roller
- Drywall primer
- Screwdrivers
Step-by-Step Instructions for How to Fix Ceiling Tiles
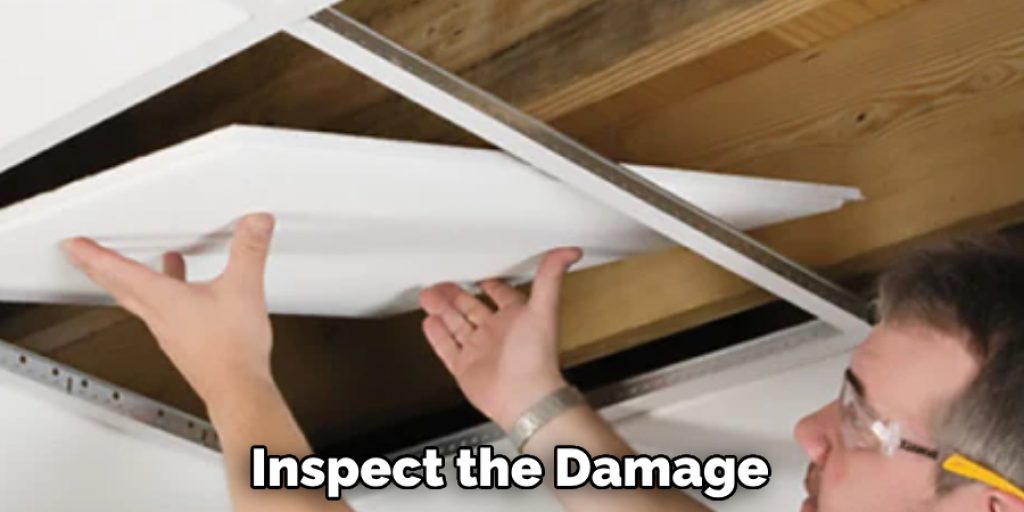
Step 1: Inspect the Damage
The first step to fixing ceiling tiles is to inspect the damage. Look for any visible signs of wear and tear, such as cracks or sagging. This will help you determine the extent of the repairs needed. To fix ceiling tiles, you will need some basic materials including replacement tiles, adhesive, a putty knife, and a ladder. Make sure you have all the necessary materials before starting the repair process.
Step 2: Prepare the Work Area
Before starting any repairs, it’s important to prepare your work area. Cover the floor and furniture with drop cloths to protect them from any debris that may fall during the repair process. Carefully remove the damaged tiles from the ceiling. Use a putty knife to gently pry them off if necessary. Be careful not to damage any surrounding tiles in the process.
Step 3: Clean the Area
Once the damaged tiles have been removed, use a damp cloth to wipe down the area and remove any dirt or debris that may be present. This will ensure a clean surface for the new tiles to adhere to. Using a tape measure, carefully measure the dimensions of the space where the damaged tile was removed. Use these measurements to cut a replacement tile to fit perfectly in the space.
Step 4: Apply Adhesive
Apply adhesive to the back of the replacement tile using a putty knife or a trowel. Be sure to spread the adhesive evenly across the entire surface. Carefully place the replacement tile into the designated space. Gently press down on the tile to ensure it is firmly adhered to the ceiling.
Step 5: Allow Adhesive to Dry
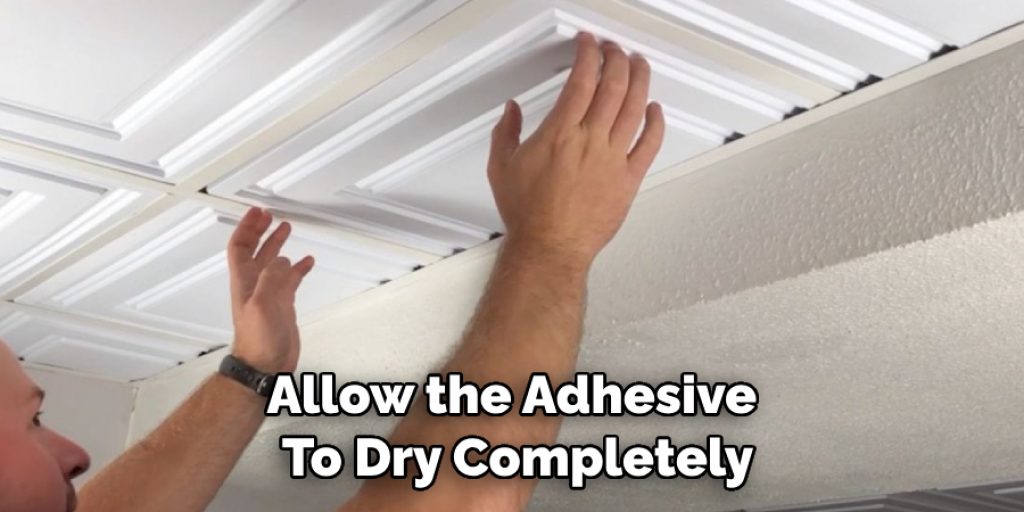
Once the replacement tile has been placed, allow the adhesive to dry completely. This may take a few hours, so be patient and avoid any unnecessary movement in the area. If your ceiling has a textured finish, you may need to apply some texture or paint to match the surrounding tiles. Use a small brush or roller to carefully blend the new tile into the existing ceiling.
Step 6: Clean Up
Once the adhesive and any necessary paint or texture have dried, it’s time to clean up. Remove all drop cloths and wipe down any surfaces that may have accumulated debris during the repair process.
The final step is to inspect your repairs and test the new tile to ensure it is secure. Gently tap on the tile to make sure it is properly attached and won’t fall or sag. If everything looks good, your ceiling tile repair is complete.
Safety Tips for How to Fix Ceiling Tiles
If you are going to be working on the ceiling tiles yourself, it is important to follow these safety tips and precautions:
- Wear protective gear such as goggles, gloves, and a dust mask to prevent any debris from getting into your eyes or lungs.
- Use a sturdy ladder that is properly secured and has a stable base.
- Make sure the area below where you will be working is clear of furniture and objects that could potentially get in the way.
- If your ceiling tiles are made of asbestos, it is best to hire a professional as it can be hazardous to remove them yourself.
- Turn off electricity to the room before starting any repairs or replacements.
- Use caution when handling sharp tools or materials, such as scissors or ceiling tiles with exposed edges.
- If you are working on a high ceiling, use a scaffold instead of a ladder for added stability and safety.
By following these safety tips, you can ensure that the process of fixing your ceiling tiles goes smoothly and without any accidents. Remember to always prioritize your safety and seek professional help if needed.
How Can You Prevent Future Damage to Your Ceiling Tiles?
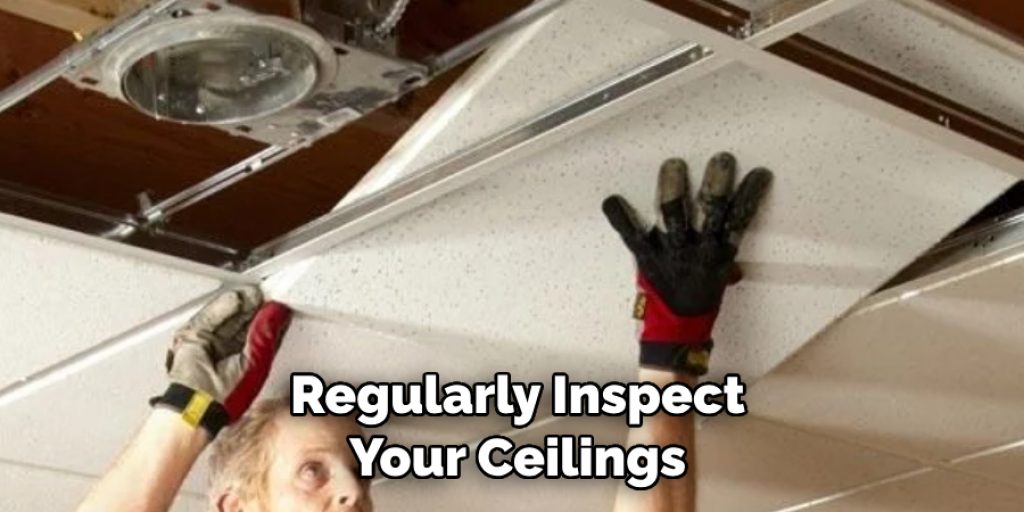
In addition to knowing to fix ceiling tiles, it is important to take preventative measures to avoid future damage. Here are some tips on how to maintain the integrity of your ceiling tiles:
- Regularly inspect your ceilings for any signs of damage or wear and tear. This can help catch any issues early on and prevent further damage.
- Address any leaks or water damage promptly to avoid moisture seeping into your ceiling tiles.
- Avoid hanging heavy objects from the ceiling, as this can put unnecessary strain on the tiles and cause them to crack or break.
- Be mindful of any potential hazards above your ceiling, such as pipes or beams that could potentially cause damage.
- Keep your ceilings clean by regularly dusting and wiping them down to prevent dirt and debris from building up.
By following these preventative measures, you can prolong the lifespan of your ceiling tiles and avoid any future repairs or replacements. Remember to always stay vigilant and address any issues as soon as they arise.
What Are Some Possible Causes of a Damaged Ceiling Tile?
There are several potential causes for damaged ceiling tiles, including:
- Water damage from leaks or moisture buildup
- Age and wear and tear over time
- Improper installation or poor quality materials
- Damage from heavy objects hitting the ceiling
By understanding the potential causes, you can better prevent future damage and address any issues in a timely manner. If you notice any signs of damage, it is best to address them as soon as possible to avoid any further complications.

Are There Any DIY Hacks or Tricks for Fixing Ceiling Tiles Without Using Expensive Tools?
Ceiling tiles can become damaged or discolored over time due to various reasons such as water leakage, mold growth, or general wear and tear. While hiring a professional may seem like the easiest solution, it can also be costly. But don’t worry, there are plenty of DIY hacks and tricks that you can use to fix your ceiling tiles without having to spend a lot of money on expensive tools. In this article, we’ll explore some of these hacks and provide step-by-step instructions so that you can easily fix your ceiling tiles on your own.
One common issue with ceiling tiles is discoloration due to water leakage or mold growth. To fix this, you can use a bleach solution to remove the discoloration and kill any mold spores. Mix equal parts of bleach and water in a spray bottle and spray it onto the affected area. Let it sit for a few minutes before wiping it off with a damp cloth. Make sure to wear protective gear, such as gloves and a mask, when working with bleach.
Are There Any Common Mistakes to Avoid When Fixing Ceiling Tiles?
Ceiling tiles are an important part of any building, as they help to create a smooth and uniform appearance while also improving acoustics. However, over time these tiles may become damaged due to wear and tear, water leaks or other issues. One of the most common mistakes when fixing ceiling tiles is not properly identifying and addressing the root cause of the issue.
For example, if your ceiling tiles have water stains or discoloration, simply replacing the affected tiles may not be enough. You need to also find and fix the source of the water leak in order to prevent further damage. It’s important to thoroughly inspect all surrounding areas and address any potential issues before proceeding with fixing the ceiling tiles. Another mistake that people make when fixing ceiling tiles is using the wrong tools or materials. This can result in poorly installed tiles that may not withstand the test of time.
Conclusion
In conclusion, fixing ceiling tiles is a relatively simple task that can be easily done by anyone with basic knowledge and tools. By following the steps mentioned above, you can successfully repair damaged or broken ceiling tiles without any hassle. However, prevention is always better than cure when it comes to ceiling tiles. Regular maintenance and inspection of your ceiling can help identify any potential issues before they become major problems.
It is also important to use high-quality materials and hire professionals for complex repairs or installations. We hope this blog has provided you with valuable information on fixing ceiling tiles. Remember to prioritize safety and take necessary precautions while working on your ceiling. I hope this article has been beneficial for learning how to fix ceiling tiles. Make Sure the precautionary measures are followed chronologically.

