How to Drill Through Joists in a Finished Ceiling
Drilling through joists in a finished ceiling may seem like a daunting task, but it is necessary for many home improvement projects. Whether you are installing new wiring, adding lighting fixtures, or running plumbing pipes, knowing how to safely and effectively drill through joists is essential. Joists are horizontal supporting beams that run parallel to each other and provide the structure for your floor and ceiling.
These beams are typically made of wood or metal, and drilling through them can compromise their integrity if not done correctly. The main advantage of knowing to drill through joists in a finished ceiling is the ability to run wires, pipes or cables without having to disrupt the aesthetic of your ceiling.
This is particularly useful when dealing with a finished basement or any room that has a finished ceiling. In this blog post, You will learn in detail how to drill through joists in a finished ceiling.
Equipment You Will Need
- Drill
- Drill bits (spade or auger)
- Measuring tape
- Stud finder
- Pencil
- Safety glasses
- Ladder
- Flashlight
- Masking tape or painter’s tape
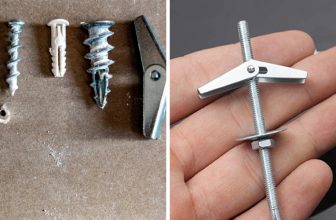
- Wires, pipes or cables that will be run through the joists
Step by Step Processes for How to Drill Through Joists in a Finished Ceiling
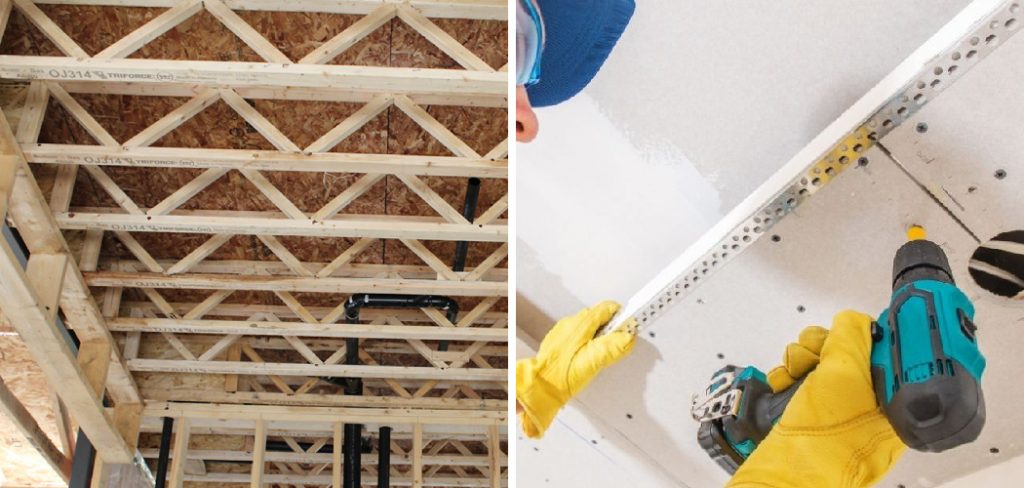
Step 1: Inspect the Joists in Your Ceiling
Before you start drilling, it’s important to inspect the joists in your ceiling. Make sure they are properly spaced and structurally sound to avoid any safety hazards.
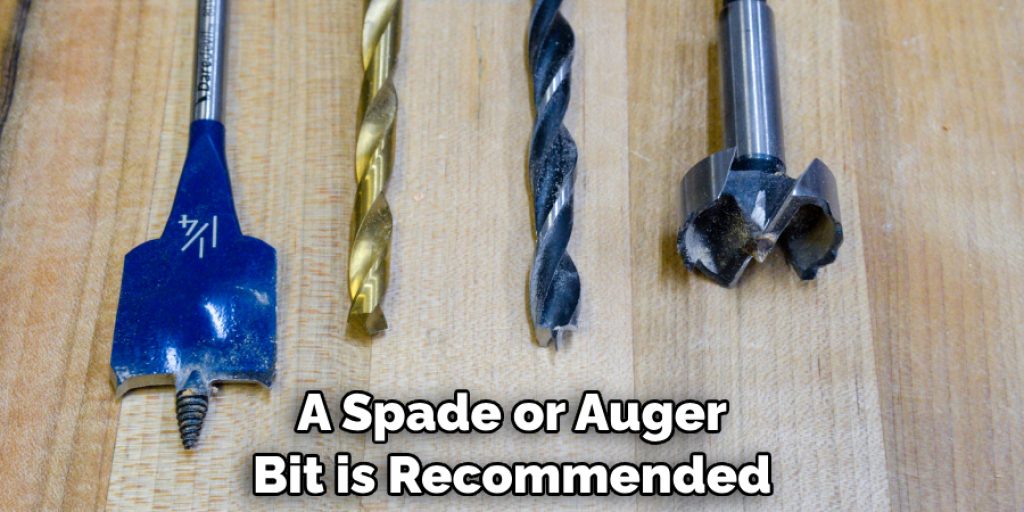
Step 2: Choose the Right Drill Bit
For drilling through joists, it’s best to use a long spade or auger bit. These types of bits are designed to cut through wood and are longer in length, making it easier to reach the joists from below. Using a measuring tape, mark the exact location where you need to drill. This will ensure accuracy and prevent any unnecessary holes in your ceiling.
Step 3: Prepare Your Tools and Safety Gear
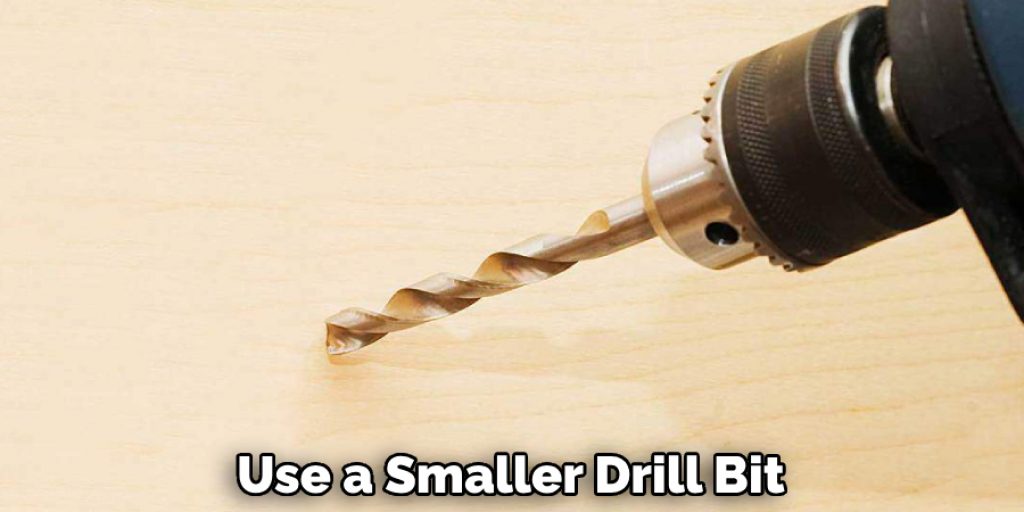
Make sure you have all the necessary tools and safety gear before you start drilling. This includes a drill, appropriate drill bit, safety glasses, and a ladder if needed. To prevent splinters and ensure a clean cut, it’s best to create a small pilot hole first. Use a smaller drill bit for this initial hole.
Step 3: Drill Through the Joist
Once you have a pilot hole, use your larger drill bit to drill through the joist. Apply gentle pressure and let the drill do the work. Before proceeding, check if there are any electrical wires or plumbing pipes running through the joists where you plan to drill. If so, adjust your drilling location accordingly.
Step 4: Remove Any Debris
After drilling through the joist, remove any wood debris or sawdust that may have accumulated. This will prevent it from falling onto your finished ceiling. If you need to drill through multiple joists, repeat the above steps for each one. Remember to measure and mark the location for each hole.
Step 5: Use a Joist Finder Tool
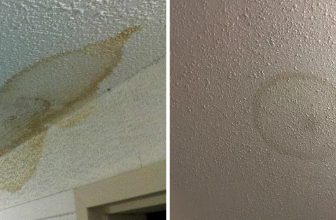
If you’re unsure of where to drill, use a joist finder tool. This will help you locate the exact position of your joists and avoid any potential damage. After drilling through the joists, you may need to patch and repair any holes in your finished ceiling. Use drywall compound and sand it down for a seamless finish.
After completing the drilling, inspect the area for any damages or cracks. If you notice any, be sure to address them before proceeding with any other renovations or projects.
Safety Precautions for How to Drill Through Joists in a Finished Ceiling
- Wear protective gear such as safety glasses and gloves.
- Make sure the drill bit is sharp and in good condition before starting.
- Secure a stable ladder or scaffolding to reach the area safely.
- Ensure that the power supply is turned off before drilling through any electrical wires or plumbing pipes.
- Use a stud finder to locate the joists and mark their location before drilling.
- Double check the planned hole placement to avoid hitting any important structural elements.
- Take breaks as needed and stay hydrated to avoid fatigue.
By following these safety precautions, you can ensure a safe and successful drilling experience.
How Do You Locate the Joists in a Finished Ceiling Before Drilling?
When it comes to drilling through joists in a finished ceiling, the first step is to locate the exact position of the joists. Without proper knowledge of where the joists are located, you could potentially cause damage to your ceiling or even worse, compromise its structural integrity. One way to locate the joists is by using a stud finder.

These handy devices use sensors to detect changes in density behind walls and ceilings, making it easy to identify the location of the joists. Simply run the stud finder along the ceiling until you find a spot where it beeps or lights up, indicating that there is a joist present.
Another method is to look for clues on the surface of your ceiling. You may notice slight bumps or indentations that indicate the position of the joists. Additionally, you can measure the distance between light fixtures or other fixed objects to determine where the joists are located.
Once you have located the joists, it is important to mark their positions accurately before drilling. This will ensure that your holes are in the correct spot and avoid any unnecessary damage to your ceiling.
What is the Best Technique for Drilling Through Joists in a Finished Ceiling?
When it comes to home improvement projects, drilling through joists in a finished ceiling can be a daunting task. Whether you are trying to run electrical wiring or install new plumbing, finding the best technique for safely and effectively drilling through joists is crucial.
In this guide, we will discuss the most common techniques for drilling through joists in a finished ceiling and provide tips for a successful drilling experience. Now let’s take a look at some of the best techniques for drilling through joists in a finished ceiling:
1. Plumb Bob Technique
This technique involves using a plumb bob to help guide your drill bit through the center of the joist. Start by marking where you want to drill on the ceiling and then use a plumb bob to transfer that mark to the finished side of the ceiling. This will give you an accurate point to drill through without the risk of hitting a joist.
2. Pilot Hole Technique
If you are unsure about the location of your joists, using a pilot hole technique can be helpful. Start by drilling a small hole with a drill bit slightly smaller than the joist itself. Then use a wire or coat hanger to poke through the hole and feel for any obstructions. If you come across a joist, you can then mark its location and continue drilling with confidence.

3. Joist Finder Technique
There are also specialized tools called joist finders that use electronic sensors to detect the presence of joists. These can be helpful if you have a lot of drilling to do and want to avoid the trial and error method. Just be sure to calibrate the tool correctly before using it.
Overall, the best technique for drilling through joists in a finished ceiling will depend on your specific project and comfort level. It is always recommended to double check the location of your joists before drilling, and to use caution when drilling near any electrical or plumbing fixtures.
How Do You Avoid Damaging the Drywall or Finish on the Ceiling While Drilling Through Joists?
When working on home improvement projects, it is not uncommon to need to drill through joists in a finished ceiling. Whether you are running new wiring or adding additional support for a heavy fixture, drilling through joists may be necessary.
However, this task can be daunting as you do not want to damage the drywall or finish on your ceiling. In this section, we will discuss some tips and tricks on how to drill through joists in a finished ceiling without causing any damage.
First and foremost, it is important to plan and measure before drilling. Make sure you have a clear understanding of where the joists are located and mark them with a pencil. This will help you avoid accidentally drilling into them when working on your project. Another important consideration is the type of drill bit you use.
For drilling through wood joists, a spade or auger bit is recommended as they are designed for this specific task. These bits have a wider point and are less likely to snag on the wood, reducing the risk of damaging the ceiling finish.
Conclusion
In conclusion, drilling through joists in a finished ceiling may seem like a daunting task, but with the right tools and techniques, it can be done safely and efficiently. We have discussed the necessary steps to prepare for drilling, such as locating the joists and planning out your drill path. We have also covered important safety precautions to take before starting the drilling process.
One key takeaway is to always use a stud finder to accurately locate the joists and avoid damaging any electrical or plumbing lines. It is also recommended to mark out your drill path beforehand to ensure accuracy.
Additionally, using the appropriate tools such as a drill with a long bit extension and a sharp spade bit can make the process much easier. I hope this article has been beneficial for learning how to drill through joists in a finished ceiling. Make Sure the precautionary measures are followed chronologically.
Angela Ervin
Angela is the executive editor of DIY quickly. She began her career as an interior designer before applying her strategic and creative passion to lifestyle and home. She has close to 15 years of experience in creative writing and online content strategy for housekeeping, home decorations as well as other niche efforts. She loves her job and has the privilege of working with an extraordinary team. She lives with her husband, two sons, and daughter in Petersburg. When she's not busy working she spent time with her family.