How to Make Resin Letters With Lights
Resin letters have gained popularity as a creative way to add a personal touch to home décor, events, and crafts. These unique creations not only serve as eye-catching focal points but also can be illuminated with lights to enhance their visual appeal.
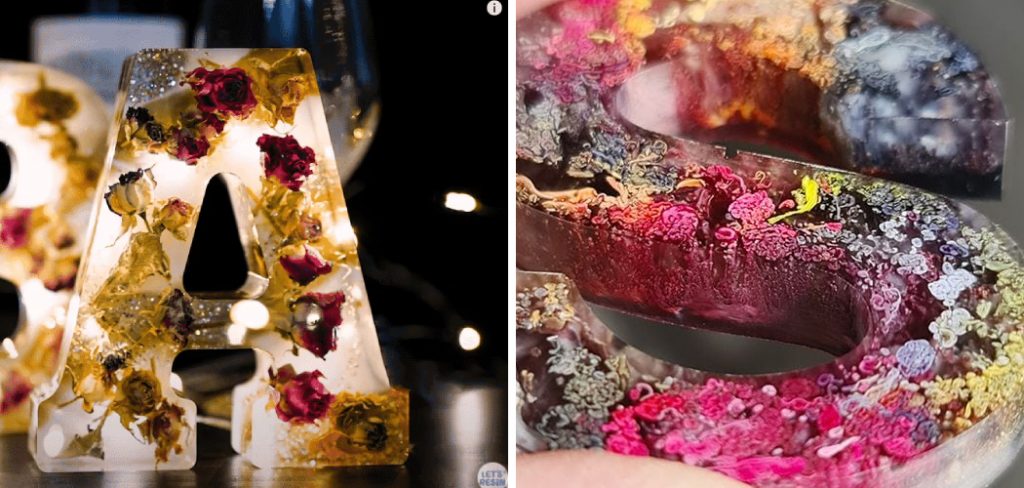
In this guide on how to make resin letters with lights, we will explore the step-by-step process of making resin letters with built-in lighting, allowing you to showcase your creativity while providing a warm and inviting glow to any space.
Whether you’re looking to create a custom name sign, decorative letters for a special occasion, or simply want to experiment with resin art, this project is perfect for both beginners and experienced crafters alike.
Benefits of Making Resin Letters with Lights
Creating resin letters with lights offers several advantages that enhance both their aesthetic and functional qualities. Firstly, the incorporation of lights transforms ordinary resin letters into striking visual displays that can elevate the ambiance of any space, making them perfect for events or home decor.
Additionally, the resin is a versatile medium that allows for endless customization; you can choose colors, patterns, and effects that reflect your personal style or match a specific theme. Furthermore, the process of crafting these pieces can be incredibly fulfilling, providing a therapeutic outlet for creativity and self-expression. Lastly, making resin letters with lights can also be a fantastic activity for social gatherings, promoting collaboration and fun among friends or family members.
Tools and Materials Required
To make resin letters with lights, you will need the following materials and tools:
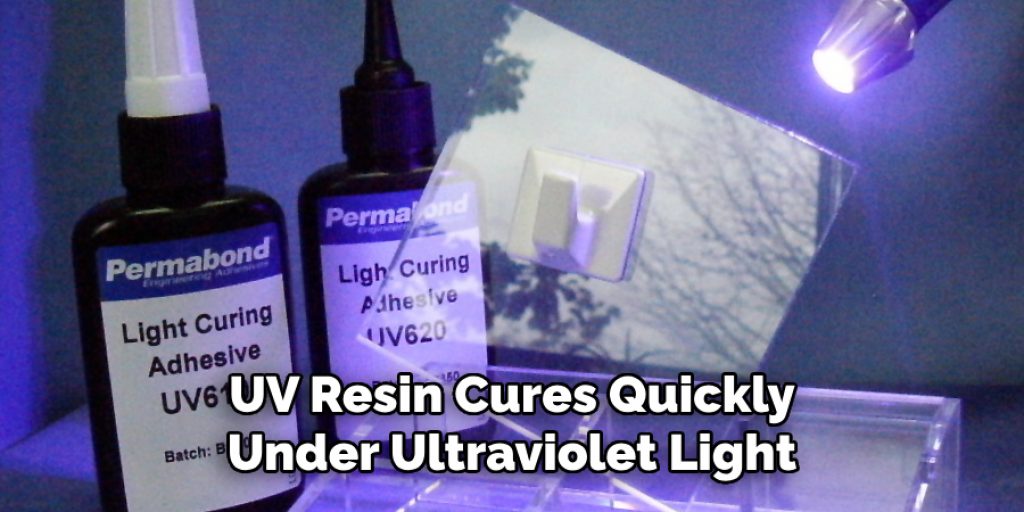
Resin (Epoxy or Uv Resin):
Resin is the key ingredient in this project and is readily available at most craft stores. Epoxy resin or UV resin can both be used, depending on your preference and availability. While epoxy resin requires a longer curing time, UV resin cures quickly under ultraviolet light.
Silicone Mold:
To create the letters, you will need silicone molds in the shape of your desired letters. These can also be found in craft stores or easily made using silicone putty. It’s important to ensure that the mold is smooth and free of any creases or imperfections to achieve a clean finish on your letters.
LED Lights:
LED lights provide a safe and energy-efficient option for illuminating your resin letters. These can be purchased in various lengths and colours, depending on your preference and project requirements.
Resin Dye or Pigment:
To add color to your resin letters, you will need resin dye or pigment. These come in a wide range of hues and effects, allowing for endless possibilities when it comes to creating unique designs.
Mixing Cups, Stir Sticks and Gloves:
To prepare the resin mixture, you will need mixing cups, stir sticks, and gloves. It’s important to follow safety precautions when handling resin, as it can cause skin irritation if not used properly.
9 Step-by-step Guidelines on How to Make Resin Letters With Lights
Step 1: Prepare Your Workspace
Before diving into your resin letter project, it’s essential to set up a suitable workspace. Begin by covering your work area with a disposable tablecloth or newspaper to protect surfaces from potential spills. Ensure that you have good ventilation, as resin can emit fumes during the mixing process. Assemble all your tools and materials within easy reach, including your resin, silicone molds, LED lights, and mixing supplies.

Additionally, wear protective gloves and a mask to safeguard against any resin particles and fumes. A well-organized and safe workspace will help streamline your crafting process and enhance your overall experience.
Step 2: Mix the Resin
Following the manufacturer’s instructions, mix the resin in a mixing cup. Use a stir stick to combine the resin thoroughly until it becomes clear and free of any streaks or bubbles. If using epoxy resin, you will also need to add a hardener according to the recommended ratio. For UV resin, simply ensure that it is exposed to ultraviolet light while curing.
You can also add resin dye or pigment at this stage to achieve your desired color and effects. Keep in mind that a little goes a long way, so start with small amounts and gradually add more if needed.
Step 3: Pour the Resin into the Mold
Once your resin is thoroughly mixed and any desired colors or effects have been added, carefully pour the resin into the prepared silicone mold. Start by filling each letter gradually to prevent sudden splashes that could create bubbles. If you’re incorporating LED lights, leave enough space in the mold to accommodate them without overflowing.
Use a stir stick or a small tool to gently guide the resin into all corners of the mold, ensuring it fills every detail properly. If any air bubbles rise to the surface, you can gently blow on them or use a heat gun or torch on low heat to pop them. Allow the resin to settle for a few minutes before moving on to the next step—this will help ensure a smooth finish for your resin letters.
Step 4: Add the LED Lights
Once the resin has been poured into the mold and has started to set (typically after about 15-30 minutes, depending on the type of resin used), it’s time to integrate the LED lights. Carefully insert the LED lights into the mold, ensuring that they are positioned accurately to create the desired illumination effect. If your design includes multiple colors or patterns, feel free to experiment with placing the lights in different sections of the resin.
Ensure that the wires of the LED lights are tucked neatly within the resin to avoid any cluttered appearance. Additionally, you can gently press the lights down to help them embed further into the resin. Allow the resin to cure fully according to the manufacturer’s instructions, making sure that the lights remain in place as the resin solidifies around them.
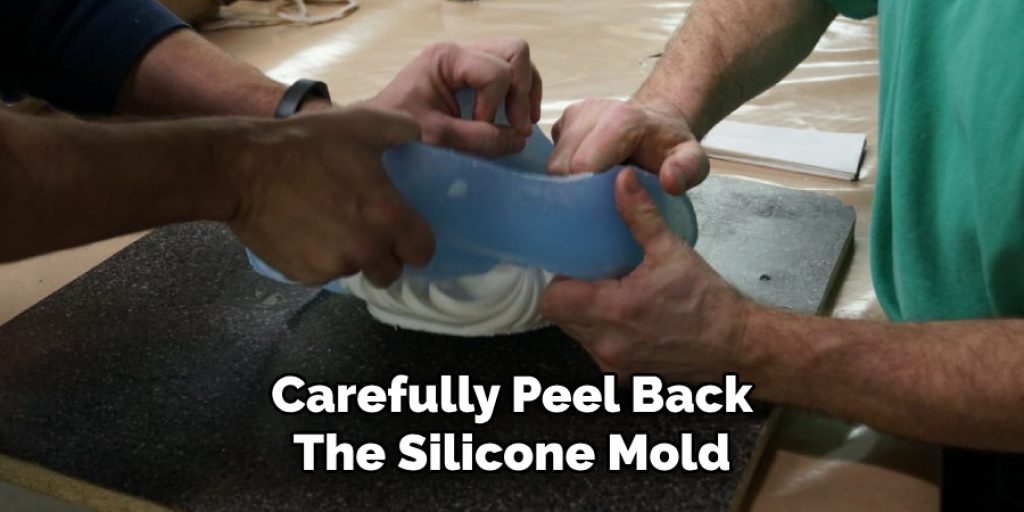
Step 5: Demold the Resin Letters
Once the resin has fully cured and hardened, it’s time to de-mold your letters. Carefully peel back the silicone mold from the edges, gently separating it from the resin. If you encounter any resistance or sticking, don’t force it—instead, allow the letters to cure for a few more minutes before trying again. Once successfully de-molded, you can use sandpaper or a small file to smooth out any rough edges or imperfections.
It’s important to care for the resin letters at this stage, as they may still be slightly fragile until fully cured.
Step 6: Arrange the Resin Letters
Now that you have your illuminated resin letters, it’s time to arrange them into your desired word or phrase. You can place them on a shelf, hang them on a wall, or even use them as table decor for special occasions. Get creative and play around with different arrangements and lighting effects to add depth and character to your display.
The lightweight nature of resin letters also makes them easy to transport and rearrange whenever you feel like changing up your decor.
Step 7: Add Finishing Touches
To enhance the overall appearance of your resin letters, you can add finishing touches such as glitter, gold leaf, or other embellishments. Simply apply a small amount of clear glue or resin on the desired area and sprinkle on the chosen decoration before allowing it to cure fully.
You can also use a clear sealant spray or epoxy coating for added shine and protection against scratches or damage.
Step 7: Add Finishing Touches (Optional)
If desired, you can further enhance the appearance of your resin letters by adding additional embellishments. These could include glitter, decals, or other decorations. Simply apply a small amount of clear glue or resin on the desired area and add the chosen decoration before allowing it to cure fully.
You can also use a clear sealant spray or epoxy coating for added shine and protection against scratches or damage.
Step 8: Display Your Resin Letters
Now that your resin letters are complete, it’s time to display them proudly in your homedecor. They can add a personalized touch to any room, and the illuminated effect will create a unique ambiance in your space. You can also gift them to friends or family as a thoughtful and handmade present.
It’s important to note that resin letters, like any delicate decor item, should be handled with care and kept away from direct heat or sunlight to avoid any potential damage.
Step 9: Clean Up
Once you have finished working with resin, it’s essential to clean up properly. Dispose of any leftover resin according to local regulations and clean all tools and materials used thoroughly with warm, soapy water. Store any leftover resin in a cool, dry place for future use.

With these simple steps on how to make resin letters with lights, you can easily create your own customized resin letters that are not only functional but also visually appealing. Get creative with colors, patterns, and lighting effects to make truly one-of-a-kind pieces that reflect your personality and style. Happy crafting!
Conclusion
Creating your own illuminated resin letters is an enjoyable and rewarding process that allows you to customize your home decor with a unique touch. With the right materials and techniques, you can create beautiful and personalized pieces that will add character and ambiance to any space.
So gather your supplies and get ready to bring your own resin letter creations to life! Keep experimenting and have fun with it, as the possibilities are truly endless. Thanks for reading this article on how to make resin letters with lights.
Elizabeth Davis
Elizabeth is a creative writer and digital editor based in the United States. She has a passion for the arts and crafts, which she developed from a young age. Elizabeth has always loved experimenting with new mediums and sharing her work with others. When she started blogging, she knew that DIYquickly would be the perfect platform to share her tutorials and tips. She's been writing for the blog from the beginning, and her readers love her helpful advice and easy-to-follow instructions. When she's not writing or editing, Elizabeth enjoys spending time with her family and friends.