
How to Use Paint Mixing Cup
Do you want to paint like a pro but don’t know where to start? Mixing the right colors can be tricky, even for experienced painters. Instead of spending hours trying to find just the right hues and tones, why not let a professional tool do it for you? With a paint mixing cup, your color combinations will be accurate every time – no endless experimentation required!
In this blog post, we will show how to use paint mixing cup can make all your painting projects much simpler and more organized. Read on to learn how it works and get some tips on finding the perfect balance of colors!
What is a Paint Mixing Cup?
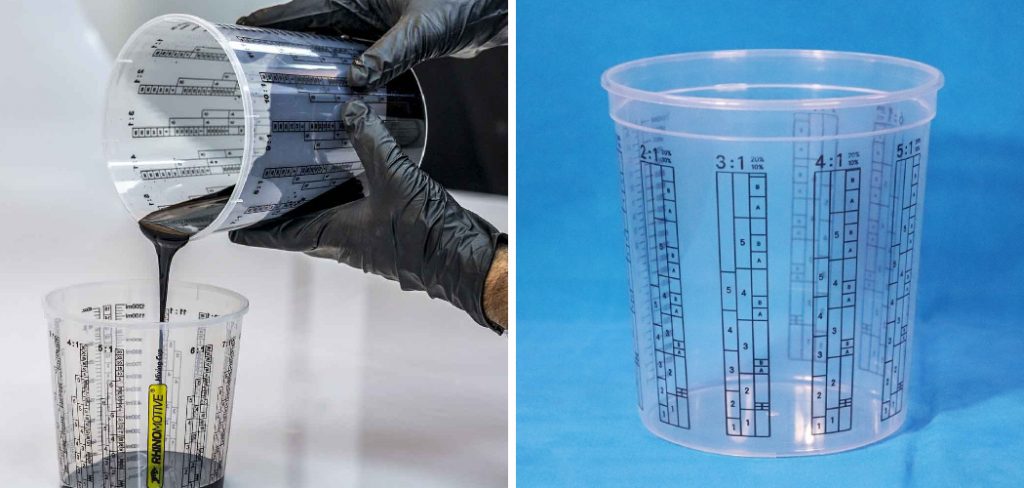
A paint mixing cup, also known as a color wheel, is a tool that helps painters accurately measure and mix colors. It consists of several compartments in varying sizes which the painter can use to pour paints of different hues into. The cup allows the painter to blend together different colors with precision, creating the perfect combination every time. Colors can be mixed in various proportions to create the desired shade.
Step-by-Step Guidelines on How to Use Paint Mixing Cup
Step 1: Determine the Ratio
Before you start mixing paints, decide how much of each color is needed and pour the paint into the correct compartments in the cup. This will depend on the color that is needed and the ratios of each hue you want to create. For example, if you want a warm orange tone, you would need more yellow than red.
Step 2: Add Water
Once all the paint has been poured, add a few drops of water to thin it out and help it mix together evenly. This will also help to create the desired texture for the final color. Adding water is an important step because it helps to reduce the viscosity of the paint and makes it easier to mix.
Step 3: Mix the Colors
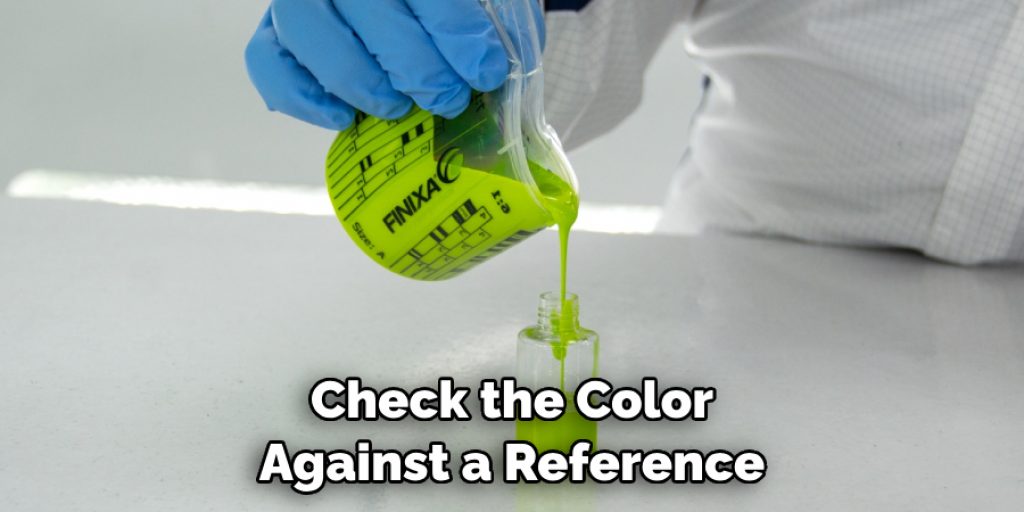
Once all the ingredients are in place, start mixing them together with a stirring stick or brush. Gently stir until you reach your desired color and consistency. Make sure not to add too much water, as this will dilute the paint and cause it to be too runny. While you are mixing, you can check the color against a reference or test strip to make sure it is the correct shade.
Step 4: Use the Paint
Now that you have successfully mixed your paint, it is time to use it! Load up a brush with the paint and start painting away. You can also use other tools such as sponges or rollers for larger surfaces. With this method, you are guaranteed to find just the right mix of colors every time.
Following these steps will guarantee you success in mixing the perfect colors for any of your painting projects. With a paint mixing cup, you can save time and hassle while creating stunning works of art! So go ahead and give it a try – you won’t be disappointed!
Additional Tips and Tricks to Use Paint Mixing Cup
If you are using a paint mixing cup to mix paints, there are some things you should keep in mind. Here are some tips and tricks that will help make sure your paint looks the way you want it:
- Always ensure that you use a clean cup for each color of paint. This will help prevent any colors from being contaminated.
- Make sure to mix the paint thoroughly before using it. This will help ensure an even color and finish.
- If you are mixing two or more colors together, use a separate cup for each color of paint and add them together slowly. Make sure that all of the colors are completely blended before applying them to your project.
- When measuring out paints, make sure you measure accurately. Over-measuring can lead to wasted paint, which is a waste of both money and time.
- If you are using a paint sprayer with your paint mixing cup, make sure that the nozzle is clean and free of any obstructions before using it. This will help prevent clogging and ensure a smooth finish.
- Be careful when disposing of any unused paint. Make sure to store it in a safe container and dispose of it properly.
- Store the paint in an area away from direct sunlight, as this can cause the color to fade over time.
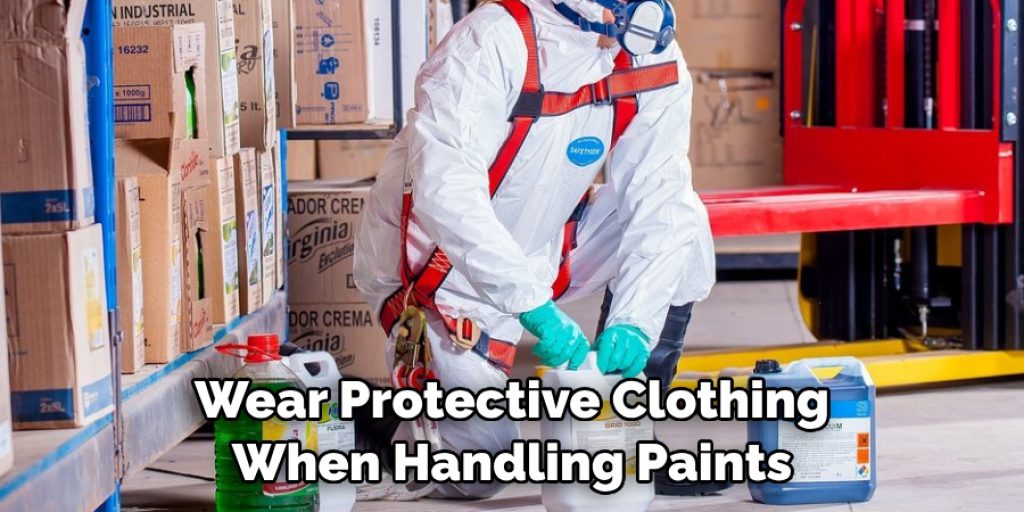
- Lastly, always make sure that you wear protective clothing when handling paints and solvents. This will help protect your skin and clothing from any potential damage.
By following these tips and tricks, you can ensure that your paint mixing cup is ready to serve you for years to come! With the right preparation and proper use, you will be able to create beautiful projects with ease. Happy painting!
Things You Should Consider to Use Paint Mixing Cup
- Make sure the cup you are using is specifically designed for use with paint, especially if it will come into contact with any kind of chemical or coating material.
- Always follow the manufacturer’s instructions on how to properly prepare and clean your mixing cup before use. This will ensure that the product does not become contaminated and will help maintain its structural integrity.
- Always use a cup that is specifically designed for the type of paint or coating material you intend to mix together. This will help ensure the best results and reduce the chances of any cross-contamination.
- Use separate cups for different colors if mixing multiple layers of paint or coating material at once. Dedicate one cup to each color to avoid any mix-ups and ensure accurate results.
- If mixing different types of paint together, use a separate cup for each type to avoid any potential reactions or discoloration.
- Make sure to rinse the cup after each use with either warm water and dish soap or a mild solvent. This will help prevent clogging and maintain product integrity over time.
- Store the cup in a safe, dry place when not in use to ensure longevity.
- When mixing multiple layers of paint or coating material, make sure to stir slowly and continuously until all the components are thoroughly mixed together for optimal results.
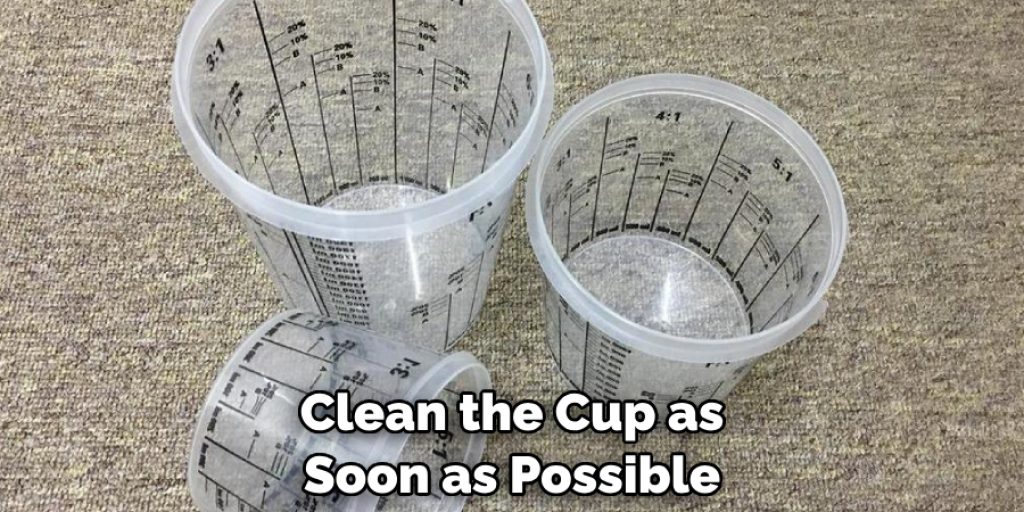
- Once your desired color is achieved, pour any extra paint back into the original containers and clean the cup as soon as possible. This will help prevent the paint from drying and clogging the cup.
Following these considerations will help you get the best results when using a paint mixing cup. Remember to always read and adhere to the manufacturer’s instructions for optimal safety and performance. With proper care, your paint mixing cup will provide reliable service for years to come.
Frequently Asked Questions
What Should I Do Before Using a Paint Mixing Cup?
Before you start mixing paints, you want to make sure your work area is clean and free from debris. You’ll also want to read the instructions on the packaging of your paint and mixing cup, to make sure you’re using it safely. It’s also a good idea to wear gloves while working with paints, just in case any splashes or spills occur.
How Do I Measure Out Paint for Mixing?
The best way to measure out paint is by using an accurate measuring cup. This will ensure that your paint measurements are exact and that the final color of the paint is consistent each time you mix it. You’ll also want to make sure that all the ingredients are blended together properly, as a difference in any one ingredient can lead to an unexpected outcome.
How Do I Transfer My Paint After Mixing?
Once you’re done mixing your paint, you’ll need to transfer it to a container for storage. You can use an old jar or bucket for this purpose. Make sure that the container is sealed properly so that no air can get in and spoil the paint. Be sure to label the container with the date when you mixed the paint, as well as what kind of paint it is.
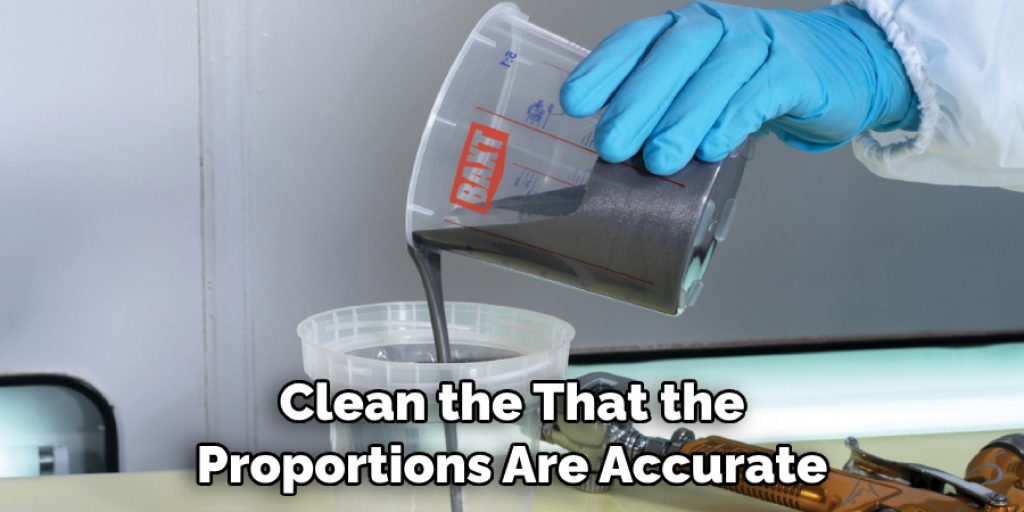
What Should I Do When Mixing Different Colors?
When mixing different colors, you’ll want to make sure that the proportions are accurate and consistent each time. You should also take your time when blending the pigments, as this will ensure a smooth transition from one color to the next. Additionally, if you’re trying to achieve a specific color, you may want to experiment with different ratios until you get the desired result.
Conclusion
Now you know how to use paint mixing cup and you’re ready to start experimenting with different colors. Remember to take your time when working with paints, as it’s important that all the measurements are accurate and that everything is blended together properly. With a bit of practice, you’ll soon be creating stunning pieces of art!
Angela Ervin
Angela is the executive editor of DIY quickly. She began her career as an interior designer before applying her strategic and creative passion to lifestyle and home. She has close to 15 years of experience in creative writing and online content strategy for housekeeping, home decorations as well as other niche efforts. She loves her job and has the privilege of working with an extraordinary team. She lives with her husband, two sons, and daughter in Petersburg. When she's not busy working she spent time with her family.


