How to Make a Fabric Snowman
Are you looking for a fun and easy Christmas craft to do with your kids or as a festive decoration for your home? Look no further than making a fabric snowman! This adorable DIY project is perfect for beginners and requires minimal supplies.
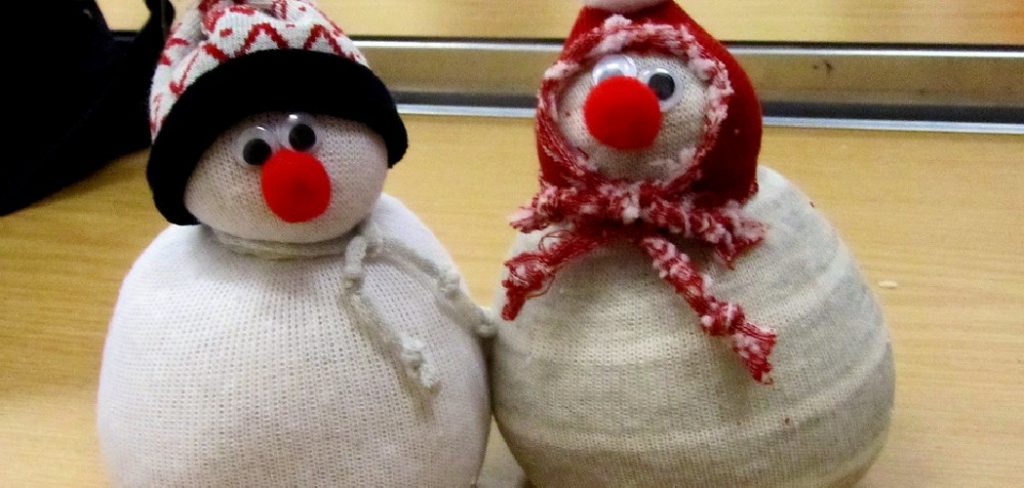
How to make a fabric snowman is a delightful craft project that brings the charm of winter into your home without the chill. This creative endeavor allows you to repurpose fabric scraps while making a whimsical decoration that can brighten up any space. Whether you want to add a seasonal touch to your decor or seeking a fun activity to enjoy with family and friends, making a fabric snowman is the perfect solution.
In the following sections, we will guide you through the materials needed, the step-by-step process, and some creative ideas to personalize your snowman, ensuring that your masterpiece stands out this holiday season.
What Will You Need?
Before making your fabric snowman, gather the necessary supplies to ensure a smooth and successful crafting experience. Here’s a list of items that you’ll need:
- Fabric scraps in white, black, orange, and any other colors desired for accessories (such as scarves or hats)
- Scissors
- Sewing needles and thread (or a sewing machine)
- Polyfill stuffing
- Buttons, beads, or other embellishments for eyes and buttons
Once you have gathered all these materials, it’s time to start creating your very own fabric snowman!
10 Easy Steps on How to Make a Fabric Snowman
Step 1. Cut the Fabric:
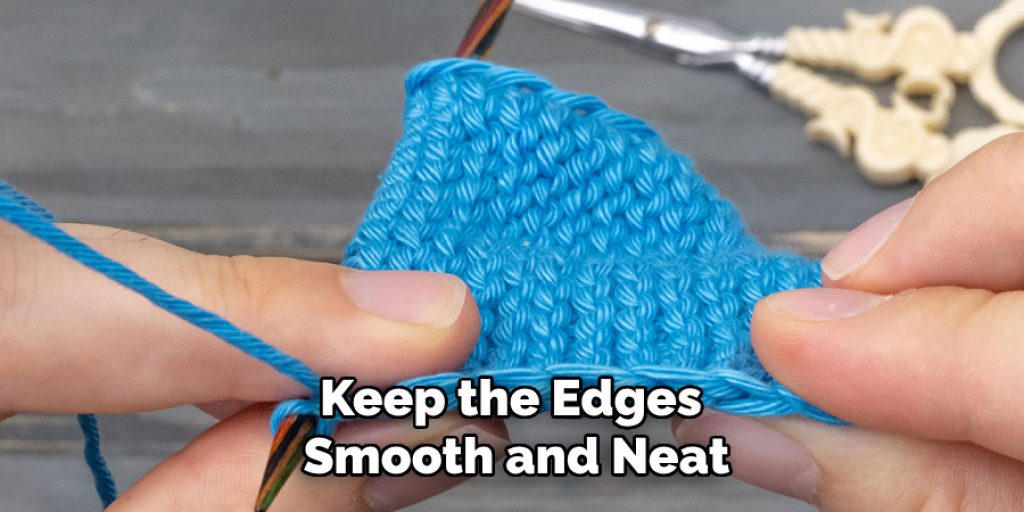
Begin by cutting your fabric into three-sized circles to form the snowman’s body. For a classic look, aim for a large circle (approximately 12 inches in diameter) for the bottom, a medium circle (about 9 inches) for the middle, and a smaller circle (around 6 inches) for the head. Additionally, cut small pieces of fabric in contrasting colors for any accessories you plan to add, such as a scarf or hat. Remember to keep the edges smooth and neat, as this will enhance the overall appearance of your finished snowman.
Step 2. Sew the Body:
Next, take the fabric circles and begin sewing them together. Start with the largest circle, placing the medium circle on top. Using a sewing needle and thread, sew around the edge, leaving a small opening to insert the polyfill stuffing. Sew the opening closed securely after stuffing the body to your desired firmness. Repeat this process for the head, ensuring a snug fit, and then attach it to the body by stitching it in place. This step is crucial, as it forms the foundation of your snowman.
Now that the essential structure is complete, you can embellish your snowman with buttons, beads, and any other decorations you choose to make it uniquely yours.
Step 3. Add the Face and Buttons:
Now it’s time to give your snowman some personality! Begin by sewing on buttons for the eyes; you can use standard buttons, beads, or even small fabric pieces to create a charming expression. For the nose, shape a small piece of orange fabric into a triangle to resemble a carrot. Secure it in place by stitching it onto the head. Finally, additional buttons should be added down the front of the body for decoration. This is where you can let your creativity shine, so don’t hesitate to personalize your snowman with unique facial features or embellishments!
Step 4. Create Accessories:
To truly make your fabric snowman stand out, adding some fun accessories is essential. Consider crafting a scarf by cutting a long strip of fabric in a vibrant color or patterned design, then wrapping it around the snowman’s neck and securing it with a few stitches. You can use a small piece of fabric or a miniature top hat made from felt or cardboard for a hat. Position it on top of the snowman’s head and stitch it securely.
Other accessories could include gloves made from small fabric squares, buttons for additional adornment, or even a tiny broomstick created from twigs or sturdy fabric to bring your snowman to life. Get creative and design accessories that reflect your style or the loved ones you’re crafting for!
Step 5. Attach the Accessories:
Now that you have created the accessories, it’s time to attach them to your fabric snowman. Begin with the scarf, ensuring it sits comfortably around the snowman’s neck. You can sew the ends down for added security to prevent it from slipping off. Next, position the hat atop the snowman’s head, ensuring it looks balanced and secure.

If you’ve made gloves, you can either sew them onto the body or place them so that they appear to be resting on the snowman’s ‘arms.’ For an extra touch, consider using a bit of glue to secure any embellishments or delicate features.
Step 6. Final Touches:
With the accessories securely attached, it’s time to add the finishing touches to your fabric snowman. Take a moment to inspect your creation and see if there are any additional embellishments you’d like to include. This could be adding decorative stitches around the edges of the snowman’s body or perhaps adding small fabric patches for a unique quilted effect. You might also consider integrating festive elements, like tiny ornaments or glitter, to enhance its holiday charm.
Lastly, give your snowman a gentle fluff to ensure it stands tall and proud, ready to be displayed as a delightful addition to your festive décor!
Step 7. Prepare the Base:
Consider creating a sturdy base to ensure that your fabric snowman remains stable and upright. Cut a piece of cardboard or a small wooden board to a size that will comfortably fit beneath your snowman. Once your base is ready, you can either cover it with a layer of fabric or leave it as is for a rustic look. If you choose to cover it, select a fabric that complements the colors of your snowman. Use glue to secure the fabric in place, ensuring a neat finish. This base will not only provide support but also help highlight your snowman’s charming features.

Step 8. Secure the Snowman to the Base:
Now that your base is complete, it’s time to secure the snowman. Position your snowman in the center of the base and use a hot glue gun or strong fabric glue to attach it. Apply the glue generously around the bottom of the snowman’s body, pressing it firmly onto the base. Hold it in place for a few moments to ensure a strong bond.
Step 9. Add Decorative Elements:
Once your snowman is secured to its base, it’s time to consider additional decorative elements to enhance its charm. You can sprinkle artificial snow or glitter around the base for a whimsical winter effect. You can create arms for your snowman using small twigs or branches, positioning them slightly outwards as if it’s waving. Add small ornaments or holiday-themed decorations around the base to create a festive scene if desired. This is the perfect opportunity to integrate elements that reflect your holiday style or family traditions.
Step 10. Choose a Display Location:
Finally, select the perfect spot to showcase your fabric snowman. Whether it’s a cozy shelf, a mantelpiece, or the entrance to your home, consider how it will complement your overall holiday decor. Ensure the area is visible to guests and family, as this delightful addition will bring smiles and joy. Once you’ve chosen the display location, make any final adjustments to your snowman’s accessories or position to ensure it looks its best.
By following these straightforward steps, you can create a charming and unique fabric snowman that will be the talk of your holiday decorations.
5 Things You Should Avoid
- Skipping the Planning Stage: It’s tempting to jump right into crafting, but you need to sketch a design or plan your materials to avoid a disorganized and unsatisfactory end product. Take the time to visualize your snowman and gather all necessary supplies beforehand.
- Using Low-Quality Materials: Selecting cheap or unsuitable fabrics can make a flimsy and unattractive snowman. Aim for durable, high-quality fabrics that will withstand wear and maintain their shape, ensuring your creation lasts for many seasons.
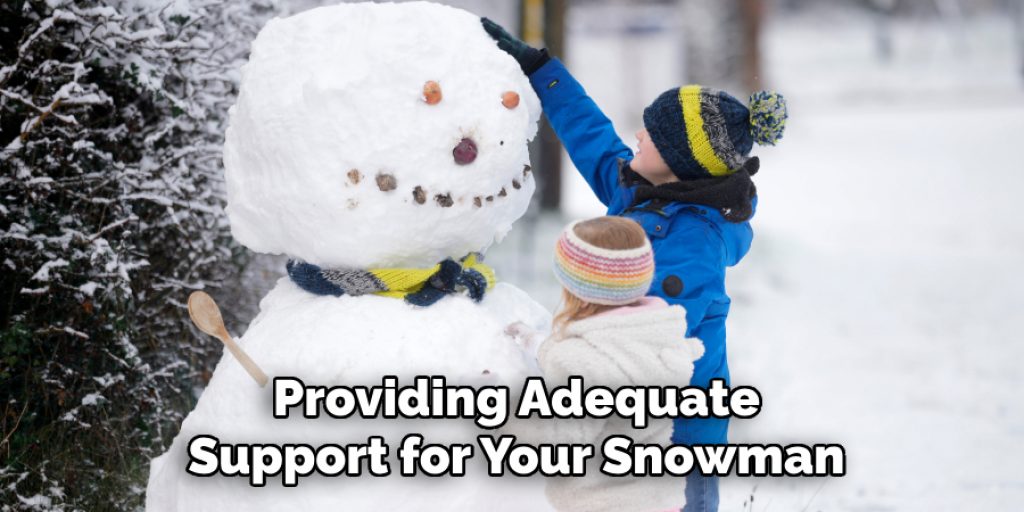
- Neglecting Stability: A common mistake is not providing adequate support for your snowman. Skipping the base or using weak adhesives can cause it to topple over. Always ensure a sturdy base and use strong glue to secure the snowman.
- Overcomplicating Features: While getting creative is great, adding too many detailed elements can lead to clutter and overwhelm the design. Keep your snowman’s features simple and cohesive for a charming overall appearance.
- Forgetting to Secure Accessories: Accessories can quickly shift or fall off if not properly attached. Avoid leaving them loosely placed; always stitch or glue them securely to ensure they stay in place during display.
Conclusion
How to make a fabric snowman is a delightful crafting project that combines creativity, fun, and a touch of holiday spirit.
By following the steps outlined, from selecting your materials and designing accessories to securing your snowman to a sturdy base, you can craft a charming decoration that will bring joy to your home. Remember to plan effectively, choose quality materials, and pay attention to the stability and presentation of your snowman.
With a bit of time and imagination, your fabric snowman can become a cherished part of your holiday traditions, adding warmth and whimsy to your seasonal decor for years to come. Happy crafting!
Elizabeth Davis
Elizabeth is a creative writer and digital editor based in the United States. She has a passion for the arts and crafts, which she developed from a young age. Elizabeth has always loved experimenting with new mediums and sharing her work with others. When she started blogging, she knew that DIYquickly would be the perfect platform to share her tutorials and tips. She's been writing for the blog from the beginning, and her readers love her helpful advice and easy-to-follow instructions. When she's not writing or editing, Elizabeth enjoys spending time with her family and friends.