
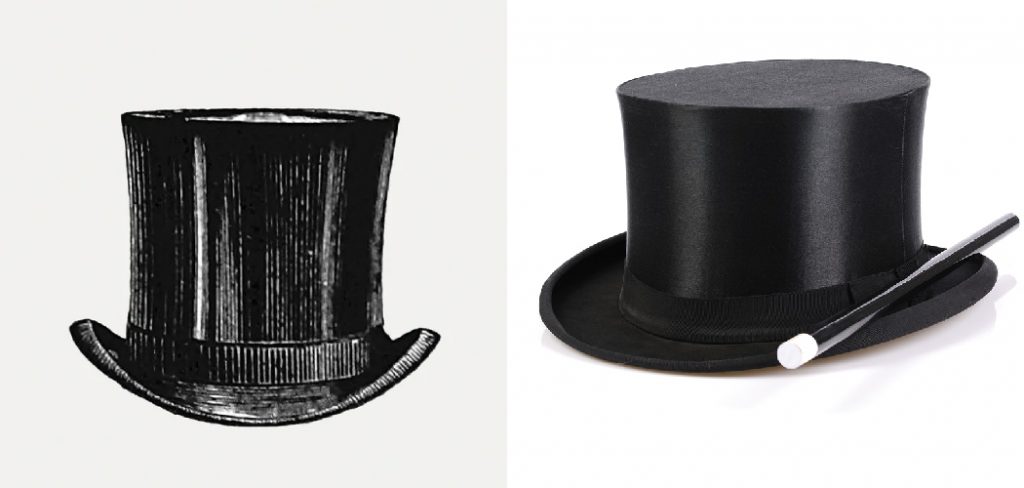
How to Make a Top Hat Out Of Paper
Introduction
Making a top hat out of paper is relatively easy. Today we will discuss an easy technique on how to make a top hat out of paper. The steps belonging to this process are stated below. First, you need to take a rectangular piece of paper and then fold it in half. After that, you need to take the top two corners and make them meet in the center. Now, you need to take the bottom edge and make it meet the top edge in the center.
Procedure
• Step One
For making the paper top hat, you will need some essentials. Among them, at first, you will need a measuring tape, but if you could manage a scale, then it will also be preferable for the task. Then you will need some cardboard and an ordinary paper. You will need some acrylic color, there are specific actions on the design for the hat, and you can quickly grab any suitable format from the internet and paint your hat in that manner. You will need a pair of scissors and a pencil to mark the measurement, and the most important thing you will need is a strong glue.
• Step Two
Once you have gathered all these accessories, you can quickly start the task. You have to place a cutting board in the table and then place the cardboard on it. The cardboard is required for making the border of the hat. You have to take a measuring tape and using a compass, and you have to draw a circle on the cardboard. You can easily find the primary dimension for the hat form internet. Then you have to draw two circles on the cardboard with a difference of two inches in radius. Once the circles are drawn, you have to carve out the portion between two rings.
• Step Three
After the border of the hat is prepared, you have to measure the inner circle, and then according to the circumference of the inner circle, you have to cut the paper, which will be the central cylindrical portion of the hat. This portion will have a height of at least six inches to one foot, and the circumference of this paper will be equal to the rim of the inner circle of the border. Once the top of the hat is carved correctly out, you have to cut a small piece of paper, which will be used to attach these two portions.
• Step Four
Now you have to take the paper strip and apply glue on the paper strip. Then you have to fold the paper strip in two halves. Once it is prepared using the bond, you have to connect the hat’s border and the cylindrical portion. After making the connection, you have to start carving a circle for the top of the hat. The ring will be cut from the cardboard, and it will be attached to the cap using glue. The total hat will be completed in this manner, and now you can apply the acrylic colors to design your hat. You can also apply bow tie and other ornamental decorations.
Conclusion
In conclusion, We hope that the process we have stated here will help you make a top hat out of paper. You can easily apply this process and complete your desired hat. This technique will much benefit the beginners. Thank you for your time. Have a nice day!
You may read also –
- How to Make a Fabric Birthday Hat
- How to Make a Valentine Box Out of Paper
- How To Make A Tricorn Hat Out Of Paper
Elizabeth Davis
Elizabeth is a creative writer and digital editor based in the United States. She has a passion for the arts and crafts, which she developed from a young age. Elizabeth has always loved experimenting with new mediums and sharing her work with others. When she started blogging, she knew that DIYquickly would be the perfect platform to share her tutorials and tips. She's been writing for the blog from the beginning, and her readers love her helpful advice and easy-to-follow instructions. When she's not writing or editing, Elizabeth enjoys spending time with her family and friends.


