
How to Make a Christmas Headband
Are you looking to add some extra charm to your holiday outfit? A Christmas headband is the perfect accessory for spreading some festive cheer! Not only is it easy and inexpensive to make, but you can also customize it to match your style.
How to make a christmas headband is a fun and festive way to get into the holiday spirit! Whether you’re preparing for a holiday party, looking for a unique accessory to complement your Christmas outfit, or simply wanting to express your creativity, making your own headband can be a delightful project.
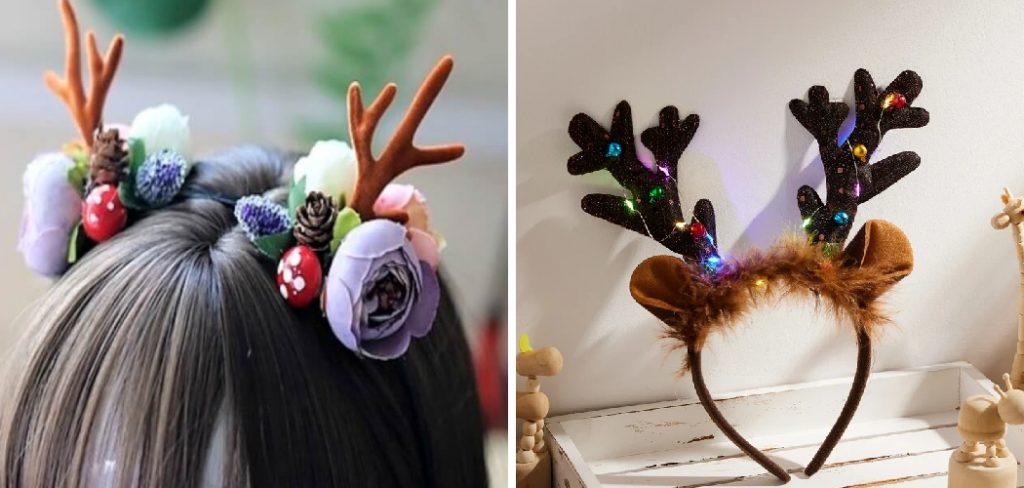
This guide will walk you through the materials needed and the step-by-step process to craft a charming Christmas headband that showcases your style. Get ready to spread some holiday cheer with your very own handmade accessory!
What Will You Need?
To create a beautiful Christmas headband, you will need the following materials:
- A plain headband (preferably in a neutral color like white or black)
- Felt sheets are made in various colors (red, green, gold, silver, etc.)
- Scissors
- Glue gun or fabric glue
- Embellishments such as ribbons, bells, sequins, or beads
Once you have gathered all the necessary materials, it’s time to get creative and start making your Christmas headband!
10 Easy Steps on How to Make a Christmas Headband
Step 1: Choose Your Design
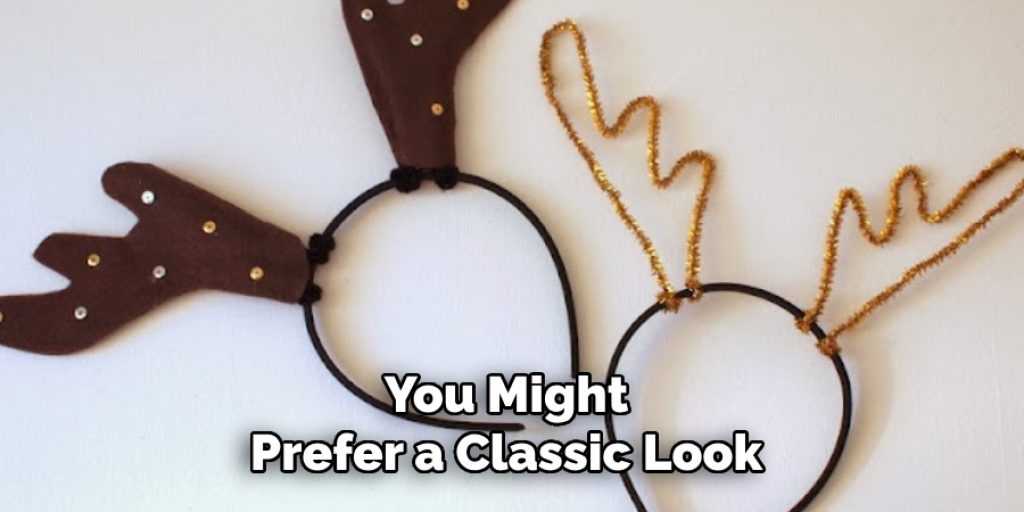
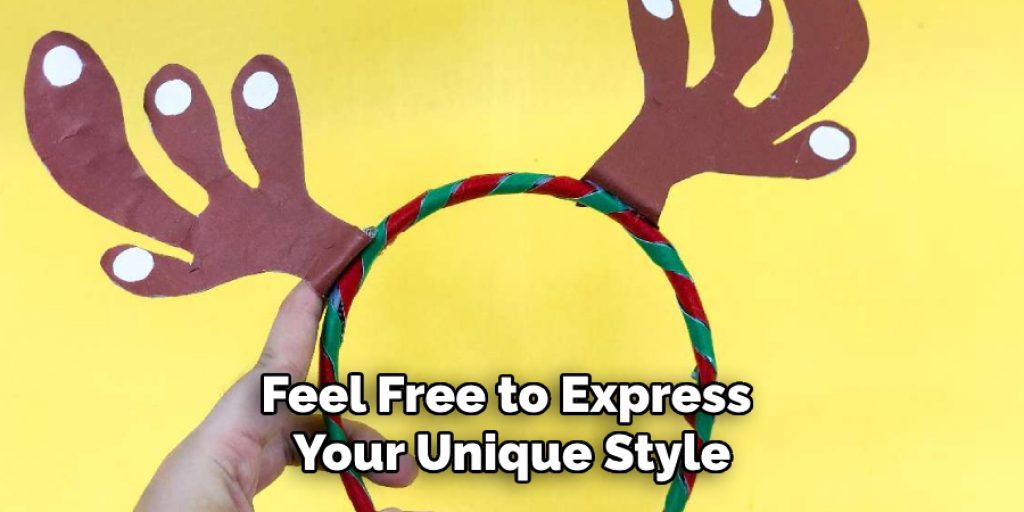
Before you dive into crafting your Christmas headband, take a moment to envision the design you want to create. Think about the colors and embellishments that resonate with your holiday aesthetic. You might prefer a classic look with traditional red and green hues, or you could opt for a more modern twist with metallics or glitter. Consider incorporating popular Christmas motifs like holly, snowflakes, or Santa Claus to add a whimsical touch. You can sketch your design on paper or browse online for inspiration to help solidify your vision. Remember, this is your creation, so feel free to express your unique style and make it as simple or elaborate as you desire!
Step 2: Cut Your Felt Pieces
Once you have your design in mind, it’s time to cut out your felt pieces. Use your scissors to cut shapes carefully based on your design. For instance, if you add holly leaves, cut out a few leaf shapes from the green felt. If you’re including flowers, create petal shapes from the red felt. Make sure to cut multiple pieces if your design requires layering or if you’d like to add depth. Take your time with this step, as neat shapes will contribute to the overall appearance of your headband.
Step 3: Arrange Your Felt Pieces
Now that your felt pieces are cut out, it’s time to arrange them on the headband to see how they fit together. Start by laying out the larger pieces first, such as leaves or more oversized embellishments, to form the foundation of your design. Once you’re satisfied with the arrangement, consider the balance and flow of the elements. Adjust them as necessary until you achieve the desired look. Take a moment to step back and view your arrangement from different angles to ensure it’s visually appealing. This step is crucial as it allows you to finalize your design before moving on to the next stage of gluing everything in place.
Step 4: Glue Everything in Place
With your arrangement set, it’s time to start gluing your felt pieces onto the headband. Using your glue gun or fabric glue, apply a small amount of adhesive to the back of each felt piece and carefully press it onto the headband. Begin with the larger pieces to create a stable base, and then layer the more minor embellishments on top. Make sure to work quickly, as some glues dry fast. Hold each piece for a few seconds to ensure it adheres properly. Continue this process until all your felt shapes and decorations are securely attached, ensuring each element is positioned precisely as you want. Be mindful of excess glue, and wipe it away as needed to keep your headband looking clean and polished.
Step 5: Add Embellishments
To elevate your Christmas headband and give it that extra festive flair, it’s time to incorporate embellishments! Add ribbons, sequins, or small bells to complement your felt pieces. Use your glue gun to attach these decorative elements strategically around your design, ensuring they enhance rather than overpower the overall look. For instance, you might tie a bow using a lovely ribbon and secure it at one side of the headband or sprinkle a few sequins around your felt flowers to emulate sparkling snow. This step allows you to personalize your headband further, showcasing your creativity and festive spirit!
Step 6: Add a Lining
For an extra touch of comfort and style, consider adding a lining to the inside of your headband. This step is optional, but it can enhance the overall appeal and ensure that the headband feels good against your skin. To do this, cut a strip of felt or fabric that matches your design and is slightly longer than the headband’s length. Apply glue along the inner edge of the headband and carefully press the lining into place, smoothing it out to avoid any wrinkles. Once secured, trim any excess material for a neat finish. This lining provides added comfort and gives your headband a polished, professional look.
Step 7: Allow to Dry
Once all your embellishments and linings are in place, allowing your headband to dry completely before wearing it is crucial. This ensures that all the glued pieces are securely attached and prevents any accidental detachment while putting them on. Place the headband on a flat surface and allow it to sit undisturbed for at least an hour or according to the glue manufacturer’s instructions. If you use hot glue, be cautious as it may take a little longer to cool down completely. Once dry, gently tug it to ensure everything is securely in place.
Step 8: Final Touches
Now that your headband has dried, it’s time to add any final touches that will make your design pop! Examine your headband for any areas that might need extra embellishments or adjustments. You might want to add a few more sequins for sparkle or perhaps a light dusting of glitter for a bit of shimmer. You can also use a fabric marker to draw festive patterns or words on felt pieces to enhance your design. This step is all about personalizing your headband to make it truly unique and aligned with your holiday spirit. Take your time and feel free to experiment—this is your chance to make your headband stand out!
Step 9: Try It On
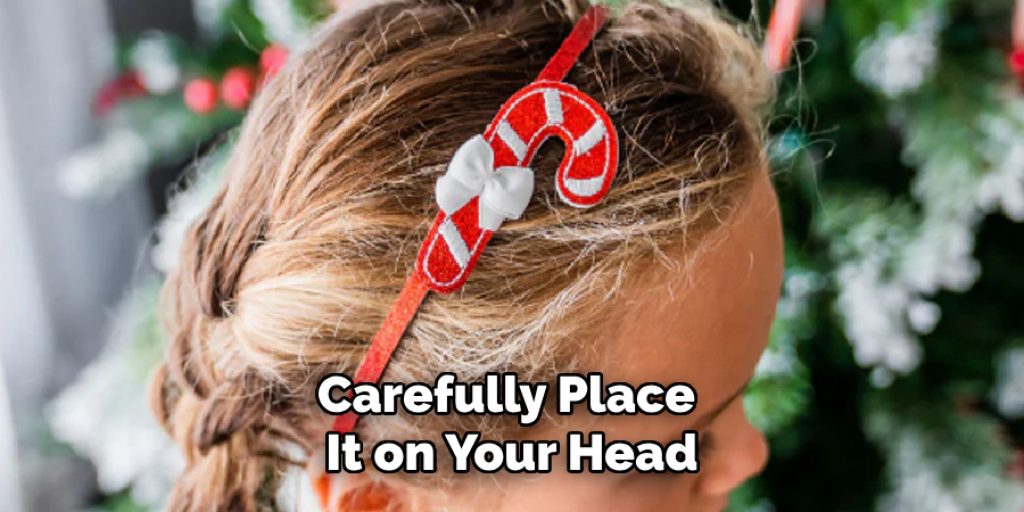
With all the creative elements in place, it’s now time to try on your Christmas headband! Carefully place it on your head and adjust it for comfort and fit. Check the arrangement of the embellishments and felt pieces in the mirror to ensure everything sits nicely and looks as you envisioned. This is also a great time to ask a friend or family member for their opinion—sometimes an outside perspective can provide valuable feedback on your design. Enjoy seeing the results of your hard work and feel the festive cheer radiating from your new creation!
Step 10: Share Your Creation
After all that effort, don’t forget to share your beautiful Christmas headband with others! Take some pictures to capture your handiwork, and consider wearing it to holiday gatherings or parties. You can also post your creation on social media platforms or holiday crafting groups to inspire others to embark on a similar DIY project. Encourage friends and family to join in on the fun, and perhaps organize a festive crafting session where everyone can create their unique headbands. Spreading joy and creativity during the holiday season is one of the best gifts you can give!
By following these ten steps, you can create a gorgeous Christmas headband that will elevate your holiday look and bring cheer to those around you.
5 Things You Should Avoid
- Neglecting Safety Precautions: Hot glue guns can be a safety hazard if improperly handled. Always keep the glue gun out of reach of children and be cautious when using it to avoid burns. Let the glue cool down before touching it to prevent accidental injuries.
- Overloading with Decorations: While it’s tempting to go all out with embellishments, overcrowding your headband can make it look messy and unappealing. Aim for a balanced design by selectively choosing key embellishments that complement your main pieces without overwhelming the overall aesthetic.
- Using Low-Quality Materials: Opting for cheap or unsuitable materials can result in a headband that doesn’t hold up or looks subpar. Invest in quality felt, glue, and embellishments to ensure your creation is both beautiful and durable.
- Skipping the Drying Time: Rushing the drying process can cause elements to fall off or become misaligned when you wear the headband. Always allow ample time for everything to dry completely before moving on to the final steps or wearing your headband.
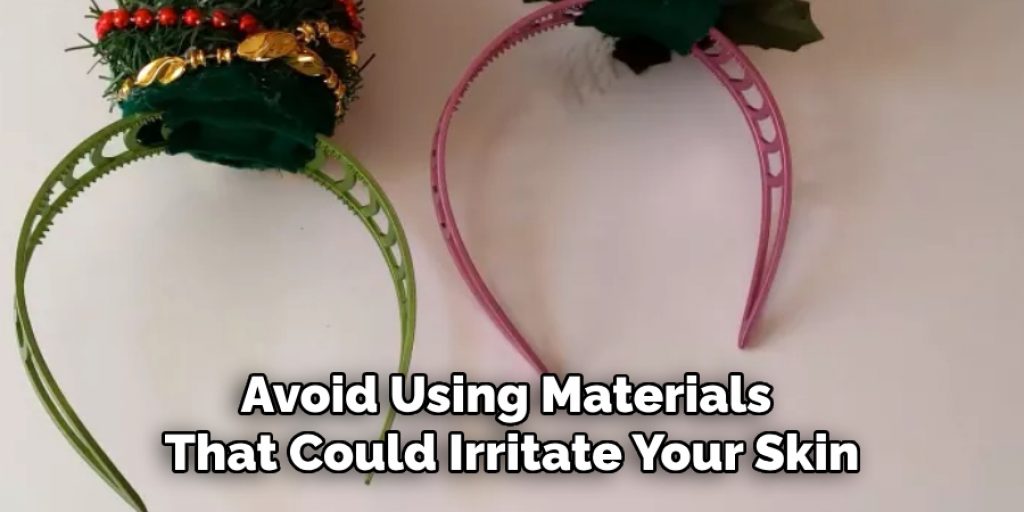
- Ignoring Comfort: It’s important to consider the comfort of your headband. Avoid using materials that could irritate your skin, and make sure the size and fit are appropriate to prevent it from being too tight or slipping off. Test the headband for comfort before finalizing your design.
Conclusion
How to make a christmas headband is a delightful project that not only allows for creativity but also adds a personal touch to your holiday celebrations.
Following the ten detailed steps outlined above, you can design a headband that reflects your style and festive spirit. Remember to take your time with each step, from selecting materials to applying embellishments, and don’t be afraid to experiment with your design. Ultimately, this cheerful accessory can be a statement piece at any holiday gathering and a wonderful conversation starter.
So gather your supplies, unleash your imagination, and enjoy the process of making a unique headband that encapsulates the joy of the season!
Elizabeth Davis
Elizabeth is a creative writer and digital editor based in the United States. She has a passion for the arts and crafts, which she developed from a young age. Elizabeth has always loved experimenting with new mediums and sharing her work with others. When she started blogging, she knew that DIYquickly would be the perfect platform to share her tutorials and tips. She's been writing for the blog from the beginning, and her readers love her helpful advice and easy-to-follow instructions. When she's not writing or editing, Elizabeth enjoys spending time with her family and friends.


