How to Paint Jenga Blocks
Painting Jenga blocks is a fun and creative way to personalize this classic game and enhance its visual appeal. Whether you’re looking to brighten up a family game night or create unique handmade gifts, customizing Jenga blocks allows for endless artistic expression.
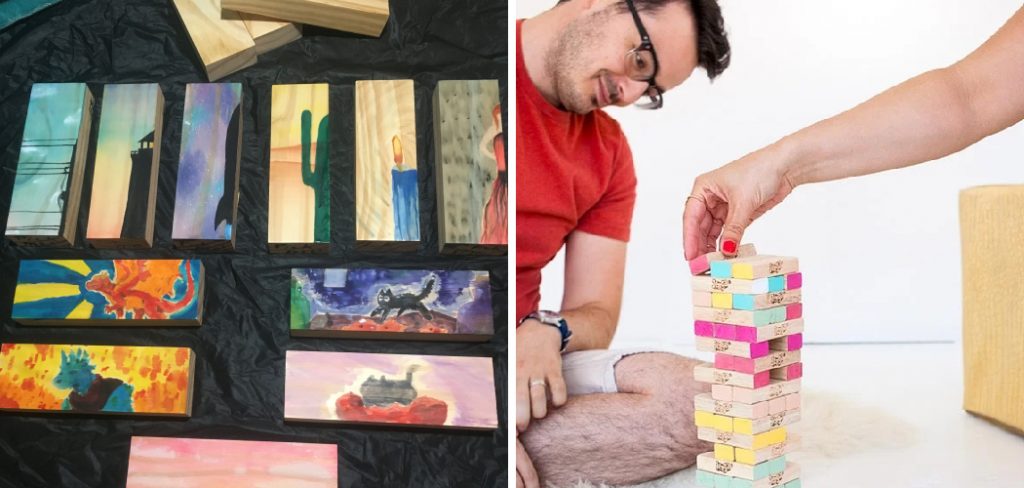
This guide on how to paint jenga blocks will walk you through the steps needed to transform plain wooden blocks into vibrant, one-of-a-kind pieces that can be enjoyed for years to come. Get ready to unleash your creativity as we delve into materials, techniques, and design ideas to elevate your Jenga experience!
Why Paint Jenga Blocks?
Before we dive into the painting process, let’s take a moment to appreciate why painting Jenga blocks is worth your time and effort.
First and foremost, painting Jenga blocks allows you to personalize this classic game according to your own style and preferences. You can choose any color combination or design to match your home decor, favorite sports team, or even a special occasion.
Additionally, painting Jenga blocks adds durability and protection to the wooden pieces. The paint acts as a sealant, preventing the blocks from getting damaged due to constant use and handling. This makes painted Jenga blocks ideal for outdoor use as well.
Finally, painting Jenga blocks is a great way to unleash your creativity and have fun with friends and family. It’s a simple yet satisfying DIY project that anyone can enjoy regardless of their artistic abilities.
Materials Needed
To get started on your painting journey, here are the materials you will need:
- Jenga Blocks (the Standard Game Comes With 54 Blocks)
- Acrylic Paints or Spray Paint
- Paintbrushes in Various Sizes
- Paint Palette or Paper Plate
- Water and Paper Towels for Cleaning Brushes
- Optional: Sealant Spray for Added Durability
8 Step-by-step Guides on How to Paint Jenga Blocks
Step 1: Prepare Your Workspace
Before you start painting your Jenga blocks, it’s essential to create a clean and organized workspace. Choose a well-ventilated area, as paint fumes can be strong, especially with spray paint. Lay down a drop cloth or newspaper to protect your surfaces from any paint spills or splatters.
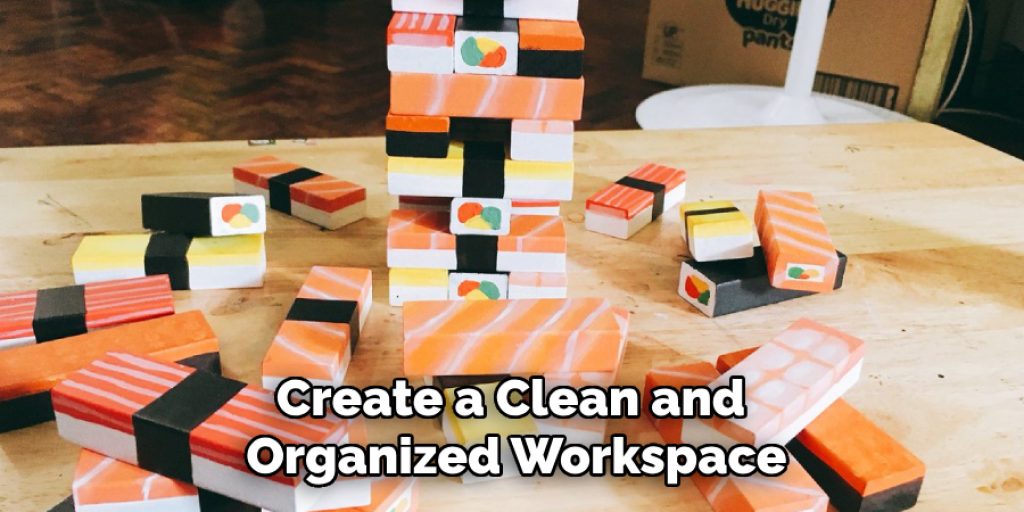
Gather all your materials, including Jenga blocks, paints, brushes, and cleaning supplies, and keep them within easy reach. Making sure your workspace is tidy and functional will help you focus on creating your designs without distractions or mess.
Step 2: Sand the Blocks
This step is optional but recommended, especially if you’re using unfinished wooden blocks. Use a fine-grit sandpaper to lightly sand the surface of each block. This will help create a smooth and even surface for the paint to adhere to, resulting in a more polished finish.
After sanding, wipe down the blocks with a damp cloth to remove any dust or debris. Let them dry completely before moving on to the next step.
Step 3: Choose Your Design and Colors
Once your Jenga blocks are prepped and ready, it’s time to unleash your imagination by choosing your design and colors. Consider the theme you want to portray, whether it’s a playful mix of vibrant colors, a more muted palette for an elegant look, or even a specific pattern like stripes, polka dots, or geometric shapes. You can sketch your ideas on paper beforehand to visualize how they will look on the blocks.
When selecting colors, think about the overall aesthetic you want to achieve. You can use complementary colors for a harmonious look or bold contrasting colors for a striking appearance. If you’re undecided, try testing some color combinations on scrap pieces or extra blocks to see how they work together before committing to your final design. This step is crucial as it sets the tone for your entire project, allowing your creativity to shine!
Step 4: Start Painting
Now comes the fun part – painting! Carefully dip your brush in the paint and start applying it to the blocks, using long, smooth strokes for a neat finish. If you’re using spray paint, follow the instructions on the can and apply thin coats, allowing each layer to dry before adding another one.
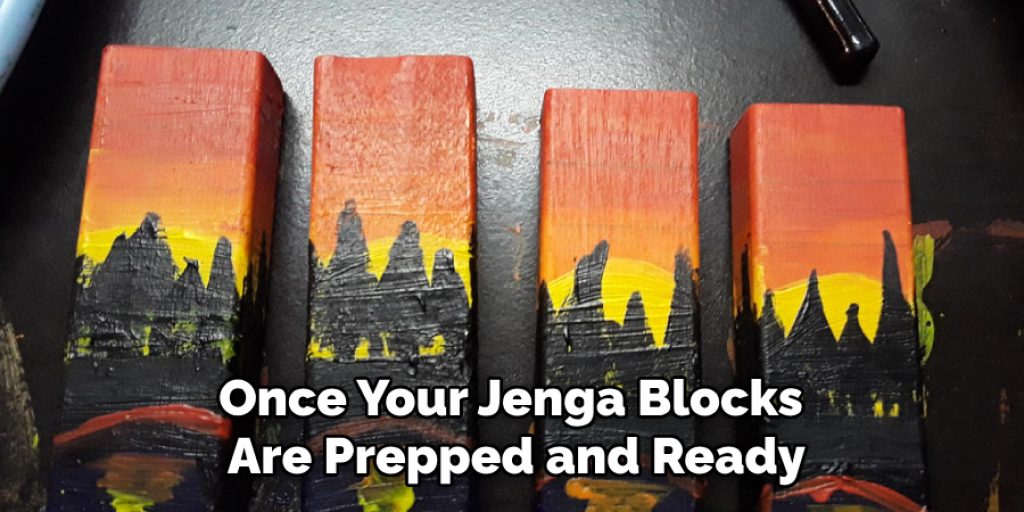
If you’re painting designs that require precise lines or small details, use a smaller brush or even a toothpick to ensure accuracy. Remember to clean your brushes in between colors by rinsing them with water and drying them with paper towels. This will prevent any unwanted mixing of colors.
Step 5: Allow Time for Drying
Once you’ve completed painting all the blocks, place them on a clean surface to dry. Depending on the type of paint used, it may take anywhere from a few minutes to a few hours for the blocks to fully dry. It’s essential to be patient at this stage as rushing can cause smudging or imperfections in your design.
You can use this time to take a break, clean up your workspace, or start planning your next Jenga block design!
Step 6: Add Additional Layers
If you want to add more depth and dimension to your designs, consider adding additional layers of paint. This can be achieved by using different shades of the same color or layering contrasting colors on top of each other. It’s also an excellent opportunity to fix any mistakes or touch up any areas that may need it.
Again, make sure to allow enough drying time between layers before handling the blocks again.
Step 7: Protect Your Blocks (Optional)
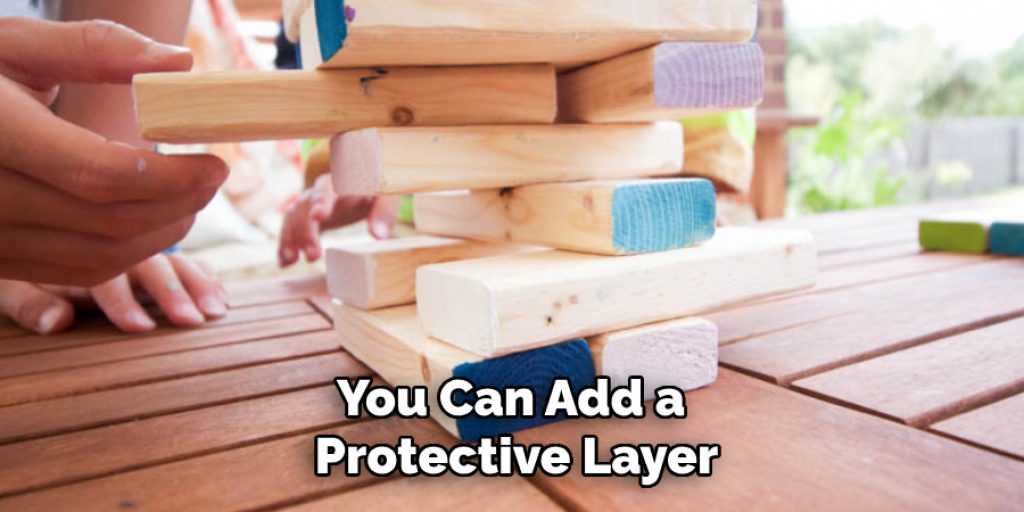
To ensure your painted Jenga blocks last for years to come, you can add a protective layer by using a sealant spray. This will not only protect the paint from chipping or peeling but also make it easier to clean and maintain your blocks.
Follow the instructions on how to paint jenga blocks, and make sure to do this in a well-ventilated area as well. Once dry, your blocks are ready for use!
Step 8: Play and Display
Congratulations, you’ve successfully painted your Jenga blocks! Now it’s time to put them to good use and play the game with friends and family. You can also proudly display your custom-designed blocks as home decor or give them as gifts to loved ones.
Remember to have fun throughout the painting process and let your imagination run wild. The
possibilities are endless with painted Jenga blocks – so go ahead and create something unique!
Do You Need to Use Professionals?
While painting Jenga blocks can be a fun and rewarding DIY project, some individuals may wonder if hiring a professional is necessary. Generally, it depends on the complexity of your desired design and the level of expertise you seek. For simple patterns and bold colors, most people can achieve great results on their own with a little patience and practice.
However, if you are looking for intricate designs, custom artwork, or a flawless finish, enlisting the help of a professional artist could elevate your project significantly. They possess advanced skills and techniques that can help bring your vision to life, ensuring a polished look that might be challenging to replicate by hand. Ultimately, the decision should align with your personal goals for the project, your confidence in painting, and the time you wish to invest. It’s always a great idea to explore your options and find what works best for you.
Frequently Asked Questions
Q: Do I Have to Sand My Jenga Blocks Before Painting Them?
A: Sanding is an optional step but highly recommended for a smoother surface and better paint adhesion. It also helps achieve a more polished finish. The decision is ultimately up to you and your personal preference.
Q: Can I Use Any Type of Paint to Paint My Jenga Blocks?
A: Yes, you can use any type of paint, including acrylic paints or spray paint. Just make sure to follow the instructions for each type and allow enough drying time between coats.
Q: How Do I Clean My Brushes in Between Colours?
A: Rinse your brushes with water and dry them with paper towels before switching to a different color. This will prevent any unwanted mixing of colors.
Q: Can I Play With My Painted Jenga Blocks?
A: Absolutely! Once they are fully dry, your painted Jenga blocks are ready for playtime. Just be careful not to drop or knock over any blocks onto a hard surface, as this can damage the paint.
Conclusion
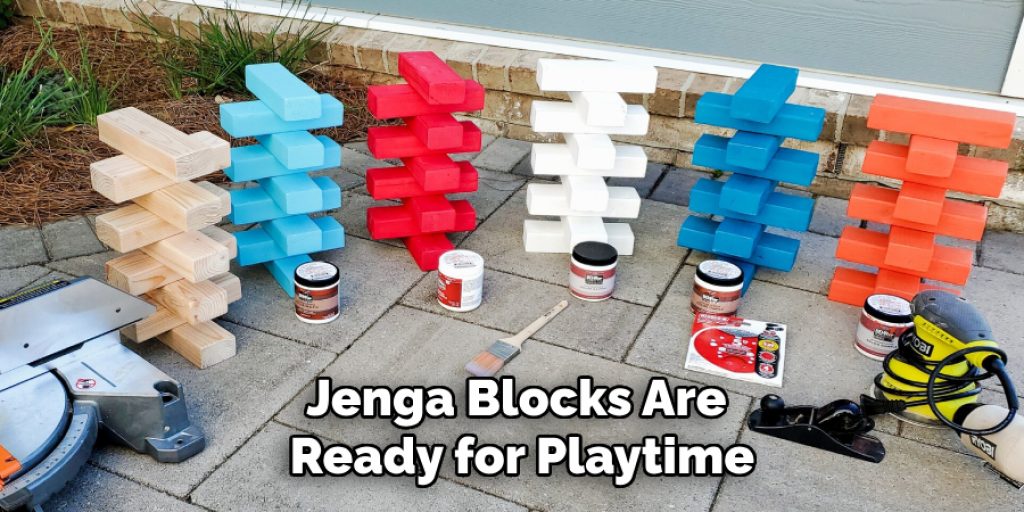
Painting Jenga blocks is not only a delightful way to personalize a classic game, but it also serves as a fantastic outlet for creativity and self-expression. By following the simple steps on how to paint jenga blocks outlined above, you can transform plain wooden blocks into vibrant, eye-catching pieces that enhance the gaming experience and bring joy to gatherings with family and friends.
Whether you choose to paint intricate designs or opt for a minimalist approach, the end result is a unique set of blocks that reflects your personality. So gather your materials, embrace your artistic side, and enjoy the process of crafting your very own custom Jenga blocks!


