How to Glue Pom Poms to a Shirt
Adding pom poms to a shirt is a fun and creative way to personalize your clothing, giving it a unique flair. Whether you want to revamp an old shirt or create a one-of-a-kind piece, gluing pom poms can transform your garment into a vibrant accessory.
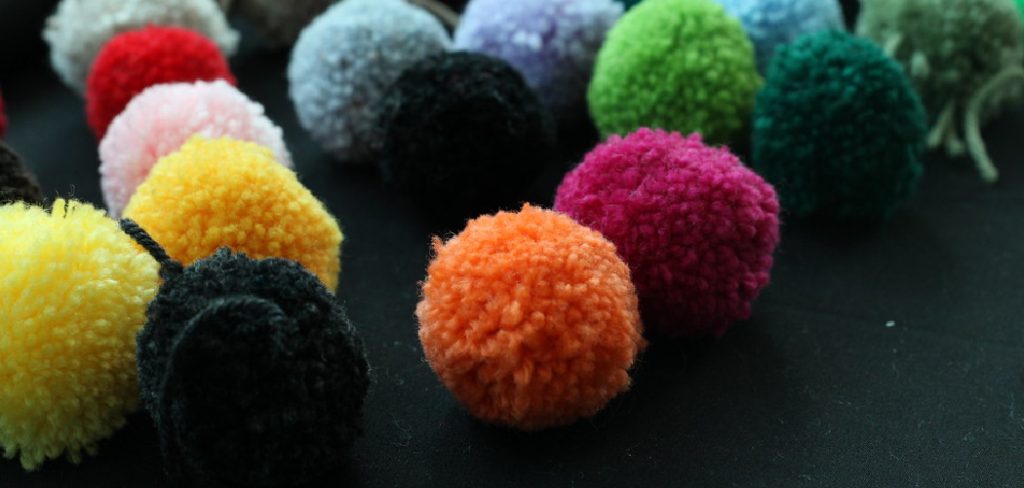
This project is not only simple and accessible but also allows for endless customization with color, size, and placement options. In this guide on how to glue pom poms to a shirt, we will walk you through the essential steps to successfully glue pom poms onto your shirt, ensuring that your creation stands out in any crowd.
Why Glue Pom Poms to a Shirt?
There are several reasons why you might choose to glue pom poms to a shirt. Not only is it a fun and easy way to add some personality to your clothes, but it also allows for creativity and personalization. Here are a few specific benefits of gluing pom poms onto shirts:
Cost-effective:
Gluing pom poms is an affordable way to update an old shirt or create something new without breaking the bank.
Customizable:
With various sizes, colors, and placement options available, you can truly make your shirt one-of-a-kind.
No Sewing Required:
If you’re not skilled with a needle and thread, don’t worry! Gluing pom poms is an easy alternative to sewing them on.
Versatile:
Pom poms can be glued onto any type of fabric, making it accessible for creating unique designs on different types of clothing.
With all these great benefits, let’s get started on the step-by-step guide to gluing pom poms onto a shirt.
Materials Needed
- A Shirt (Preferably Cotton or Denim)
- Pom Poms (Various Sizes and Colours)
- Fabric Glue
- Pins
- Scissors
8 Step-by-step Guidelines on How to Glue Pom Poms to a Shirt
Step 1: Choose Your Shirt and Pom Poms
The first step in gluing pom poms to your shirt is selecting the garment and the pom poms you’ll be using. Choose a shirt made of a sturdy fabric like cotton or denim, as these materials will hold the pom poms securely when glued. Next, consider the colors and sizes of the pom poms you want to use.

Think about the overall design you envision—do you want a playful, multicolored look or a more subtle, monochromatic theme? Lay out your chosen pom poms next to the shirt to get a feel for how they complement each other before moving on to the next step.
Step 2: Plan Your Design
Before gluing the pom poms onto your shirt, it’s a good idea to plan out the design and placement. Use pins to temporarily attach the pom poms to the shirt in different locations until you’re happy with the arrangement. This step will prevent any mistakes or regrets later on when everything is already glued down.
It’s also helpful to take a picture or draw a rough sketch of your design to refer back to during the gluing process.
Step 3: Prepare Your Workspace
Before you begin gluing, it’s essential to create a clean and organized workspace. Choose a flat surface that’s well-lit, ensuring you have enough room to spread out your materials. Lay down a protective covering, such as newspaper or a crafting mat, to catch any glue spills and keep your area tidy.
Gather all your materials—your shirt, pom poms, fabric glue, pins, and scissors—so that they are easily accessible during the process. This preparation will help you work efficiently and avoid any interruptions while gluing the pom poms to your shirt.
Step 4: Measure and Cut Any Excess Thread
Before you begin gluing your pom poms, it’s important to check for any excess thread on your shirt. If your shirt has recently been hemmed or if it’s an older piece with loose threads, these can detract from the overall appearance of your design.
Take a moment to carefully examine the seams and edges. Using your scissors, measure out any loose threads that need trimming and cut them off cleanly. This will ensure a neat and polished look for your pom pom embellishments, allowing them to truly shine without any distractions from the fabric.
Step 5: Glue One Pom Pom at a Time
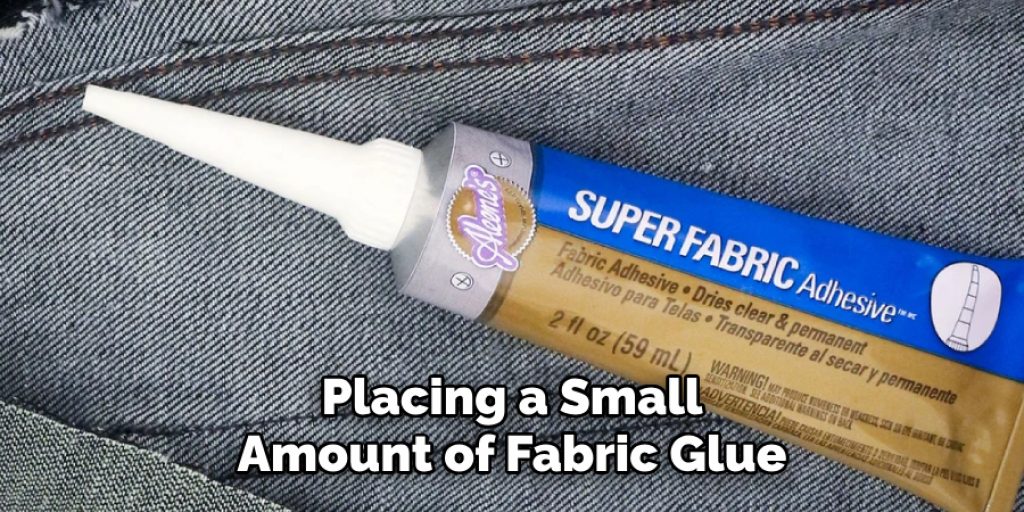
Now it’s time to start gluing your pom poms onto the shirt. Begin by placing a small amount of fabric glue directly onto the back of one pom pom, then press it firmly onto the shirt in your desired location. Hold it in place for a few seconds to allow the glue to bond with the fabric.
Continue this process, working with one pom pom at a time and following your planned design layout from step two. Be mindful not to use too much glue as it can seep through and stain the front of your shirt or cause the fabric to become stiff.
Step 6: Allow Time for Drying
Once all the pom poms are glued onto your shirt, it’s crucial to allow enough time for them to dry completely. The drying time will depend on the type of fabric glue you’re using, so refer to the instructions on the packaging.
It’s recommended to leave the shirt flat and undisturbed for at least 24 hours to ensure that all the pom poms are securely attached before wearing or washing it.
Step 7: Reinforce with Sewing (Optional)
For added security and longevity, you can reinforce your pom poms by sewing them onto your shirt after they have dried. This step is optional but highly recommended if you plan on regularly wearing and washing the shirt.
Using a needle and thread, carefully sew around the base of each pom pom. This will add an extra layer of hold and prevent any from falling off in the future.
Step 8: Enjoy Your Unique Pom Pom Shirt!
After completing all these steps, you now have a one-of-a-kind shirt with beautifully glued-on pom poms. Wear it proudly and revel in compliments and questions about where you got your vibrant accessory.
Following these guidelines on how to glue pom poms to a shirt, you can easily create a variety of designs on different types of shirts, from minimalistic to bold and colorful. Have fun experimenting with various pom pom sizes and colors to add your personal touch and elevate any piece in your wardrobe. Happy crafting!
Do You Need to Get Help From Your Friends for This Task?
Not necessarily! This is a fun and simple DIY project that can be done on your own. However, if you need some extra assistance or company while crafting, it’s always great to involve your friends or family. They can help with choosing pom poms, planning the design, and gluing them onto the shirt. Plus, it will be a fun bonding activity for everyone involved!
It’s also a great idea to host a pom pom shirt-making party and invite your friends over for some crafting fun. You can provide all the materials, or have each person bring their own shirt and pom poms to personalize their creations. It’s a fantastic way to spend time together while being creative and making unique fashion statements. So go ahead and gather your loved ones for a fun-filled afternoon of pom pom shirt making!
Frequently Asked Questions
Q1: Can I Use Any Fabric Glue for This Project?
A: It’s best to use a fabric glue specifically made for attaching embellishments like pom poms onto clothing. These glues are designed to provide a strong bond without damaging the fabric or hardening over time. However, if you don’t have access to fabric glue, a hot glue gun can also be used as a substitute.
Q2: Can I Use Different Types of Pom Poms?
A: Absolutely! You can use pom poms made from various materials such as yarn, felt, or even faux fur. Just make sure they are all roughly the same size and color for a cohesive design. You can also mix and match different sizes and colors for a more whimsical look. Get creative and have fun with it!
Q3: Can I Wash My Pom Pom Shirt?
A: Yes, you can wash your pom pom shirt, but it’s essential to follow the care instructions on the fabric glue packaging. Some glues may recommend hand washing or air drying to maintain the integrity of the bond between the pom poms and fabric. It’s also recommended to turn the shirt inside out before washing to protect the pom poms from any damage in the machine.
Conclusion
In summary, gluing pom poms to a shirt is a simple yet creative way to enhance your wardrobe without spending a lot of money or sewing skills. By following these step-by-step guidelines on how to glue pom poms to a shirt, you can easily transform an ordinary shirt into a unique and playful piece that reflects your personal style.
With the versatility of pom poms, you can create endless design possibilities, making it a great DIY project for people of all ages and skill levels. So why not give this fun craft a try and add some pom poms to your wardrobe today? Keep on crafting!

