
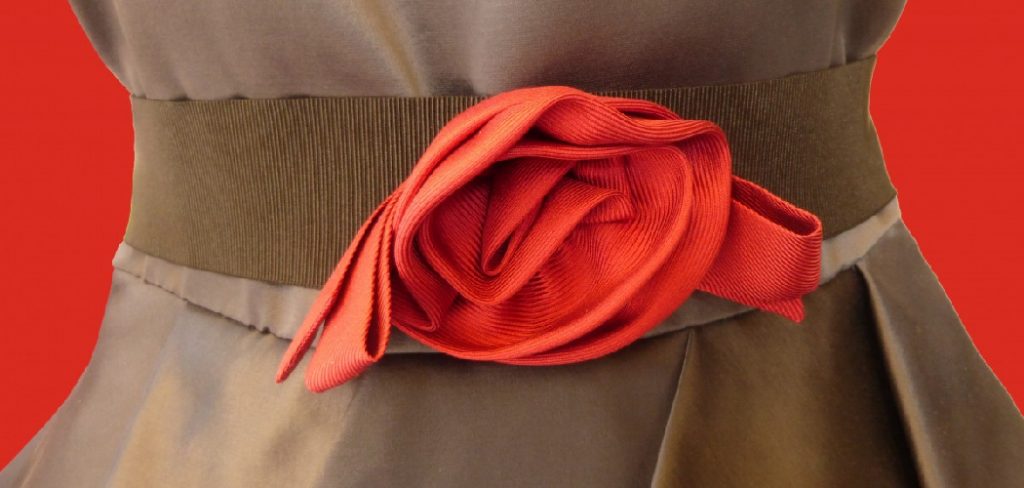
How to Tie a Sash Belt
Sash belts are a great way to add a touch of elegance to your outfit. But if you’ve never worn one before, they can seem daunting. In this article, we’ll discuss how to tie a sash belt. Here’s a quick and easy guide to tying a sash belt so that you can look chic and put-together, no matter what the occasion. Keep reading.
A sash belt is a perfect way to add a touch of elegance to any outfit. It can also define your waistline and create a more flattering silhouette. But if you’ve never worn one before, they can seem daunting. In addition, many people don’t know how to tie sash belts properly, leaving them looking a bit sloppy.
What is a Sash Tie?
A sash tie is a type of belt worn around the waist. It is typically made from fabric, and it is tied around the waist in a similar way to a traditional belt. However, sash ties are often more comprehensive than traditional belts, and they are often decorated with tassels or other embellishments.
There are several ways to tie a sash belt. The most common way is to wrap the belt around your waist and then tie it in a knot. You can also create a bowtie-style knot or tie the ends of the belt together.
Sash belts come in various shapes and sizes, so choosing the right belt for your body type is essential. When choosing a sash belt, make sure to consider the width and length of the belt and the material and color.
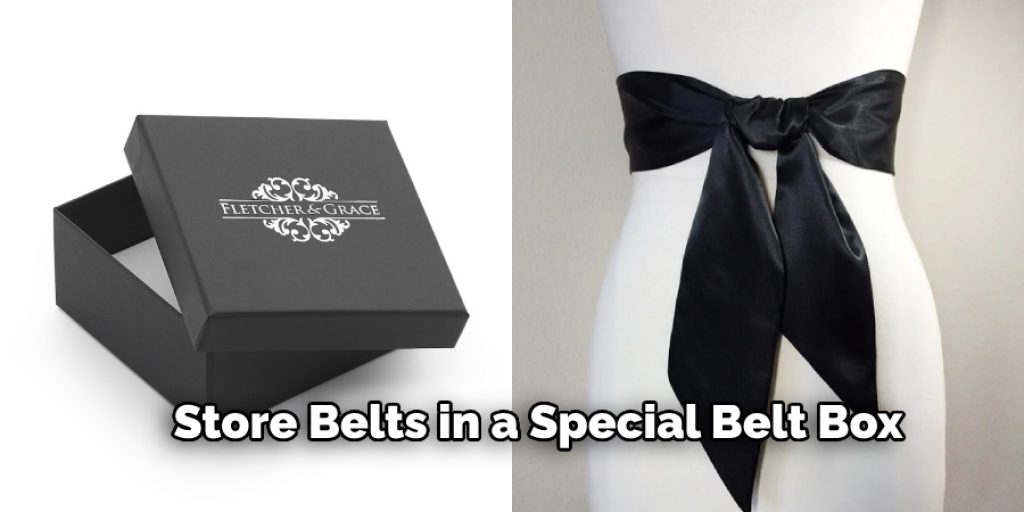
Sash belts can be stored in a variety of ways. Some people store their belts in a special belt box or case, while others fold them up and put them in a drawer. It is essential to keep your belt in a dry, dark place not to become damaged.
Sash belts are a fun and festive way to accessorize your outfit, and they can be worn for a variety of occasions. So whether you’re dressing up for a special event or want to add a touch of style to your everyday look, a sash belt is a perfect accessory. Try one today!
Why stop at just one sash belt? Experiment with different colors, patterns, and textures to add more personality to your outfit. You can also try wearing your sash belt in different ways, such as over a dress or coat, for a trendy layered look.
Don’t be afraid to mix and match your sash belts with other accessories like scarves or statement jewelry. This will add even more interest and individuality to your outfit.
Lastly, sash belts are not just limited to the waist. You can also wear them as a headband, tied around a ponytail, or even as a chic necklace. Let your creativity run wild and find unique ways to incorporate sash belts into your style.
11 A Step by Step Guide on How to Tie a Sash Belt
Step 1: Determine the Placement of the Sash Belt
The first step is to determine where you want to wear your belt. Most people wear belts around their waist, but you can also wear them higher or lower on your body, depending on your preference. The placement will also depend on the style of the outfit you are wearing. You can experiment with different placements to see what looks best on you. It’s essential to have a clear idea of where you want the belt to sit before moving on to the next step.
Step 2: Fold the Belt in Half
Fold the belt in half so that the two ends are even together. This will help you ensure that the belt is evenly distributed around your waist. If you have a long belt, you can fold it in half multiple times to achieve the desired length. The folded part of the belt will become the center point of your tie. You can also create a crease in the center to make it easier to tie later on. The folded part should be facing down towards your body.
Step 3: Place the Belt Around Your Waist
Place the belt around your waist, with the two ends at the front. Make sure that the belt is lying flat against your skin and that there are no wrinkles. The folded part of the belt should be in the center, and the two ends should be even. It’s essential to have a hold of both ends of the belt to ensure that it stays in place while you tie it. You can also use a mirror to check that the belt is sitting straight. The two ends should be hanging down towards the floor.
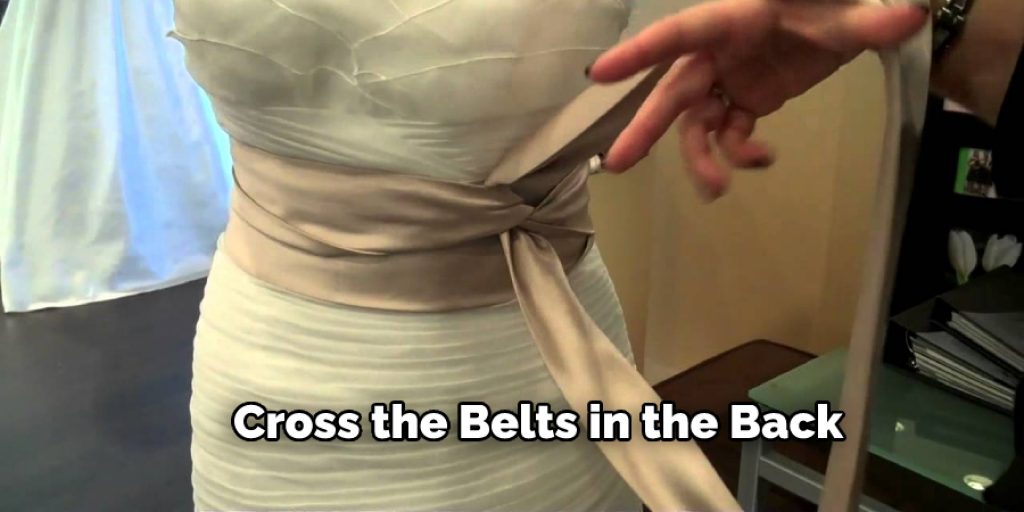
Step 4: Cross the Belts in the Back
Cross the belts in the back so that the left belt goes over the right belt and vice versa. This will create an “X” pattern on your back. You can also cross the belts in the front if you prefer, but crossing them in the back is generally more comfortable and creates a neater tie. You can adjust the placement of the belts to achieve your desired look. It’s essential to keep a hold of both ends of the belt while you do this.
Step 5: Bring the Belts to the Front Again
Bring the belts to the front again to be at the sides of your waist. Make sure that the belts are still crossed and the center point (the folded part of the belt) is facing down. Otherwise, you may end up with a twisted or uneven tie. Check that the belts are sitting straight and adjust if necessary. It’s essential to keep hold of the two ends of the belt while you do this. You may also need to hold the center point in place to prevent it from moving.
Step 6: Tie a Knot in the Front
Tie a knot in the front of the belt using the two belts. Ensure that the knot is tight and that there are no wrinkles in it. You can also create a bowtie-style knot by looping one of the belts around the other and then tying a knot. This creates a more decorative look and is perfect for fancier occasions. Double knotting your sash belt can also help keep it in place throughout the day. It’s essential to make sure the knot is centered and sitting at your desired placement.
Step 7: Tug on the Belts to Adjust
Tug on the belts until they are evenly distributed around your waist. You may need to adjust the knot as well. Make sure that the knot is tight and that there are no wrinkles in it. You can also pull on the center point of the belt to make sure it is centered and straight. Don’t be afraid to play around with different adjustments until you achieve your desired look. The beauty of sash belts is that they can be tied in various ways to create different styles.
Step 8: Voila! You’re Done!
Voila! You’re done! Your sash belt is now properly tied and ready to wear. Enjoy your chic new look.
There you have it – a simple guide on how to tie a sash belt. With a bit of practice, you’ll be able to do it like a pro in no time at all. So go ahead and give it a try. You’ll be glad you did. Happy styling! And remember, don’t be afraid to experiment and find new ways to wear sash belts.
With their versatility and style, they are sure to become a staple in your wardrobe. So go ahead and have fun accessorizing with sash belts! Keep your look fresh by trying different colors, patterns, and placements of the belt.
Tips:
Be sure to practice tying the belt in advance to do it quickly and efficiently when you need to.
- If you’re wearing a dress or skirt with a high waistline, a sash belt will help cinch your waist and create a more flattering silhouette.
- A sash belt can also be used to add interest and visual contrast to an outfit. For example, if you’re wearing a plain black dress, try adding a brightly colored sash belt for a pop of color.
- If you have a longer sash belt, you can tie it in multiple knots or bows for a more intricate and eye-catching look.
- When wearing a sash belt with a jacket or cardigan, make sure to adjust the placement of the belt so that it’s not hidden under the outer layer.
- Make sure to choose a sash belt that complements your outfit. For example, a thinner and more delicate sash belt may work better with a flowy dress, while a thicker and sturdier sash belt may be more suitable for jeans or skirts.
- Have fun and get creative! There are no strict rules when it comes to styling with sash belts, so feel free to experiment and find what works best for you.
- Lastly, don’t forget to embrace your unique style and wear your sash belt with confidence. After all, fashion is all about self-expression and feeling good in what you wear! Happy styling!
- And remember: a well-tied sash belt can take any outfit from drab to fab in just a few simple steps. So go ahead and add this versatile accessory to your collection. You won’t regret it! Now it’s time to show off your perfectly tied sash belt and rock that stylish look. Happy accessorizing!
How Do You Tie a Side Sash Belt?
There are a few different ways to tie a side sash belt, and the way you choose will likely depend on the look you’re going for. Here are three of the most popular ways to tie a side sash belt:
The Single Loop Method:
The most straightforward way to tie a side sash belt. To do it, thread one end of the belt through the loop on the other end, then pull tight.
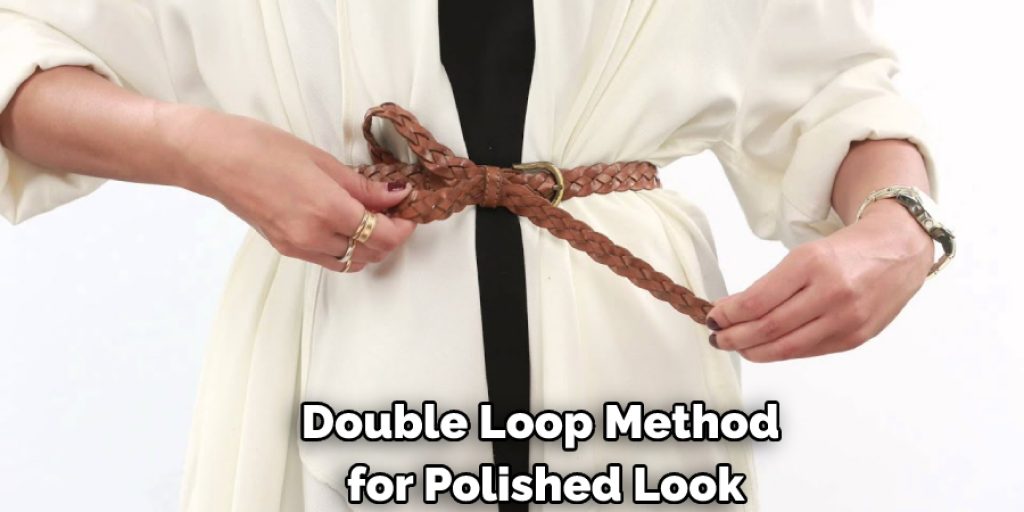
The Double Loop Method:
This method creates a more polished look than the single loop method. Make a small loop with one end of the belt, then make a larger loop with the other end of the belt. Finally, put the smaller loop through the largest loop, then pull tight.
The Bow Method:
The most feminine way to tie a side sash belt. Make a loop with one end of the belt, then make a second loop with the other end of the belt. Take the second loop and put it over the first loop, then pull tight. Finish by tying a bow in the middle of the loops.
Which method you choose will likely depend on the look you’re going for. If you want a more polished look, try the double-loop method. If you want a more feminine look, try the bow method. And if you want the simplest way to tie a side sash belt, try the single loop method. No matter which method you choose, follow these simple steps to ensure a perfect finish:
1. Make sure the belt is centered on your waist.
2. Thread one end of the belt through the loop on the other end.
3. Pull tight to create a snug fit.
4. Repeat for the other side of the belt.
- Tie a bow in the middle of the loops to finish.
Remember to adjust the placement and tightness of the belt as needed for your desired look. With a bit of practice, you’ll be able to tie a side sash belt flawlessly every time! Happy styling!
How Do You Tie a Front Sash?
There are a few different ways to tie a front sash belt, and the technique you choose will depend on the style of the belt and how tight you want the knot to be. Here are three of the most popular methods:
The Overhand Knot
This is the simplest way to tie a sash belt. Just make a loop with the belt, then bring the loop’s two ends together and tie them in an overhand knot.
The Square Knot
This knot is a bit more complicated than the overhand knot, but it’s still pretty easy. First, make a loop with the belt, then cross one end of the loop over the other and tuck it behind. Now, tie both ends of the loop together in a square knot.
The Granny Knot
This is the most complicated way to tie a sash belt, but it’s also the most secure. First, make a loop with the belt, then cross one end of the loop over the other and tie it in a knot. Now tie a second knot on top of the first one.
Again, the method you choose will depend on your desired look. For a simple and quick solution, go with the overhand knot. For a more intricate and secure knot, try the square or granny knots. Just remember to adjust the tightness of the belt as needed for your comfort and style. And don’t be afraid to experiment with different methods until you find what works best for you! Happy styling!
Frequently Asked Questions:
Q: Can a Sash Belt Be Worn With Pants?
A: Absolutely! Sash belts can add a touch of elegance to any outfit, including pants. Just make sure to choose a belt that complements your bottoms and adjust the placement and tightness for a comfortable fit. The front sash knot method works well with pants. It can also be worn with a blazer for a more sophisticated look. You can also experiment with different sash belt widths to find the one that works best for your pants.
Q: Can Sash Belts Be Worn With Any Outfit?
A: Yes, sash belts are versatile accessories that can be styled with almost any outfit. They can be worn with dresses, skirts, pants, and even jumpsuits. The key is to choose a sash belt that complements your outfit and to play around with different tying methods for unique looks. Don’t be afraid to mix and match different colors and patterns as well!
Q: Are There Any Tips for Tying Sash Belts?
A: Yes! One helpful tip is to make sure the belt is centered on your waist before tying. This will ensure a symmetrical look and prevent one side from being too loose or tight. It’s also important to adjust the tightness of the belt throughout the day as needed for comfort. And remember, practice makes perfect when it comes to tying sash belts, so don’t be discouraged if it takes a few tries to get it just right.
Q: Can Sash Belts Be Worn for Formal Events?
A: Definitely! Sash belts are a great way to add some elegance and flair to formal outfits. Opt for a wider, more structured sash belt in a solid color or metallic finish to elevate your look. The bow tying method works well for formal events, as it adds a touch of femininity and sophistication. Just make sure to pair your sash belt with the right outfit and accessories for a cohesive look. Happy styling!
Conclusion:
Now that you know how to tie a sash belt, it’s time to put your new skill to use! Experiment with different ways of connecting the belt and see which look is best for you. With a bit of practice, you’ll be able to put your unique spin on this trend. Thanks for following along – we hope you enjoy wearing your sash belts as much as we enjoyed teaching you how to tie them!
You Can Check It Out To Make White Face Makeup With Baby Powder
You Can Check It Out To Open a Belt Buckle
Jane Hubbard
Jane has always been passionate about hair and beauty. After many years of working as a hairdresser specialist, she decided to start her own consultancy business. She is an experienced haircare and beauty consultant, and she loves helping others find the perfect look for them. She has been writing articles for DIY quickly for over 3 years. In her free time she enjoys keeping up with the latest news in the industry, practicing yoga, and spending time with her friends and family.


