How Do I Reset My Gas Cap Light
Have you ever had the gas cap light come on in your car? It’s not a fun light to see because it usually means that there’s something wrong with your gas cap. But don’t worry – resetting the light is usually a quick and easy process. In this blog post, we’ll show you how do I reset my gas cap light. Keep reading to learn more.
What Causes the Gas Cap Light to Come On?
There are several reasons why the gas cap light might come on in your car. The most common reason is that the gas cap is not tightly closed. This can happen if you forget to tighten the gas cap after filling up or if the cap is damaged. Another common reason for the gas cap light to come on is a faulty or damaged gas cap. If the gas cap is not sealing properly, air and vapors can escape from the gas tank. This can trigger the light to come on.
The other common reason for the light to come on is a problem with the EVAP system. The EVAP system is responsible for storing and recycling. Again, if the gas cap is not tightly closed, this can cause the light to come on. Finally, a clogged fuel filter can also cause the gas cap light to come on.
Why Is It Important to Reset the Gas Cap Light?
It’s important to reset the gas cap light for a few reasons. First, if the light is on, it means that there’s a problem with the gas cap or the EVAP system. If you don’t reset the light, the problem will likely get worse over time. Second, if the light is on, your car is not getting the proper amount of fuel.
This can lead to decreased fuel efficiency and performance. Finally, the light can be a safety hazard if the light is on. If you’re driving with the gas cap light on, other drivers may think that you require assistance.
Step by Step Ways How Do I Reset My Gas Cap Light
1. Locate the Gas Cap
The first step is to find and locate the gas cap. In most cases, it is located on the driver’s side of the car near the fuel tank. If you are unsure of its location, consult your car’s owner’s manual. The gas cap is usually a small, round cap that unscrews.
2. Unscrew the Gas Cap
Once you have located the gas cap, unscrew it by turning it to the left. First, make sure that the cap is not too tight before trying to unscrew it. If it is, use a wrench or pliers to loosen it. Be sure to do this slowly and carefully so as not to strip the threads. If you strip the threads, you will not be able to screw the gas cap back on.
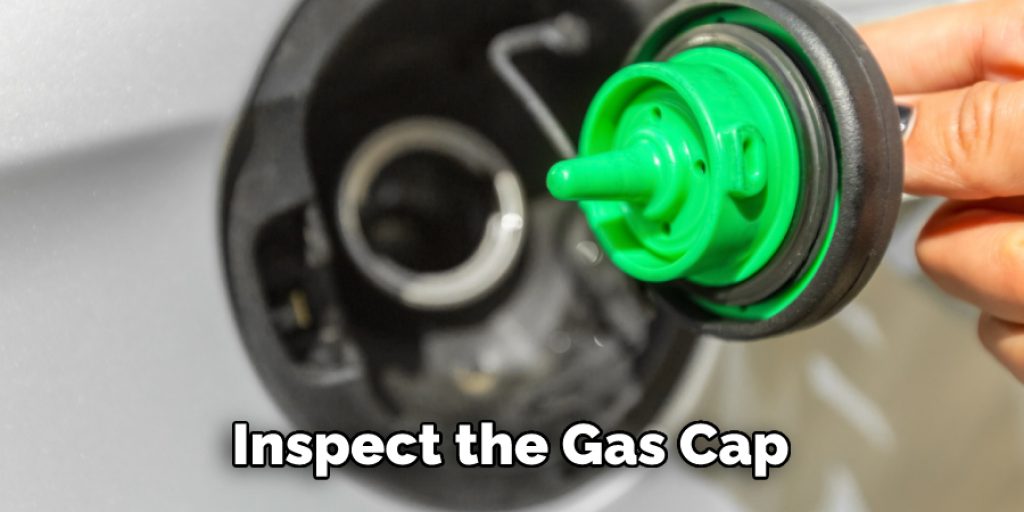
3. Inspect the Gas Cap
Once the gas cap is unscrewed, please take a look at it. If the gas cap is damaged, cracked, or missing its O-ring, then it will need to be replaced. The O-ring is a small rubber ring that helps to create a seal between the gas cap and the fuel tank. If the O-ring is damaged, it will not create a proper seal, and gas will be able to escape.
4. Clean the Gas Cap
If the gas cap looks to be in good condition, the next step is to clean it. Use a soft cloth or brush to remove any dirt, grime, or debris that may be on the gas cap. First, clean the exterior of the gas cap. Then, remove the O-ring and clean it as well. Be sure to inspect the O-ring for any damage. If it is damaged, you will need to replace it.
5. Replace the O-ring
If the O-ring on the gas cap is damaged, it will need to be replaced. O-rings can be purchased at most auto parts stores. To replace the O-ring, first, remove the gas cap and unscrew the O-ring from the inside of the cap. Screw on a new O-ring, making sure that it is tight. Replace the gas cap and turn it to the right until it clicks. This will ensure that the O-ring is properly seated.
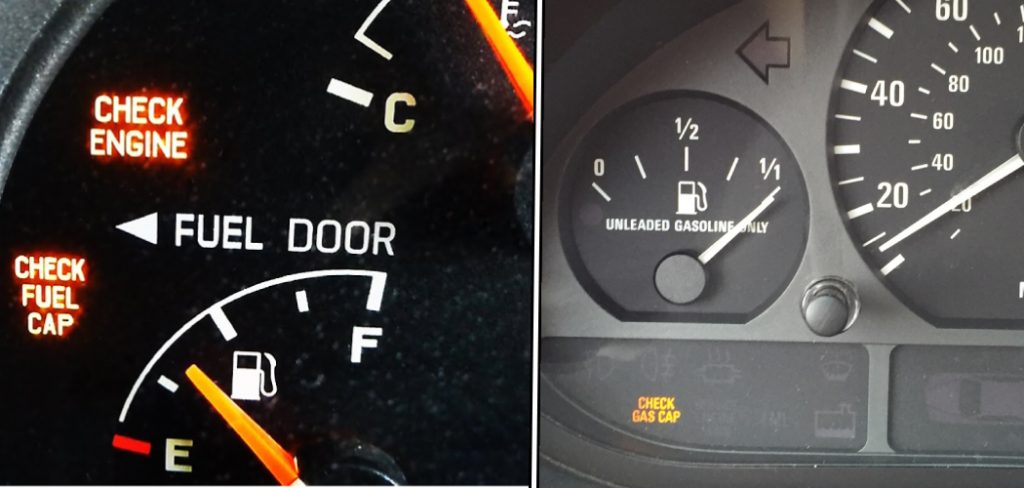
6. Locate the Reset Button
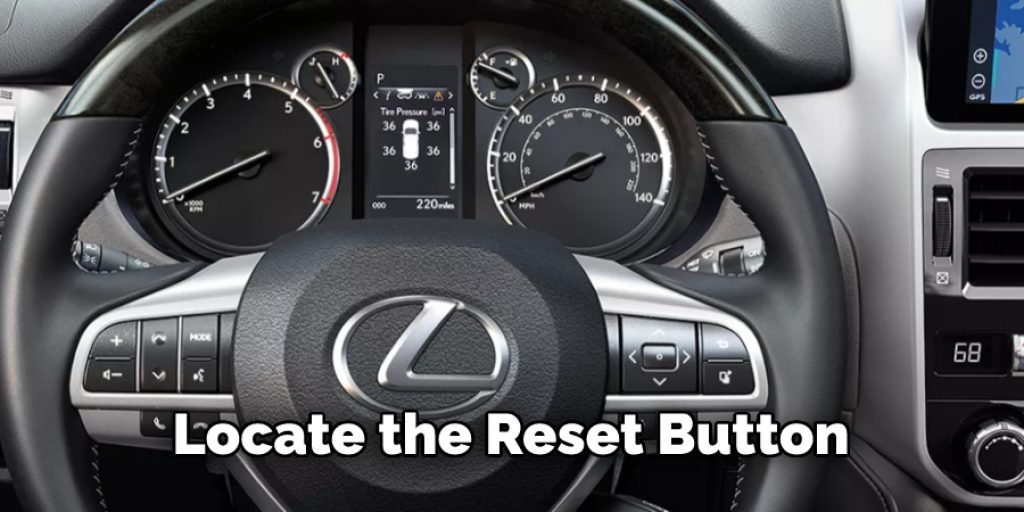
The next step is to find and locate the reset button. The reset button is usually located on the dash near the fuel gauge. If you cannot find the reset button, consult your car’s owner’s manual. You can also try searching online for a diagram of your car’s dash.
7. Press and Hold the Reset Button
Once you have found the reset button, press and hold it for a few seconds, the gas light should go off once the button has been pressed. If the light does not go off, you may need to hold the button for longer. If the light does not go off, your car could have another issue.
8. Screw the Gas Cap Back On
Once the reset button has been pressed, screw the gas cap back on. To do this, line up the threads on the gas cap with the threads on the filler neck. Then, turn the gas cap to the right until it is tight. You will know the gas cap is tight when you can no longer turn it. Ensure that the gas cap is tight and that there are no leaks.
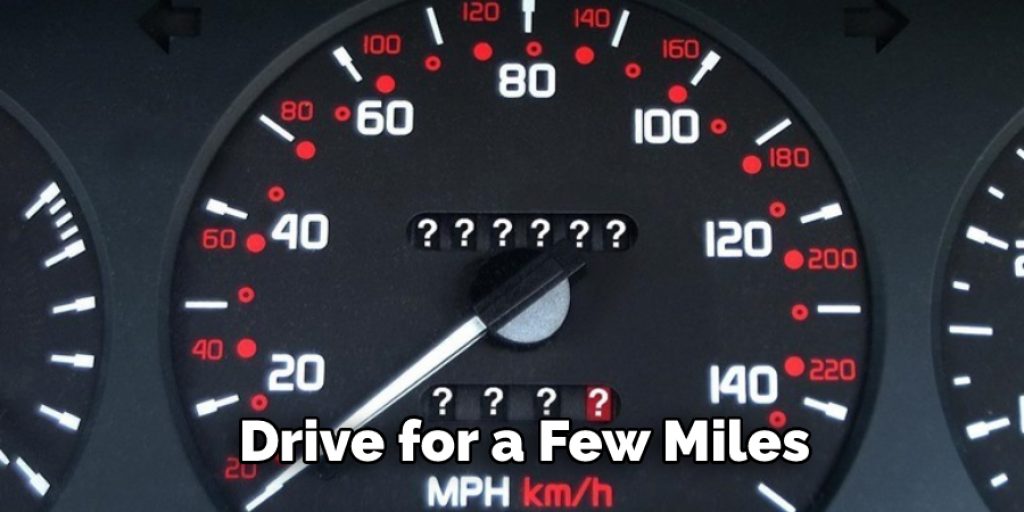
9. Drive for a Few Miles
After the gas, the cap has been replaced, and the reset button has been pressed, drive for a few miles. This will help to reset the sensor. If the light does not go off after a few miles, then there may be another issue with the car that needs to be addressed. Try driving for a longer period and see if the light turns off.
10. Take Your Car to a Mechanic
If the light does not go off after replacing the gas cap and reset the button, then it is time to take your car to a mechanic. There could be a more serious issue with the car that needs to be addressed. A mechanic will be able to diagnose and fix the problem. If you have any questions, be sure to ask the mechanic before you leave.
How Much Does It Cost to Reset the Gas Cap Light?
The cost of resetting the gas cap light will vary depending on the make and model of your car. In most cases, it will cost between $50 and $100 to have the light reset. However, the cost could be much higher if there is a more serious issue with the car. Be sure to ask the mechanic for an estimate before working on your car.
Tips and Warnings on How Do I Reset My Gas Cap Light:
Tips:
- Be sure to have the engine off and the ignition key when resetting the light.
- If your car has a manual transmission, be sure it is neutral before resetting the light.
- Do not start the engine until the light has been reset.
- If you have an automatic transmission, put the car in park before resetting the light.
Warnings:
- Do not attempt to reset the gas cap light while the engine is running.
- Do not drive your car until the light has been reset.
- Be sure to consult your car’s owner’s manual before resetting the light.
- If you are unsure of how to reset the gas cap light, have a qualified mechanic or dealership do it for you.
How to Prevent the Gas Cap Light from Coming On
1. Fill Up Your Gas Tank Regularly
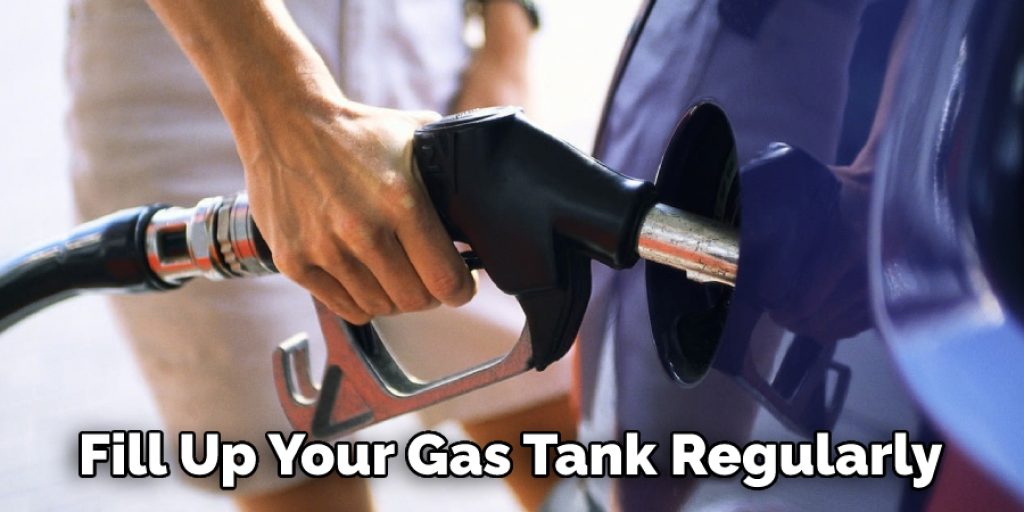
The first and most important thing you can do to prevent the gas cap light from coming on is to fill up your gas tank regularly. If you let your tank get too low, it can cause the sensor to malfunction. So try to keep your tank at least half full at all times.
2. Keep Your Gas Cap Tight
Another simple way to prevent the gas cap light from coming is to ensure you keep your gas cap tight. If the gas cap is loose, it can cause the sensor to malfunction. So try to check it every time you fill up your tank.
3. Get Your Car Serviced Regularly
If you get your car serviced regularly, the mechanics will be able to check the gas cap sensor and ensure it is working properly. This is a good preventative measure to keep the gas cap light from coming.
4. Use the Right Grade of Gasoline
If you use the wrong grade of gasoline, it can cause the gas cap sensor to malfunction. Be sure to use the grade of gasoline that is recommended for your car. Try to use a higher grade of gasoline if possible.
Conclusion
So there you have it, everything you need to know about how do I reset my gas cap light. Follow these simple instructions, and your gas cap light should reset itself in no time! Have you tried this method? Did it work for you? Let us know in the comments below.
Louis Wein
Louis has always been fascinated by cars. He loves the way they look, the sound of the engine, and how they make him feel when he's driving. He is always keen to learn more about different mechanics of cars and how the engine contributes to other aspects of the car. As an automotive technician with over 10 years of experience, he knew how they worked and loved taking them apart to see how they went back together. He was especially interested in the mechanics of combustion engines and loved finding ways to make them more efficient. He loves to work on cars and help people keep their vehicles running smoothly. As a senior editor, he enjoys contributing to Diy quickly because it allows him to share his knowledge and expertise with others.