How Do I Separate Paper That Is Stuck Together
Paper is not only used for printing and writing. It can also be the bane of your existence. Paper can be a pain to separate when it is stuck together. Have you ever tried to rip the paper apart but only succeeded in ripping the paper into smaller pieces?
Have you ever thrown away a piece of paper because it was so small that there was no point in trying to salvage anything from it? If so, don’t worry! There are plenty of ways for getting your papers back together without too much trouble. In this blog post on how do i separate paper that is stuck together, we will share a better way to separate paper that is stuck together.
What is the Reason Why Paper Sticks Together?
Paper is made up of cellulose fibers that are held together by a water-soluble adhesive called lignin. When exposed to heat, moisture, or pressure, the lignin can become sticky and cause the paper to stick together. This is why you may notice that papers tend to stick together more in hot, humid environments. You may also experience this when you leave a stack of papers sitting for too long. It is important to understand why paper sticks together so that you can prevent it from happening in the future.
Things to Consider When Trying to Separate Stuck Paper:
Don’t Panic:
The first thing to remember when trying to separate stuck paper is to stay calm. Panicking and pulling at the papers forcefully will only make matters worse. Take a deep breath and approach the situation with patience.
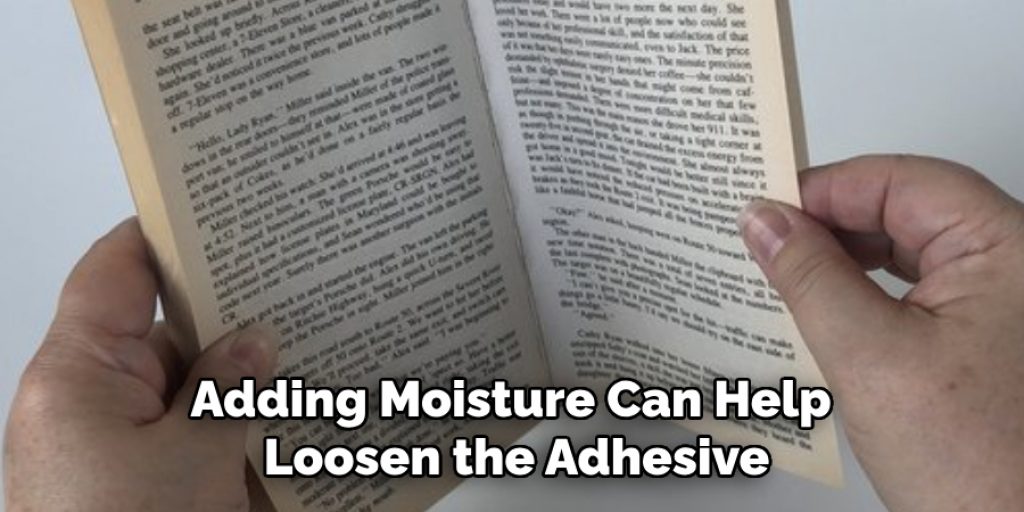
Use Moisture:
Adding moisture can help loosen the adhesive between the papers. You can try lightly spraying water on the edges of the stuck papers or using a damp cloth to gently rub over the area. Be careful not to use too much moisture, as it can cause damage to the paper.
Use Heat:
Just like moisture, heat can also help loosen the adhesive between papers. You can try using a hairdryer on low setting or leaving the stack of papers in the sun for a few minutes. Again, be careful not to use too much heat as it can cause the paper to become brittle and tear.
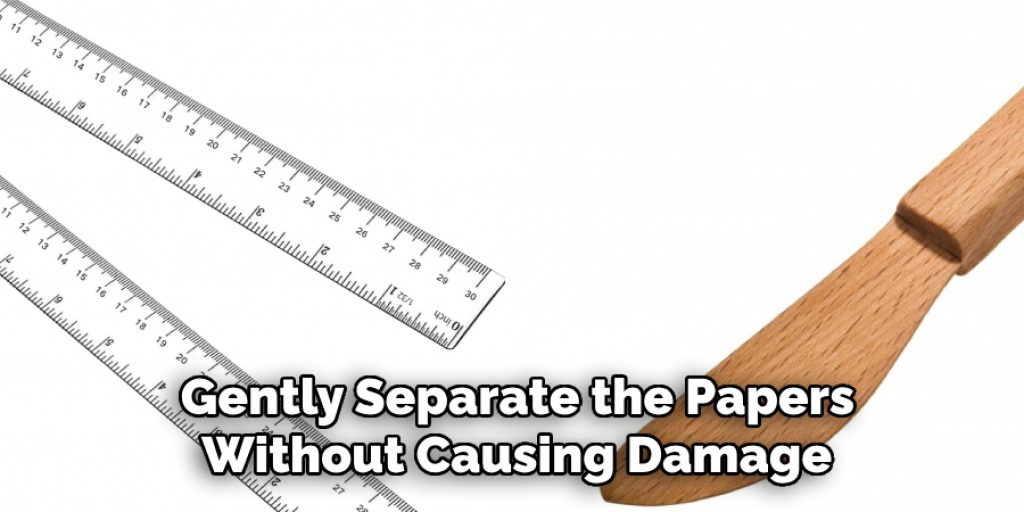
Be Gentle:
When separating stuck papers, it is important to be gentle. Use your fingers or a tool with a dull edge, such as a butter knife, to carefully separate the papers without causing tears or damage.
Needed Materials:
Water Bottle or Spray Bottle:
To add moisture to the stuck papers.
Hairdryer:
Apply heat for separate stuck papers.
Cloth or Paper Towel:
To blot any excess moisture from the paper.
Tools with Dull Edges:
Such as a butter knife, credit card, or ruler, to gently separate the papers without causing damage.
10 Ways To Separate Paper That Is Stuck Together:
1. Try The Freezer Trick
If you can’t separate the pages with your fingers, try putting the paper in a plastic bag and placing it in the freezer for about an hour. Thawing will cause ice crystals to form between sheets of paper or photos that are stuck together. Fish them out with tweezers, then let everything dry for a day before using it.
You can also try using a hairdryer on the low setting to speed up the thawing process. It’s important to be patient and allow the paper to fully thaw before trying to separate it.
2. Run an Iron Over the Paper
If you have access to a warm iron, place a cotton cloth between your document and the ironing board cover, then move the iron gently over the surface of the paper in long strokes. You may need to repeat this process several times to loosen up some glue and creases.
You can also use a hairdryer on low setting instead of an iron. Just be sure to keep the heat and air flow moving constantly. You do not want to keep the heat in one place too long, as this can cause damage to the paper.
3. Try a Hair Dryer and Sponge
If you can’t get the paper apart in any other way, use a hair dryer on its coolest setting to gently warm up the stuck parts. You can also try this trick with a hair drier and a damp sponge, but it takes longer for the moist heat to “rehydrate” adhesive than it would with just hot air from a hairdryer.
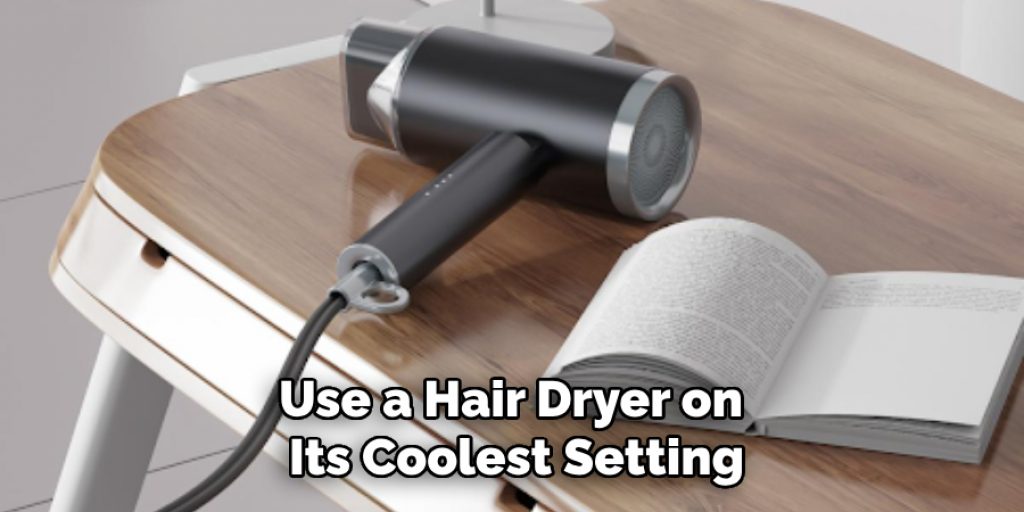
The key is to be patient and gentle. Do not use too much heat or moisture, as this can cause damage to the paper.
4. Use a Solvent
Check out your local library for books that instruct you on how to use chemical solvents to remove adhesives and glue from paper and photos, but be sure to follow all the directions carefully! Remember, this is an irreversible process, so even if the glue doesn’t come completely off, you won’t be able to reattach anything.
You can also try using rubbing alcohol or nail polish remover, but be careful not to use too much, as it can cause the paper to become discolored or damaged. You may also want to test the solvent on a small, unimportant area of the paper first before applying it to the stuck parts.
5. Try a Heat Gun
A heat gun is used for dry and wet stripping of paint, but it’s also the perfect solution if you need to unfasten stuck paper or photos without damaging the document or photo underneath. Just don’t get too close or hold the heat gun in one place too long. To avoid damaging the paper underneath, make sure you run a test first.
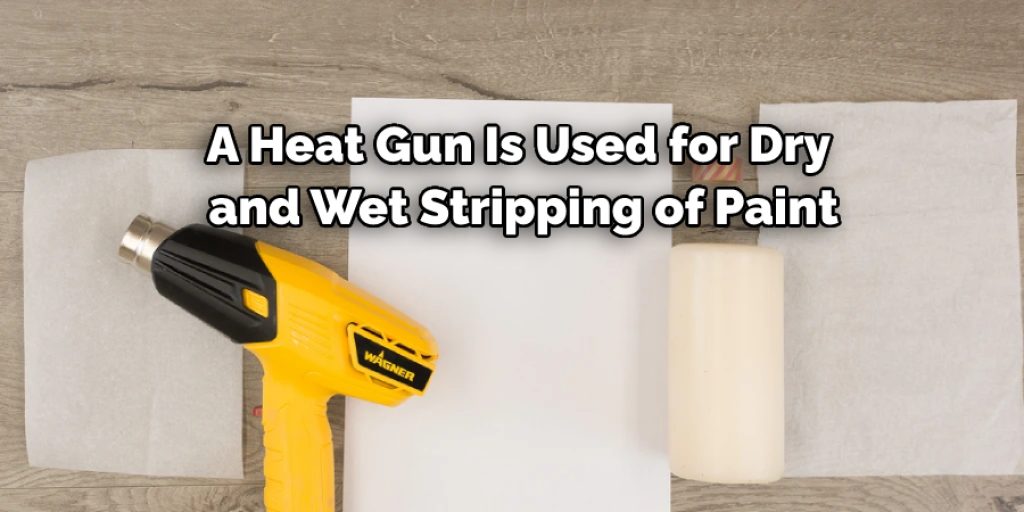
But be cautious when using a heat gun as they can reach high temperatures and may cause burns or damage if not used properly. It might be best to consult a professional before using this method.
6. Use Rubbing Alcohol
Rub a cotton ball dampened with rubbing alcohol over the surface of paper or photos that are stuck together. This will loosen up any adhesives and make it easier to pry them apart. Be careful not to let the alcohol soak through to the other side, though!
You can also use rubbing alcohol to remove any leftover residue from previous attempts to separate the papers. But be sure to use a clean cloth or paper towel, and again, be gentle.
7. Consider Using Sublimation
If you have a lot of photos or music scores that are stuck together, you may want to do the job en masse. Sublimation is a process in which dirt-cheap paper (like a newspaper) is placed between the pages. Then, all at once, they are heated with a hairdryer and turned over so that the ink on one or other heat sources and the paper on each side is melted into a solid mass. It could take several sessions to separate everything, but you will end up with all your documents intact in a single pile of newspaper.
You can also try this process with a stack of papers by placing them in between two sheets of paper towels and using a hairdryer on a low setting to warm them up. This will help loosen the adhesive between the papers without causing damage. It may also be helpful to gently separate the papers as they warm up to prevent them from sticking together again.
8. Use a Jigsaw
If the paper is very old, you may want to try using a jigsaw. This won’t harm the surface of anything at all and will make clean cuts between pages so that they can easily be separated later on. Just be sure to use a blade with small teeth and go slowly.
This method may not be suitable for all types of paper, so it’s important to test on a small area first before attempting it on the whole document. You can also try using a craft knife or scalpel instead of a jigsaw.
9. Use Scissors with Caution
If the paper has discolored or you are not sure it will be easily separable, you can use scissors to cut the page in half. Be especially careful during this process, and don’t force it. If you cut too hard or not straight enough, you may end up cutting right through the paper. You should also protect your fingers by wearing gloves while you do this.
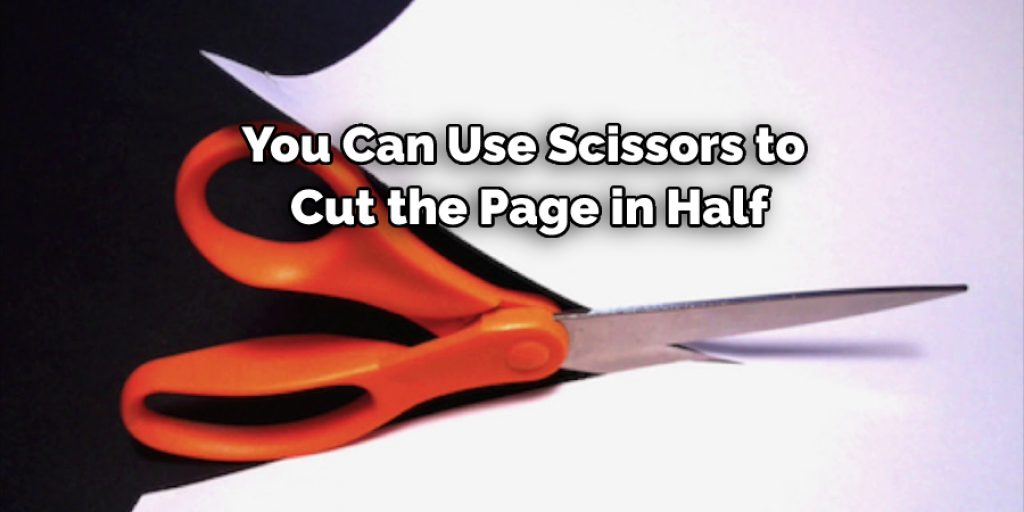
It’s important to note that this method may not work well for glued or laminated pages, and it may also damage the edges of the paper. Use this method as a last resort.
10. Remove the Paper from the Binding
If you are not trying to preserve a book but just need to get photos or documents out of a binder, try removing each sheet individually. You’ll probably have success by carefully prying loose the paper using a butter knife or similar tool so that it is not torn. If all else fails, you can try melting the plastic binder separately, but that’s the last resort.
You can also try using an adhesive remover to break down the glue that holds the pages in place. Just be sure to follow the instructions carefully and use a gentle touch.
Following these tips on how do i separate paper that is stuck together , you can successfully separate paper and documents that are stuck together without damaging them. Remember to be careful and patient throughout the process to avoid causing any further damage. It’s always a good idea to test any method on a small area first before applying it to your entire document.
How Do I Separate Wet Pages?
Wet paper can be separated manually. Use a spatula, butter knife, or other thin tool and go around the edges of the pages being careful not to damage them further. The papers will usually separate easily when they are wet. When this doesn’t work, gently apply pressure to the center separating each set of (glued) pages one at a time.
If the paper is not too precious, or you are not sure of your success, applying moisture can help separate many papers that have been stuck together. Try gently sponging away any visible moisture before applying heat directly to the paper, as this may cause it to stick permanently (see below). To apply a moist sponge, humidify the area of the page that is stuck together. Be gentle, and do not sponge in a circular motion, as this will make the paper crumble.
Prevention Tips:
Now that you know how to separate stuck paper, it’s important to also learn how to prevent it from happening in the future. Here are a few tips to keep your papers from sticking together:
- Store papers in a dry and cool environment.
- Use paper clips or binder clips instead of staples.
- Do not leave stacks of papers sitting for too long.
- Avoid exposing papers to excessive heat or moisture.
- Store photos and documents in acid-free folders or albums.
By following these simple tips, you can avoid the frustration of stuck papers and ensure that your important documents and photos stay intact. Remember to always be gentle when handling delicate paper materials and to consult a professional if needed.
How Much Time Will It Take to Separate Paper That is Stuck Together?
The time it takes to successfully separate paper that is stuck together varies depending on the method used and the type of paper involved. It may take a few minutes or several hours, especially if there are multiple pages sticking together. Patience and caution are key in this process to avoid causing further damage to the papers. It’s important to note that some methods may require multiple attempts to fully separate the papers.
It’s also important to keep in mind that prevention is always better than trying to fix stuck papers, so be sure to take proper care of your paper materials to avoid any future problems. So, it’s recommended to take your time and carefully follow the steps outlined above for the best results. Keep in mind that it’s always better to be safe than sorry when it comes to handling delicate and important documents.
Frequently Asked Questions:
Q: How Do I Separate Paper That is Stuck Together Without Damaging It?
A: You can use various methods, such as heat, rubbing alcohol, or sublimation, to gently separate the papers without causing damage. You can also try using a jigsaw or scissors with caution. It’s important to be patient and careful throughout the process.
Q: Can I Separate Wet Pages Without Causing Further Damage?
A: Yes, you can use a spatula or other thin tool to gently separate wet pages. Apply moisture if necessary, and be careful not to rub the paper in a circular motion, as this may cause it to crumble. It’s important to be gentle and patient when separating wet pages to avoid further damage.
Q: How Can I Prevent Papers From Sticking Together?
A: You can prevent papers from sticking together by storing them in a dry and cool environment, using paper clips instead of staples, and avoiding excessive heat or moisture. It’s also important not to leave stacks of papers sitting for too long. By following these tips, you can prevent the frustration of dealing with stuck paper in the future.
Q: Is It Possible to Separate Papers That Have Been Glued Together for a Long Time?
A: Yes, it is possible, but it may require more patience and care. You can try using heat and moisture to loosen the adhesive or gently cutting along the edges with a craft knife. It’s important to test on a small area first before attempting to separate the entire document. Overall, it may take more time and effort, but it is possible to separate papers that have been glued together for a long time.
Q: Are There Any Special Techniques for Separating Old or Delicate Papers?
A: When dealing with old or delicate papers, it’s important to be extra careful and patient. You can try using heat and moisture to loosen the adhesive or using a butter knife or spatula to gently pry apart the pages. It’s also recommended that gloves be worn and the papers handled with care to avoid causing any damage. If necessary, seek professional help from a conservator or paper specialist for delicate papers. Overall, it’s important to be gentle and cautious when separating old or delicate papers.
Final Word
When you have a paper that is stuck together, it may be difficult to get them apart. There are a few ways of getting the sheets unstuck so they can be separated and reused. One way would be by using scissors or another cutting tool like an X-acto knife. Another option would be to use wax paper, which will allow for easier separation without damaging either sheet of paper.
The final word is that there are many ways one can separate paper that is stuck together, but we recommend sticking with those methods which have been proven safe and effective time after time. Thanks for reading this article on how do i separate paper that is stuck together .
Elizabeth Davis
Elizabeth is a creative writer and digital editor based in the United States. She has a passion for the arts and crafts, which she developed from a young age. Elizabeth has always loved experimenting with new mediums and sharing her work with others. When she started blogging, she knew that DIYquickly would be the perfect platform to share her tutorials and tips. She's been writing for the blog from the beginning, and her readers love her helpful advice and easy-to-follow instructions. When she's not writing or editing, Elizabeth enjoys spending time with her family and friends.