How to Add Legs to Cube Storage
Do you have a small apartment or home and wish you had more storage? Cube storage is a great way to maximize your space – by adding legs, you can create a stylish piece of furniture that adds extra functionality. In this blog post, we’ll explore the materials and methods needed to add legs to existing cube storage units, providing you with tips and tricks so that it looks both aesthetically pleasing while still being super practical!
With just a little bit of time and effort (and some tools if you don’t already have them handy), transforming your cube into an elevated piece of furniture will be easy. Get ready to say goodbye to clutter, and hello to increased square footage—let’s get started to learn how to add legs to cube storage!
Why May You Need to Add Legs to Cube Storage?
1 . To Transform Your Cube Storage Unit into a Furniture Piece
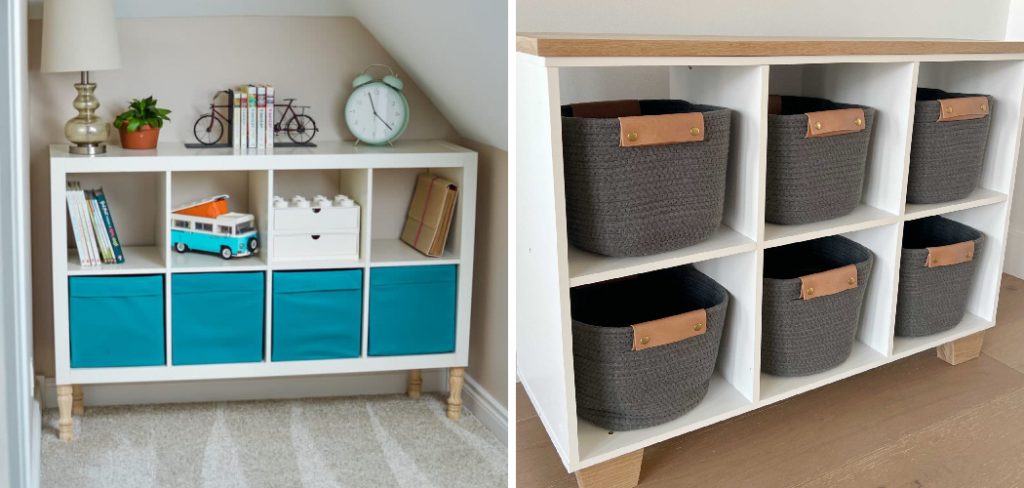
Cube storage units are incredibly versatile pieces of furniture. They can be used to store anything from books, toys, clothes, shoes and more. However, they lack the finishing touch that is needed to make them look like actual furniture. By adding legs to your cube storage unit, you can elevate it from being just a storage piece to a furniture piece.
2 . To Adjust Height
Cube storage units come in various sizes, with some being taller than others. If you have purchased a tall unit, it may not fit in your desired space. By adding legs to the unit, you can easily adjust its height and make it fit perfectly into any room.
3 . To Increase Air Flow
Cube storage units are popular because they offer a lot of storage space while being compact. However, if you have items that need proper airflow, such as shoes or fresh laundry, adding legs to your unit can help with circulation and prevent any mold or mildew from forming.
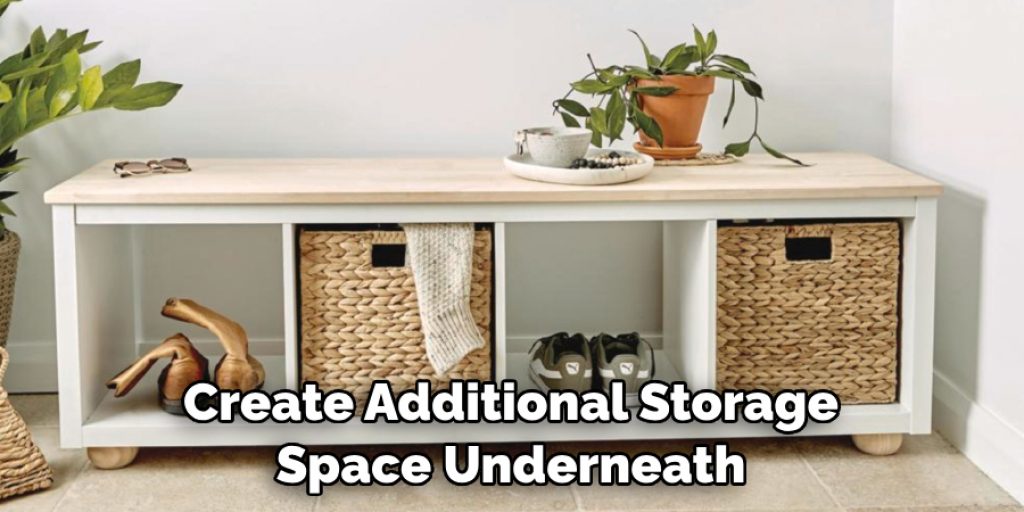
4 . To Create Space
If you have a small living space, cube storage units are great for maximizing storage without taking up too much floor space. However, by adding legs to the unit, you can create additional storage space underneath. This is especially useful for storing items that are not frequently used.
5 . To Match Your Home Decor
Cube storage units come in a variety of colors and designs, but sometimes they may not match the aesthetic of your home. By adding legs to your unit, you can customize it to fit your personal style and complement your existing home decor.
How to Add Legs to Cube Storage in 6 Easy Steps
Step 1: Measure the Cube Storage
Before you begin, it is important to measure your cube storage unit to determine the height of the legs needed. You can do this using a measuring tape or ruler. This will ensure that your cube storage unit is level once the legs are attached.
Step 2: Purchase Legs
Next, you will need to purchase the appropriate legs for your cube storage unit. You can find a wide variety of legs in hardware stores or online. Make sure to choose legs that are sturdy and able to support the weight of your cube storage unit, as well as any items you plan on storing inside.
Step 3: Mark the Placement of Legs
Using a pencil, mark the placement of each leg on your cube storage unit. It is best to do this on a flat surface so that your cube storage unit stays level. Make sure to evenly space out the legs for stability.
Step 4: Pre-drill Holes
Before attaching the legs, it is important to pre-drill holes for the screws. This will prevent the wood from splitting and make it easier to attach the legs securely. Also, make sure to use a drill bit that is slightly smaller than the screws you will be using.
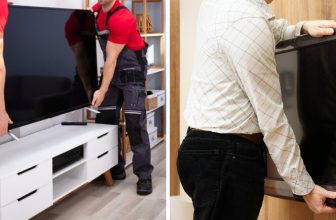
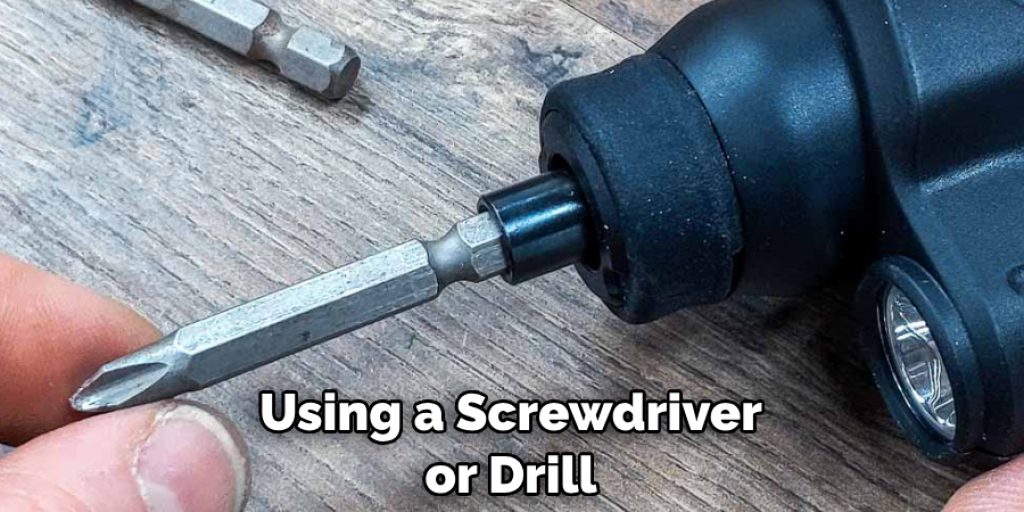
Step 5: Attach the Legs
Using a screwdriver or drill, attach the legs to your cube storage unit using the pre-drilled holes as a guide. Make sure the screws are tight and secure. If necessary, ask for help holding up the unit while you attach the legs.
Step 6: Test for Stability
Once all the legs are attached, stand your cube storage unit upright and test for stability. Make sure it is level and does not wobble. If it does, adjust the placement of the legs accordingly. Also, test the weight capacity by adding heavier items to your unit.
Some Extra Tips to Add Legs to Cube Storage
1 . Check Your Supplies
Before beginning to add legs to your cube storage, make sure you have all the necessary supplies and tools. You will need a drill, screws, wood glue, measuring tape or ruler, and most importantly, the legs themselves. Make sure that the legs are compatible with your cube storage unit.
2 . Positioning of Legs
Once you have assembled all your supplies, the next step is to decide on the positioning of the legs. If you are using a cube storage unit with an open back or sides, you will need to add legs in each corner. For cube storage units with solid backs or sides, adding 2 to 3 legs in the front and back would be sufficient.
3 . Measure Twice
Before drilling holes for the legs, always measure twice to ensure that you have the correct placement and spacing. You do not want to end up with uneven or unaligned legs.
4 . Preparing the Legs
Make sure to clean and sand down the area where you will be attaching the legs. This ensures a smooth surface for better attachment. If your legs come with screws, make sure to pre-drill holes for easier and more secure attachment.
5 . Leveling the Legs
To ensure that your cube storage unit stands level on all four legs, use a leveling tool or measure the height of each leg before attaching them. If necessary, you can also add felt pads or glides to the bottom of each leg to prevent any scratching or damage to your floors.
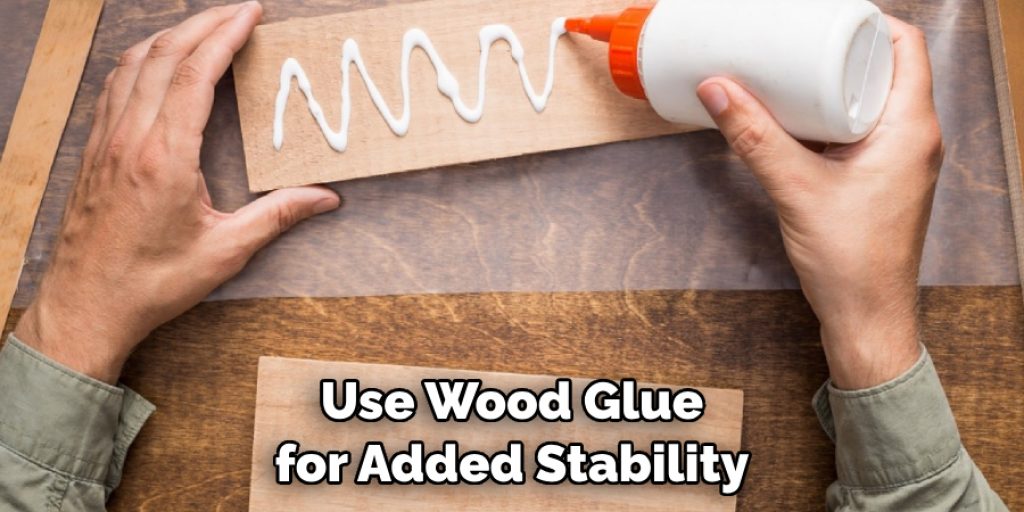
6 . Securing the Legs
Once you have double-checked the positioning and levelness of your legs, it’s time to attach them to your cube storage unit. Use wood glue for added stability and then screw the legs in place using a drill. Make sure not to over-tighten the screws as this can cause damage to the wood or legs.
7 . Let it Dry
After securing all the legs, let the wood glue dry completely before using your cube storage unit. This ensures that the legs are firmly attached and can support the weight of your items without any issues.
Frequently Asked Questions
What Precautions Should I Take Before Adding Legs to Cube Storage?
Before making any modifications to your cube storage, it is important to take certain precautions to ensure the process goes smoothly and safely. Here are a few tips that you should keep in mind: Before adding legs, make sure that your cube storage unit is strong enough to support the added weight.
If you are unsure, consult the manufacturer’s guidelines or seek professional advice. Additionally, make sure that your cube storage unit is stable and placed on a level surface to avoid any accidents.
What Tools Do I Need for Adding Legs to Cube Storage?
The tools needed for adding legs to cube storage will depend on the type of legs you choose and the instructions provided by the manufacturer. However, here are some common tools that may be required:
- Power drill
- Screws or mounting brackets
- Level
- Screwdriver
- Measuring tape
It is recommended to gather all necessary tools before starting the process to avoid any delays.
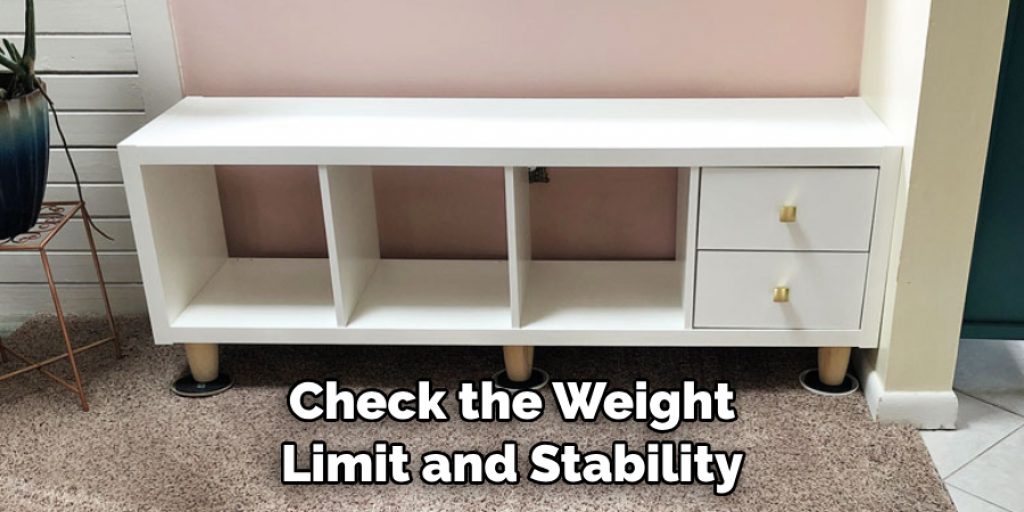
Can I Add Legs to Any Cube Storage Unit?
In most cases, yes, you can add legs to almost any cube storage unit. However, it is important to check the weight limit and stability of your unit before doing so. If your cube storage unit is not strong enough to support the added weight, it may become unstable and pose a safety risk. Additionally, some manufacturers may have specific guidelines or recommendations for adding legs to their units, so be sure to check before proceeding.
Conclusion
As you can see, adding legs to cube storage units is a fairly straightforward process. Whether your goal is improving the look of your office or just giving your kids an ideal place to create, you now have the tools and knowledge to do it yourself. Once the legs are attached properly, you and those in your home or business will enjoy the functional benefits that come with having stylish cubed storage for years to come!
Now you know how to add legs to cube storage! If you aren’t one for DIY assembly, however, there are lots of ready-to-go options available as well – from different colors and sizes to materials like metal, plastic, or wood.
Get creative and let your cube storage become an integral part of any room; everything from toys in kids’ bedrooms to important artifacts in offices can find a beautiful home on cubic shelves. For an easy organizational upgrade, add legs to cube storage today!
Angela Ervin
Angela is the executive editor of DIY quickly. She began her career as an interior designer before applying her strategic and creative passion to lifestyle and home. She has close to 15 years of experience in creative writing and online content strategy for housekeeping, home decorations as well as other niche efforts. She loves her job and has the privilege of working with an extraordinary team. She lives with her husband, two sons, and daughter in Petersburg. When she's not busy working she spent time with her family.