
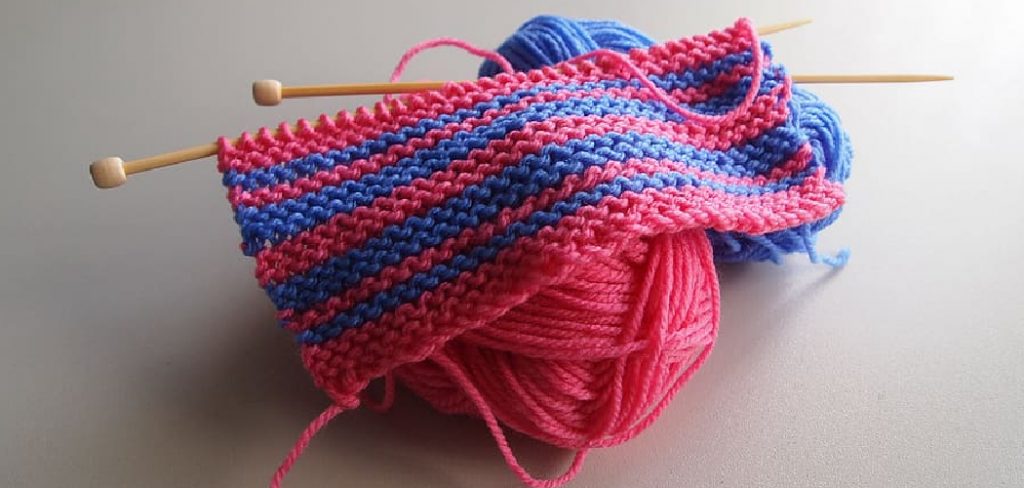
How to Add Skein of Yarn to Knitting
Are you ready to add a new skein of yarn to your knitting project? Adding an extra ball or skein of yarn can be daunting for beginners, but don’t worry – with this guide, and you’ll soon learn how simple it is. We’ll explain the different ways to add a second color of yarn during any type knitting stitch so that your projects look perfect every time.
Learn tips and tricks on getting the tension right when working with more than one color as well as how joining, weaving in ends and carrying colors all factor into creating beautiful pieces that knitters will be proud of. Get ready now for an easy journey into how to add skein of yarn to knitting!
In this tutorial, we will be guiding you through the process of adding a skein of yarn to your knitting project. We will explain each step in detail, including which types of yarn are best suited for specific projects, as well as provide helpful tips and tricks that can save time and make the job easier. By the end of this post, you should feel confident in your ability to confidently add a skein into any project with ease! So read on and let’s get started!
Why May You Want to Add Skein of Yarn to Knitting?
1. To Create Stripes or Patterns
Adding a skein of yarn to your knitting is one way to create interesting stripes and patterns in your projects. This also works well for using up odd bits of yarn that don’t make enough for an entire project. Also, using a skein of yarn to add color can give a unique look to your knitting.
2. To Create Different Yarn Weight and Texture
Adding a skein of yarn to your knitting project also gives you the option of creating different weights and textures in your work. By using two different fibers or colors with different tension, you can create a unique knit fabric. This also lets you experiment with different yarns and explore the possibilities of color and texture in your knitting projects.
3. To Create Projects with Multiple Colors
Finally, adding a skein of yarn to your knitting project can help you create projects with multiple colors. If you’re looking for a fun way to add color to your projects, using a skein of yarn is one way to do it. You can use stripes, colorwork patterns, or even intarsia techniques to create beautiful and unique pieces of knitwear.
How to Add Skein of Yarn to Knitting in 5 Easy Steps
Step 1: Gather All The Materials
The very first step is to gather all the materials that you’ll need. This includes a skein of yarn, a pair of scissors, and a knitting needle. Also, you have to make sure that the yarn is not tangled.
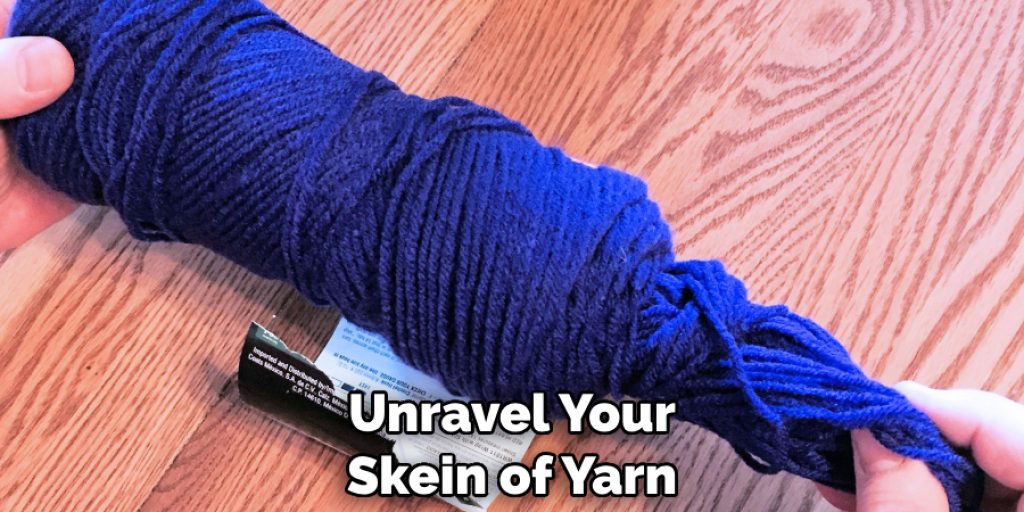
Step 2: Unravel the Yarn and Prepare It For Use
The next step is to unravel your skein of yarn. Do this until you have a long piece of yarn that will easily fit around your knitting needle. You can also use a swift to help with this process, depending on the type of yarn.
Step 3: Place the Yarn on Your Knitting Needle
Once you’ve unraveled your skein of yarn, place it onto your knitting needle. Make sure that the needle is facing away from you and that the yarn is placed close to the tip of the needle.
Step 4: Start Knitting With The Yarn
Once the yarn is placed on your needle, you can start knitting with it. Make sure that you’re not pulling too tightly on the yarn as this can make it difficult to work with. Also, you have to make sure that the yarn is not tangled.
Step 5: Tie off the Yarn and Weave In The Ends
Once you’ve finished knitting with your skein of yarn, you can tie off the remaining end and weave in the ends. This will help to secure your stitches and make sure that they stay in place while you work with them.
After following these steps, you should have successfully added a skein of yarn to your knitting project! Now, you can start creating beautiful pieces of knitted clothing and accessories with ease. Enjoy!
Some Additional Tips to Add Skein of Yarn to Knitting
1. Do Not Split the Skein
Whenever possible, it is best to use the entire skein of yarn in one project instead of splitting it into multiple projects. This will give you a more consistent look and feel with your knitting. Also, keep in mind that splitting skeins of yarn can cause color and texture variations which could make your finished project look uneven.
2. Use a Yarn Winder
Using a yarn ball winder will help you add the skein of yarn to knitting more easily by winding it into smaller center-pull balls. This also helps you keep the yarn from becoming tangled when you start working with it.
3. Be Careful with Tension
When adding a skein of yarn to your knitting, take care not to pull it too tightly as this can lead to uneven stitches or even make your knitting project look lumpy and unattractive. It is also important to make sure that the yarn is not stretched too tightly when winding it onto a yarn winder.
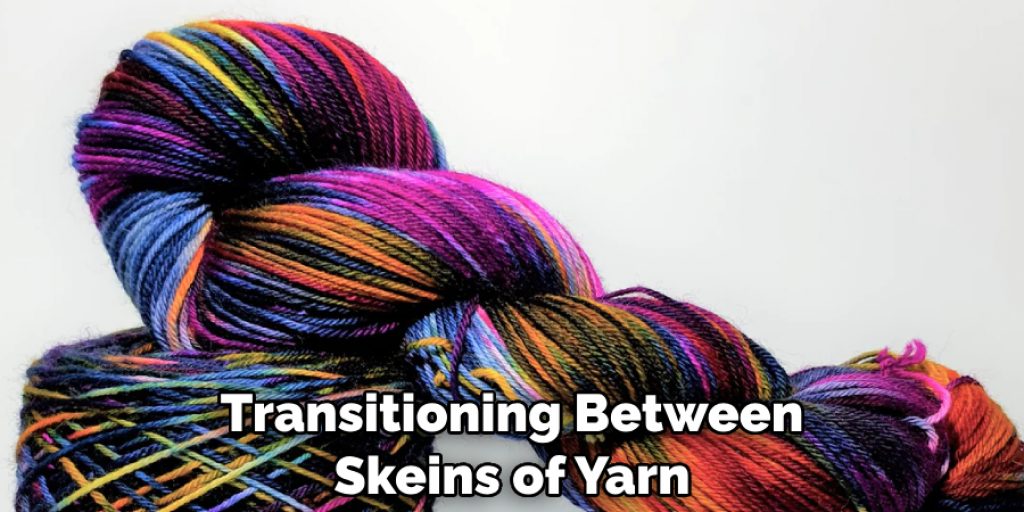
4. Avoid Unravelling
When transitioning between skeins of yarn, be sure to tie them together securely to avoid any unraveling. This will ensure that your knitting project looks neat and stays intact as you knit.
5. Practice Makes Perfect
Remember that practice is key when it comes to adding skeins of yarn to your knitting. Be patient with yourself and take the time to practice different techniques until you find one that works best for you.
With a little bit of patience and some trial and error, you will soon be an expert at adding skeins of yarn to your knitting projects!
Frequently Asked Questions
What Precautions Should Be Taken When Adding a Skein of Yarn to Knitting?
When adding a skein of yarn to your knitting, it’s important to be mindful of the necessary precautions. Before using the yarn, you should make sure you have adequately measured out the amount you need for the project and that it is free from any knots or tangles.
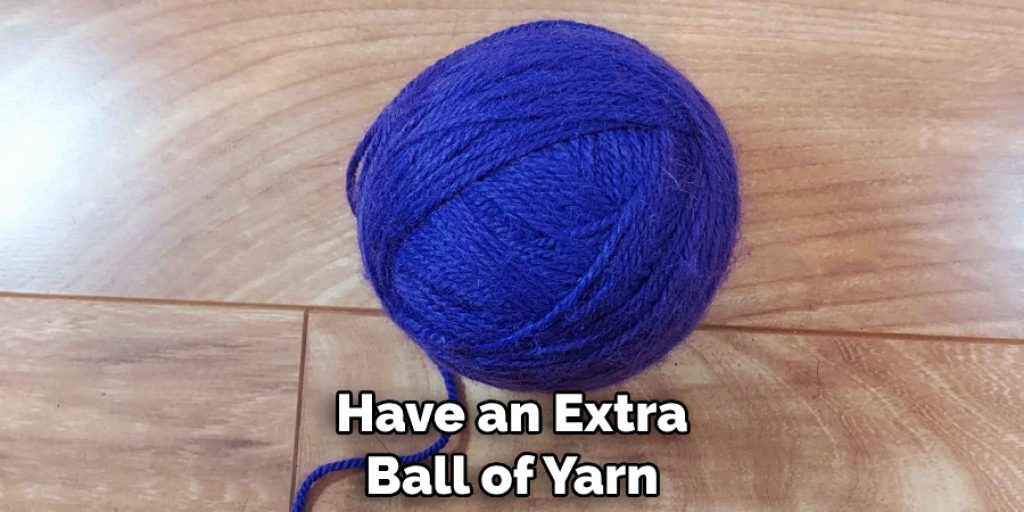
When unraveling the yarn, it’s best to do it in a slow and gentle manner to avoid stretching or damaging the fibers. You should also check if there are any signs of weakness or breakage before proceeding with your knitting. It is always wise to have an extra ball of yarn handy in case you find yourself running out mid-project.
Additionally, you should be aware of any potential colour bleeding if your yarn is of a particularly vibrant hue. To avoid this from occurring, it’s always best to pre-wash the yarn before use. Taking proper precautions when adding a skein of yarn to your knitting can help ensure that your project progresses smoothly and successfully!
Can I Cut and Join Yarn During Knitting?
Yes! In certain cases, it is perfectly fine to cut and join yarn during knitting. When it comes to joining two pieces of yarn together, there are several techniques you can use depending on the type of project you’re working on. For example, the Russian join is a great option for joining smooth and slippery yarns.
If you’re a beginner, the easiest way to join yarn is by using the knot method – simply undo your last stitch, tie a secure knot between the two cut ends of the yarn, then knit with the new piece as normal.
However, it’s important to keep in mind that cutting and joining can be risky if not done properly. It’s best to practice on a scrap of yarn before proceeding with your actual project. With the right technique, you can make sure that your knitting is seamless and secure!
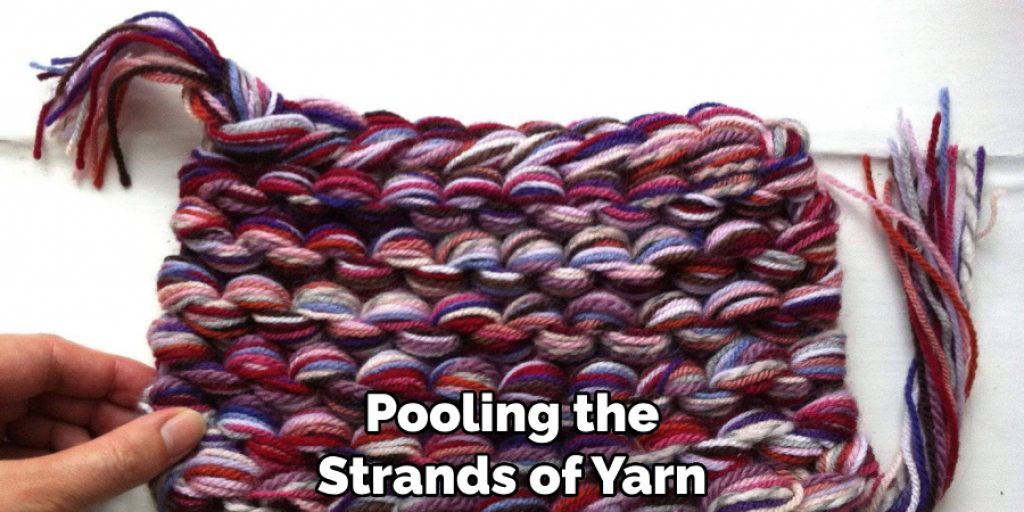
What Is Yarn Pooling?
Yarn pooling is when two or more strands of variegated yarn are worked together in order to produce a unique and interesting pattern. This technique is commonly used in colorwork projects such as Fair Isle or intarsia knitting. By pooling the strands of yarn, you can create stunning designs with intricate details that stand out from the rest! I
Conclusion
You have now learned how to add skein of yarn to knitting, from starting your project all the way through to wrapping up! Not only does this technique provide a neat finish for both knitters and crocheters, it also saves money by introducing additional yardage without needing to purchase an entire skein.
Additionally, you can often find unusual color combinations or interesting textures in bulk that are not available as single skeins; making this technique an excellent way to create something unique tailored directly for you. Embarking on this journey is enjoyable and rewarding.
Now that you know how to successfully add a skein of yarn to your project, you can confidently move forward with creating amazing handmade pieces!
Nancy Behan
Nancy is an embroidery artist, fashion blogger and a full time editor at DIY quickly. Nancy edits the fashion section on DIY quickly, focusing on the embroidery and cross stitch articles, alongside with fabric and other costume design elements. She graduated from the University of Michigan with a Bachelor of Arts in Art History. She loves to work on her own projects, read books and watch romantic movies in her spare time.


