How to Adjust Knitting Gauge
Knitting can be a relaxing and satisfying hobby, but sometimes, even experienced knitters can have trouble achieving the right gauge for their projects. However, getting the gauge right is crucial to ensure that your finished garment fits and looks how you intended it to.
In this blog post, we will explore some of the most common reasons why your gauge might be off and provide you with some tips and tricks on how to adjust knitting gauge.

Can You Adjust the Knitting Gauge?
Knitting is a wonderful pastime that allows you to create beautiful, cozy works of art with just a few simple tools and techniques. However, sometimes you may find that your knitting gauge isn’t quite perfect, causing your finished pieces to turn out too large or too small. The good news is that adjusting your knitting gauge is possible with a few simple tricks and adjustments.
By changing your needle size, yarn weight, or even your knitting style, you can achieve the perfect gauge for your next project and create stunning pieces that fit perfectly every time. So don’t let a wonky gauge get in the way of your knitting dreams – with a little bit of experimentation and practice, you can adjust your gauge and create beautiful works of art that will be treasured for years to come.
Why Should You Adjust Knitting Gauge?
A knitting gauge may seem like a small and insignificant detail, but it can actually make a big difference in the outcome of your project. Adjusting your knitting gauge can help ensure that your knitted piece turns out the right size and shape, which is especially important if you’re making something that needs to fit well, like a sweater or hat. It can also affect the overall look and feel of your finished project, making it look more polished and professional.
So, even though it may take a bit of extra time and effort, adjusting your knitting gauge is definitely worth it in the end!
How to Adjust Knitting Gauge and Create Perfectly Fitted Garments
1. Choosing the Right Yarn and Needle Size
One of the most common reasons why your gauge might be off is that you are using the wrong needle size or yarn weight for your project. Check the pattern gauge and use the recommended needle size and yarn weight. Adjust the needle size accordingly if you tend to knit tightly or loosely. Swatching is important to check if you get the right number of stitches per inch.
2. Blocking Your Swatch
Sometimes, even when using the right needle size and yarn weight, your gauge might still be off. This can happen if your swatch is not blocked properly. Blocking your swatch will help you get a more accurate measurement of your gauge. To block a swatch, wash it gently in lukewarm water, lay it flat on a towel, and let it air dry. Once it’s dry, measure the gauge again.
3. Working with Different Fiber Types
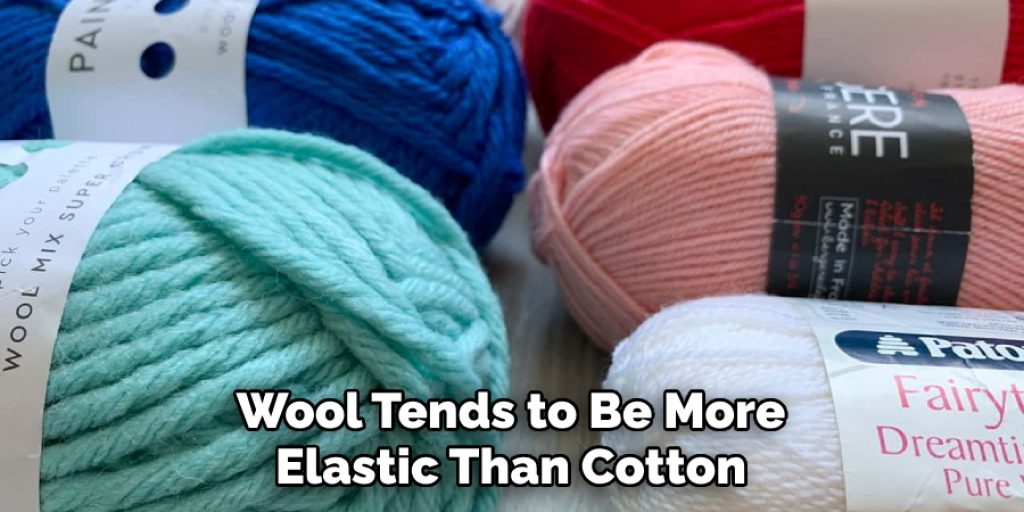
Different fiber types can have different properties, which can affect your gauge. For example, wool tends to be more elastic than cotton, meaning you might need to adjust your gauge if switching from wool to cotton yarn. Make sure to swatch with the fiber you’ll be using for the actual project and not just with a different one you might have on hand.
4. Modifying Your Stitch Pattern
Changing your stitch pattern can also affect your gauge. For example, if you’re using a ribbing stitch pattern, you might need to adjust your gauge because ribbing tends to be more compact than plain stockinette stitch. You might need to go up a needle size to work ribbing or down to work stockinette stitch. Again, swatch to see how the stitch pattern affects the gauge.
5. Using Knitting Aids
If you’re still struggling to adjust your gauge, using knitting aids can be helpful. You can try using a different type of needle to see if that makes a difference, or you can use stitch markers to help you keep track of your gauge. Knitting apps can also be very helpful, as they allow you to keep track of your gauge on the go.

6. Adjusting Your Tension
If you find that your gauge is still off, adjusting your tension can be a good option. Try tightening or loosening your yarn as you work to see if that helps. You’ll know you’ve found the right tension when your stitches look even and uniform.
7. Doing Multiple Swatches
Finally, it’s important to remember that getting the right gauge can take some time and practice. Don’t give up too easily – try doing multiple swatches to get the right number of stitches per inch. Take notes on what works and what doesn’t, so you’ll be able to adjust your gauge more efficiently next time.
That’s it! You’ve now learned seven tips to help you adjust your knitting gauge. With a little practice and patience, you’ll be able to get the right number of stitches per inch in no time!
5 Considerations Things When You Need to Adjust Knitting Gauge
1. Check Your Swatch
The first step is to check your swatch. Make sure that it is the same stitch and needle size that you will be using for your project. If it is not, then your gauge will be inaccurate.
2. Use the Right Needles
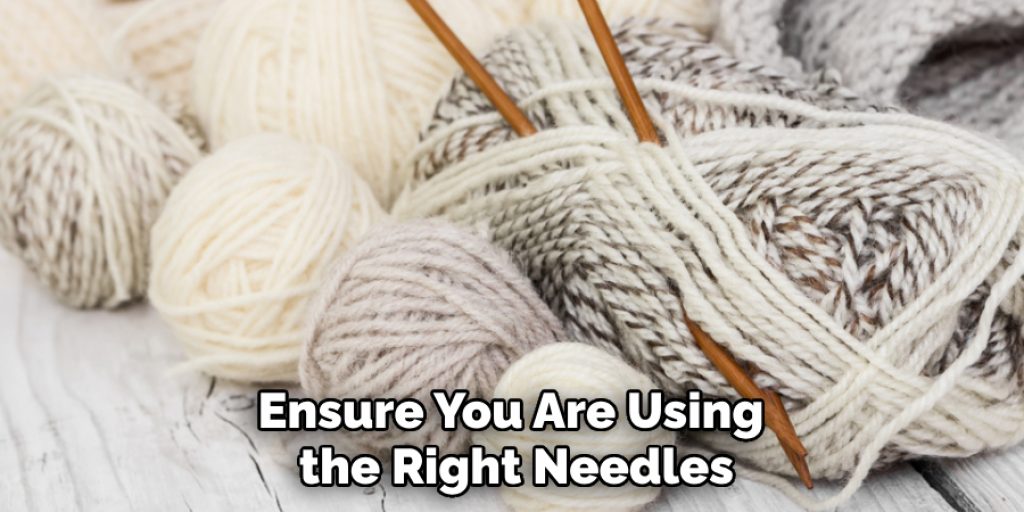
Next, you need to ensure you are using the right needles. If you are using circular needles, you need to ensure they are the correct size. If you are using straight needles, then you need to make sure that they are the correct length.
3. Knit a Gauge Swatch
Then, you need to knit a gauge swatch. This is a small piece of knitting that is used to measure your gauge. To knit a gauge swatch, you will need to cast on the number of stitches specified in the pattern and then knit for the specified number of rows.
4. Measure Your Gauge Swatch
Once you knit your gauge swatch, you must measure it. To do this, you will need to use a ruler or a tape measure. First, count the number of stitches in one inch. Then, count the number of rows in one inch. Compare these numbers to the numbers specified in the pattern. If your numbers are different, then you will need to adjust your gauge.
5. Adjust Your Knitting
If your gauge is off, you must adjust your knitting accordingly. If you have too many stitches per inch, you must use a larger needle size. If you have too few stitches per inch, you must use a smaller needle size. You can also adjust your tension to help achieve the correct gauge.
By following these five considerations, you can easily adjust your knitting gauge and create beautiful projects that are sure to impress! Good luck and happy knitting!
Benefits of Adjust Knitting Gauge
Adjusting your knitting gauge can have many benefits for your projects. The gauge, which refers to the number of stitches and rows per inch, determines the size and fit of your finished piece. By adjusting your gauge to match the recommended measurements in your pattern, you can ensure that your garment fits properly and looks just the way you want it to.
Not only does adjusting your gauge help with fit, but it can also affect the overall look and feel of your project. Changing the gauge can alter the fabric’s drape, stitch definition, and how much yarn is needed for the project. By keeping these benefits in mind and taking the time to adjust your knitting gauge, you can truly transform your next project into something special and unique.
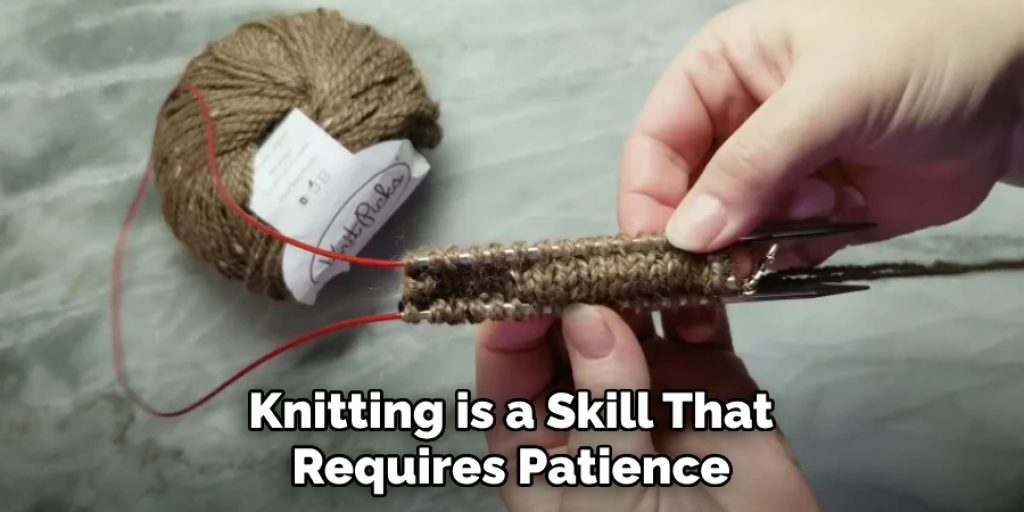
Some Common Mistakes People Make When Trying to Adjust Knitting Gauge
Knitting is a skill that requires patience, precision, and attention to detail. Whether you’re new to the craft or have been knitting for years, adjusting your knitting gauge can be a frustrating experience. However, many people make common mistakes when adjusting their knitting gauge that can affect the outcome of their project.
One of the most common mistakes is not understanding the importance of swatching. Swatching is the process of knitting a small sample to check your gauge and determine the correct needle size. Another mistake is not paying attention to tension. Even if you’re using the right needle size, if your tension is too loose or too tight, your gauge will be off. Finally, not being willing to experiment with different needle sizes can also be a mistake.
It’s important to find the right needle size that works for you and your project. By avoiding these common mistakes, you can easily adjust your knitting gauge and achieve the perfect finished product.
Conclusion
Achieving the right gauge can be challenging, but ensuring that your finished garment fits well and looks great is essential. By following the tips and tricks outlined in this blog post, you’ll be able to identify the most common causes of gauge issues and learn how to adjust them accordingly. Remember, swatching is key, so make sure to take the time to swatch and block your swatch before starting your project. Thanks for reading our post about how to adjust knitting gauge.
Nancy Behan
Nancy is an embroidery artist, fashion blogger and a full time editor at DIY quickly. Nancy edits the fashion section on DIY quickly, focusing on the embroidery and cross stitch articles, alongside with fabric and other costume design elements. She graduated from the University of Michigan with a Bachelor of Arts in Art History. She loves to work on her own projects, read books and watch romantic movies in her spare time.