
How to Adjust Welded Door Hinge
Introduction
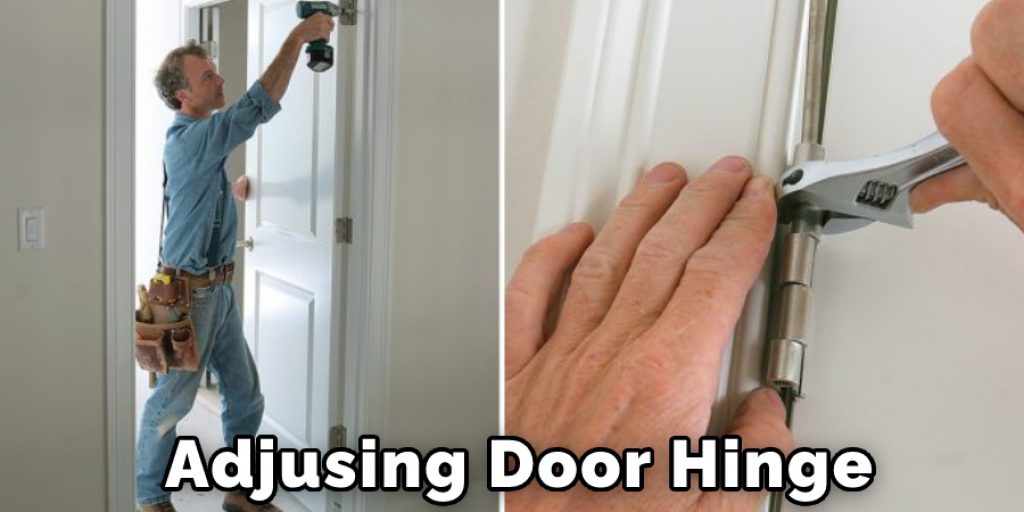
Adjusting door hinges is an easy job and should be done whenever one of your doors becomes difficult to open or close. If you have noticed that the door does not hang properly, it may be time to adjust the hinges. A typical adjustment takes about 45 minutes. Plan on spending more time if you are replacing a hinge or repairing other issues with your door. It’s wise to install new screws when adjusting door hinges because old ones can break easily and lock in place, making them nearly impossible to remove. Today I am going to discuss a technique on how to adjust welded door hinge.
Summary: Adjusting a welded door hinge can be a difficult task, but with a little bit of know-how it can be done easily. The first step is to remove the hinges from the door. Next, locate the hinge pin and remove it. Now, using a small Phillips head screwdriver, loosen the screws that hold the hinge in place. Once they are loose, carefully pull the hinge out of the door. Now, you can adjust the hinge by loosening the screws that hold it in place, moving the hinge up or down, and re-tightening the screws.
How a Door Hinge Works
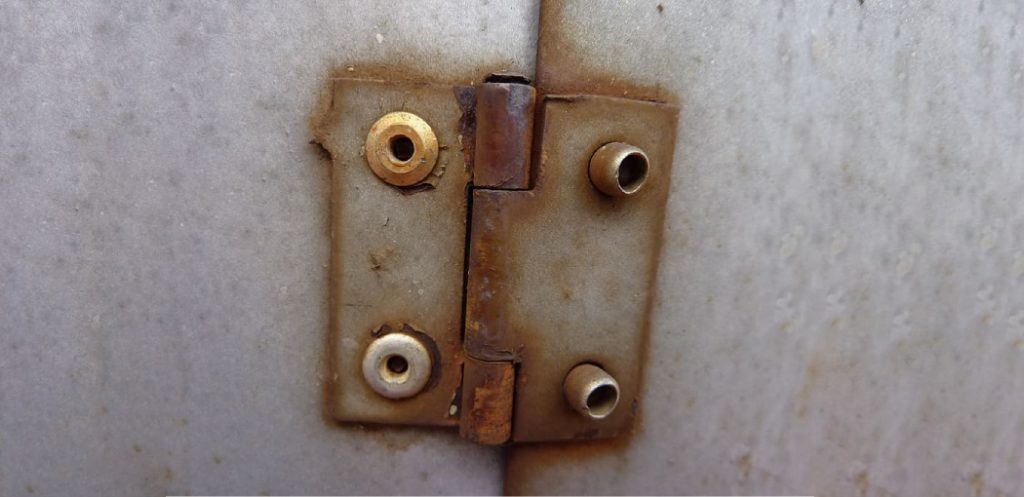
Doors are heavy, which makes them hard to open without mechanical assistance; the best mechanical assistance involves hinges that allow the weight of the hinged object (the door) to be lifted by a pivot point (the hinge). The simplest doors are hung on pivots made out of nails or screws poking through the door frame and into the top and bottom of the door. These hinges let you open and shut your door, but they’re not very sturdy; if you try to hang something too heavy from a nail-and-screw hinge, it will probably rip right off. Instead, modern doors are hung from welded hinges that allow them to bear greater loads.
Step-wise Guide on How to Adjust Welded Door Hinge
- Insert the hinge pin into the door hinge until it is firmly locked. Confirm that the free ends of hinges do not budge or show any signs of movement and are supported by a solid stop at their respective ends.
- Hold one end of the portable level horizontally against both sides of the crease in the door frame when viewed from the opening direction. For greater accuracy, use two levels placed on both sides. Horizontal placement helps maintain accuracy and avoid parallax errors during adjustment, while vertical placement will result in an error due to the parallax effect.
- To adjust the lower door hinge, first turn the adjusting screw located on the left side of the hinge pin. For greater accuracy, use two portable levels placed horizontally to measure the distance between creases (b) and (c). If necessary, readjust and repeat for the other side of the door frame.
- To adjust the lower door hinge, first turn the adjusting screw located on the left side of the hinge pin. For greater accuracy, use two portable levels placed horizontally to measure the distance between creases (b) and (c). If necessary, readjust and repeat for the other side of the door frame.
- Adjust the horizontal hinge pin on top of both door hinges by turning the adjusting screws. For greater accuracy, use two portable levels placed horizontally to measure the distance between creases (a) and (b) and then readjust if necessary.
- To ensure that door is locked in place, turn open one side of the door slightly with your hand while holding another side in place using a plier or wedge. The stationary side should not move or be loose at all.
- After proper adjustment has been made to all the hinges, remove any wedges or pliers used earlier during step 6 above.
- Re-check for door movement and alignment before finally closing the door or locking it in place.
- Once the door is aligned and locked, check the movement of both sides of the door carefully to ensure they move or swing equally without discrepancies during the dry run. Open and close the door without putting any load on the hinges to check if it moves smoothly and consistently. If there are some slight gaps remaining after all adjustments have been made, use sawdust mixed with glue to fill small gaps until exact alignment has been achieved.
- Finally, apply a layer of oil for lubrication to keep the hinges operating smoothly throughout their functional life for years to come!
How Does Adjusting Door Hinges Help?
Adjusting door hinges help to ensure a smooth opening and closing of the doors in your home or commercial property. In addition, it will help prevent normal wear and tear, which can become very expensive over time, with new doors constantly needing replacing.
How Often Should I Adjust My Door Hinges?
If you notice that your bathroom door is difficult to open or close, then it may be time for an adjustment. Other signs that there are problems include squeaks from opening or closing and side-to-side movement of the door when it’s fully opened or closed.
It’s important to check your hinges regularly, so they don’t get too worn out before replacements have been organized. This job can take as little as 10 minutes per door, so it’s worthwhile getting them checked at least once a year.

Precautions WHile Adjusting Welded Door Hinge
- Check the door’s alignment every time before welding and at regular intervals to avoid misalignment during welding.
- When performing replacement work, be sure to set the angle of the door following that shown on the original parts list and drawings.
- After aligning it, temporarily tape or clamp the hinge not to be disfigured during welding work.
- Clamp or adjust the interlock bolt properly to not influence each other interference when you open and close the door freely.
- Remove burrs on the welded part before coating paint.
- We recommend replacing springs because they are easily broken while adjusting or repairing.
Frequently Asked Questions
Can You Weld a Door Hinge?
No, you cannot weld a door hinge. You can’t even weld the other type of hinges that are available for use on doors. The reason is that when you’re welding metal, there’s too much heat being produced which can damage the hinge or make it brittle and weak.
What Are Weld-on Hinges?
Weld-on hinges are the most common type of hinges used to attach a door to a frame. They are made from steel and brass, with either a screw or bolt head on one side and a matching nut on the other.
Weld-on hinges are strong and easy to install because they have self-locking screws which make them harder for burglars to remove than traditional hinge pins.
What Are the Types of Hinges?
There are many types of hinges, but the most common type is a swinging hinge. It consists of two metal plates with a pivot pin at one end, and it swings from side to side.
Another type is a sliding hinge which has an angled metal plate and slides along the edge of another piece of metal or wood, like the top rail on a cabinet door. This type is used for doors that slide open and closed, not swing open and closed.

What Is the Strongest Type of Hinge?
A hinge is a device used to connect two flat surfaces or objects that rotate around an axis. The most common type of hinge is the simple hinged door which can be opened and closed by pushing or pulling on it.
The strongest type of hinge has pins that fit into holes in both pieces but can also support loads from other directions.
In this case, the pin must have a diameter smaller than the hole it fits into so that when the pin is inserted into the hole, it expands and spreads out until it meets with an equal force from each side.
Conclusion
There are many reasons why a door becomes hard to open, and sometimes the hinge gets misaligned, which makes it impossible. The springs may have lost their elasticity and thus require replacement, but in most cases, the hinge is bent out of alignment or rusted that causes the problem. This article will provide you with adequate information about how to adjust welded door hinge. Thank you and have a nice day!
Angela Ervin
Angela is the executive editor of DIY quickly. She began her career as an interior designer before applying her strategic and creative passion to lifestyle and home. She has close to 15 years of experience in creative writing and online content strategy for housekeeping, home decorations as well as other niche efforts. She loves her job and has the privilege of working with an extraordinary team. She lives with her husband, two sons, and daughter in Petersburg. When she's not busy working she spent time with her family.


