
How to Age Paper Without Tea
Paper is something that many of us use daily, but it doesn’t last forever. Sooner or later, all paper will turn yellow with time and age. But there are some ways to keep your papers looking good for years to come! Today We are going to show you how to age paper without tea. These tips can be used in any house room, not just the kitchen!
The following is a blog post about how to age paper without tea. Aging paper can be done in many ways and will provide you with a unique experience that may not always be achievable by other means. The process of aging paper is straightforward, yet the result is often awe-inspiring. Read on to know more about the process.
What Things You’ll Need:
- A sheet of paper
- Black tea bags (generic)
- An oven
- Oven mitts or pot holders
- Aluminum foil
- A baking tray
- A microwavable container
Directions: How to Age Paper Without Tea
Step 1:
Set your oven to its lowest temperature setting, usually 170 degrees Fahrenheit (75 Celsius).
Step 2:
Submerge a sheet of paper in water for five minutes. Make sure the paper is fully wet for more consistent aging results.
Step 3:
Remove the sheet of paper from the water and place it on a cutting board or another flat surface.
Step 4:
Fold the sheet of paper in half lengthwise, then unfold it. Repeat this two more times (so there are three folds in total). This will make your paper look old very quickly, even before you put it in the oven. If you skip this step, achieving the same look will take a few hours.
Step 5:
Carefully place the paper on aluminum foil and tightly wrap up the paper.
Step 6:
Place your package of paper into the oven directly onto a tray or rack. Make sure it is placed evenly so that all sides are getting hot. This step determines how dark you want your paper to look, so if you want it darker, leave the paper in there for longer. Adjust accordingly and keep a careful eye on it.
Step 7:
Take your paper package out of the oven carefully, using oven mitts or potholders. The paper may be very hot, so do not touch it or let it touch anything else. You can discard the aluminum foil once it cools.
Step 8:
Unwrap the paper and check out your results! The final product will be darker than it would have been without this process.
Some Tips and Suggestions:

1. To age your paper with tea, use the cheapest variety you can find.
2. The time you leave the paper in the oven is critical. If you want a lighter color, stay away from the oven for longer or lower the temperature of your oven.
3. The instructions are the same with most teas, including green tea.
4. Although most teas will work (Ceylon, for example), black tea is the most common variety used.
5. You can use this method on many types of paper rice paper, tracing paper, and printer paper.
6. This method will not work on 100% cotton papers such as bible paper; you’ll end up with a brownish bubbly mess!
You can try it on a scrap piece if unsure what to expect. If the instructions are followed properly, this should give you a good idea of if this method works with your paper.
How to Artificially Age Paper Without Dyeing?
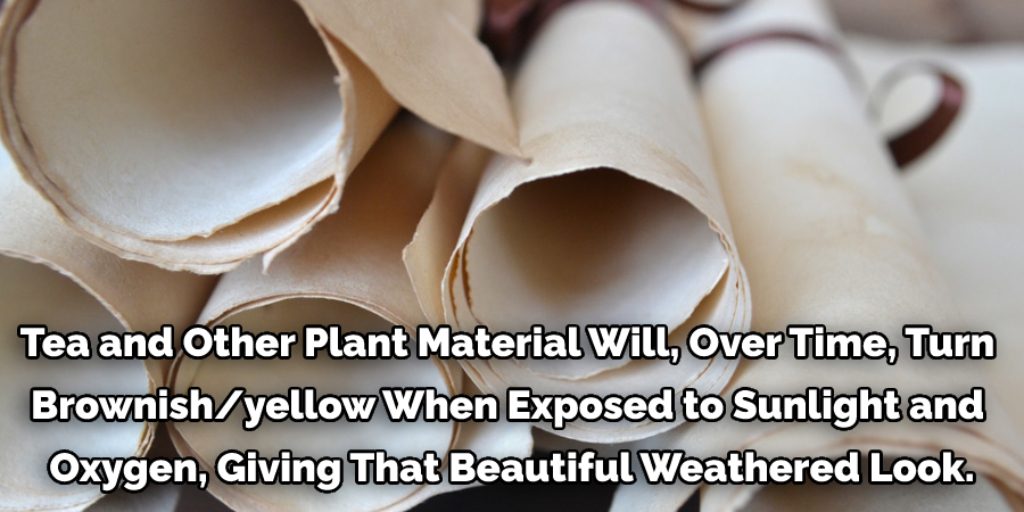
Tea and other plant material will, over time, turn brownish/yellow when exposed to sunlight and oxygen, giving that beautiful weathered look. This effect can be simulated artificially by using heat instead of light.
As long as you can lay your hands on some cooking oil or shortening (not margarine), vegetable oil should work fine too. With an old crayon and some clear varnish, you can produce faux-aged paper at will.
Follow These :
1) Boil your cooking oil (at least enough to submerge the paper).
2) Submerge your paper in the boiling oil; wait 5 minutes before removing it and blot the excess oil with a paper towel.
3) While your paper is still hot, run over it quickly and repeatedly with the crayon; the heat from the paper should melt the crayon wax enough to transfer onto the paper (alternatively, you could burn your design into it using a lighter or candle). Make sure your design is only on one side of the paper.
4) Let your paper cool until it’s merely hot to the touch (but still very pliable), then fold it in half and half again; you can also roll it up with a rolling pin. Doing this makes folding easier later when you want your paper to look like it’s been folded and unfolded many times.
5) Using a brush, coat the paper with your clear varnish, following the paper folds. You can also use glue instead of varnish if you want to speed up drying time; make sure to wait until it dries before proceeding so your paper doesn’t get glued together.
6) Once it’s scorched, your paper should look very dark and weathered. If you want more shine, use steel wool on the paper to rub off the varnish/glue, then follow up with steel wool dipped in paint thinner. You can use this same method for cloth by replacing oil with melted beeswax instead of cooking oil and using an old crayon.
Conclusion:
Here are some suggestions if you want to know how to age paper without tea. First, find a stash of old newspapers and stack them up on your desk for inspiration as you work through aging your pages with household chemicals. Next, use glue instead of tea as the binding agent when creating the book spine because it will make your project more durable and less susceptible to moisture damage throughout its lifetime.
Finally, seal all edges using an adhesive that dries clear so that no one knows what you’ve done! This should prevent any chemical reactions from occurring between your aged paper and anything else stored nearby over time. We hope these help, and we look forward to hearing from you!
Elizabeth Davis
Elizabeth is a creative writer and digital editor based in the United States. She has a passion for the arts and crafts, which she developed from a young age. Elizabeth has always loved experimenting with new mediums and sharing her work with others. When she started blogging, she knew that DIYquickly would be the perfect platform to share her tutorials and tips. She's been writing for the blog from the beginning, and her readers love her helpful advice and easy-to-follow instructions. When she's not writing or editing, Elizabeth enjoys spending time with her family and friends.


