
How to Alter a Blouse That is Too Small
Whether your blouse is too large, too thin, too big, or too tiny, just don’t confine it to the donation box. Could you adjust your blouse? Changing a blouse at residence is surprisingly easy, except for someone with almost no stitching expertise (in reality, certain modifications may be produced without even a stitching yarn).
When you’re searching for the great match t-shirt in the city, you’re in the correct spot to figure out how to get there. It is not hard to change a t-shirt which is too tiny. Even so, it needs several other credibilities. Plus, one more blouse.
Instructions
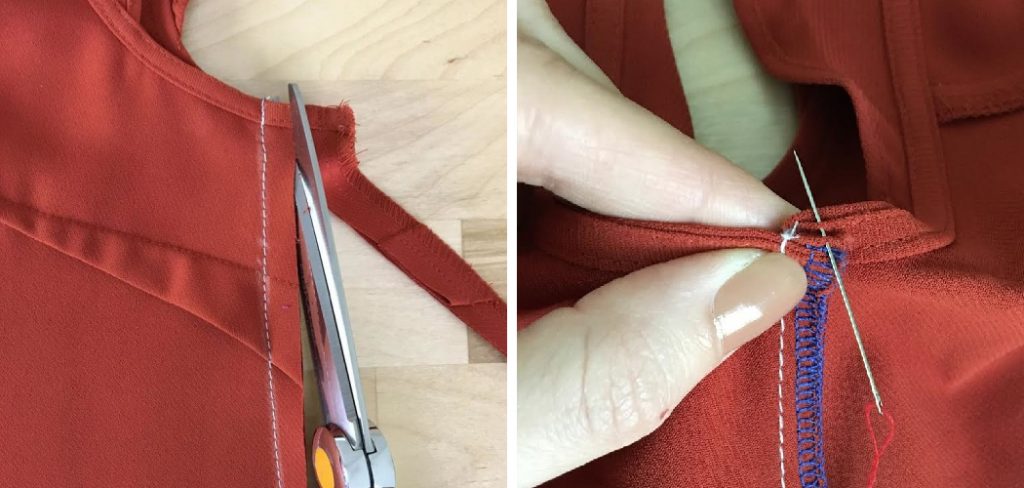
- 1-Open the inside of a blouse. Grab a set of scissors, breathe slowly, and then slit the blouse right up the side edges from the base to just behind the shoulders. Have that big breath until splitting the side seams on the garments (though ensure the sleeves are not torn off from the body).
- 2-Take a separate blouse you don’t think wasting (if you’d like a casual style, choose one with an identical form and pattern to the blouse you are replacing. If you prefer a more significant look, opt with a different color or design).
- Split out two squares from the blouse– they would be rounded marginally (6 inches broad at the base and 5-inch is at the peak is great) and only a little fuller (1 inch would do) than that of the size of the blouse you’re adjusting.
- 3-Flip the squares out on the opposite side of the blouse. Place the garments squares into the ends.
- 4-Add the panels to the dress using a stretching thread. Start from the adjustable strap up to the sleeve tip, utilizing a straight edge of 1⁄2 inches. Backstitch a bit for additional control at the beginning and final stop.
- 5-Remove the pins and take off any excess equipment and strings that remain. Switch right side of the dress off, and you’re finished!
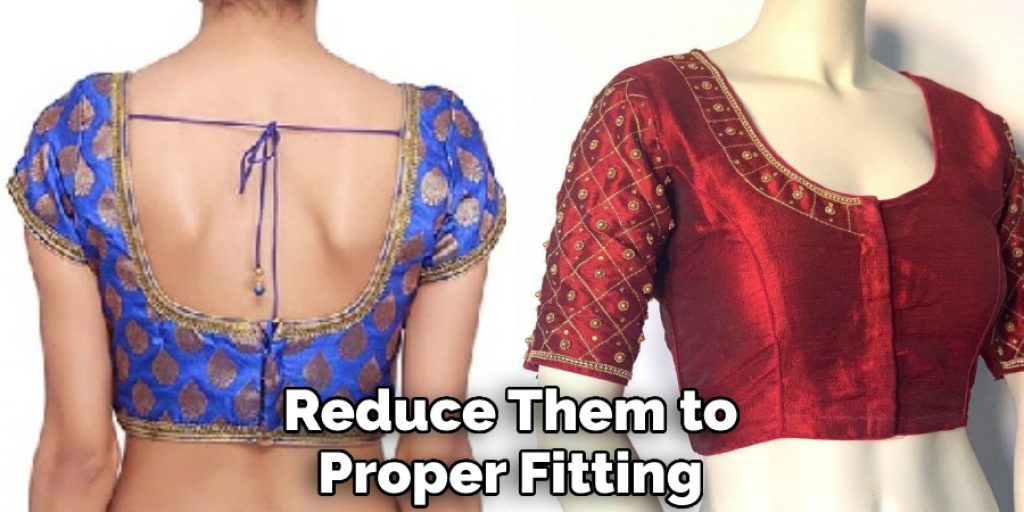
How to Adjust the Sleeves in blouse
When the as well-long sleeves weigh fall a dress, it is simple to reduce them to proper fitting.
- 1-Choose a blouse with the type of sleeves you might need. Your design would be this. Give various estimates on both the hemlines and the duration of the sleeves total. Apply the length to the width of the hem, and split the dress sleeves you are modifying to suit.
- 2-Fold the cutting sleeves to build a new hem (the figure you used in the previous stage will fit). Press, then iron in position, so don’t turn over the pinheads.
- 3-Use a hemstitch or long zig-zag strap to stitch the raw hem into position, erasing the pins as you need it.
Final Thoughts
Often a neckline on a dress can be problematic. This can decrease afterward. Now and then, it could just be a bit dull. When the blouse problems fall into the last range, why not change a button collar into your expected neck design? Those easy directions are going to teach you how.
Use a lace pen the front of the blouse to plot a second collar just below the existing blouse neck. It would have to be around 2 inches on the edges and down 1 inch on the sides. Turn across the blouse and draw a mark 1 inch under the rear neck. You are cutting the lines down. When you’re pleased with the appearance of the neck, you can consider leaving it here. When you prefer a more smooth edge, hem the zigzag stitch.
Related article: How to Alter a Blouse to Make It Bigger
Nancy Behan
Nancy is an embroidery artist, fashion blogger and a full time editor at DIY quickly. Nancy edits the fashion section on DIY quickly, focusing on the embroidery and cross stitch articles, alongside with fabric and other costume design elements. She graduated from the University of Michigan with a Bachelor of Arts in Art History. She loves to work on her own projects, read books and watch romantic movies in her spare time.


