How to Apply Tire Shine
Tire shine helps to protect the rubber from cracking, fading, and UV damage. Not only does it make your tires look great, but it will also help them last longer. Applying a good tire shine is important to keeping your vehicle’s exterior looking its best.
The advantages of applying tire shine to a vehicle’s tires are numerous. Not only does the glossy finish make your car look more attractive, but it also helps protect the tire from cracking, fading, and sun damage. Tire shine also helps reduce slippage during wet weather conditions and can prolong the life of your tires by preventing premature wear and tear. Tire shine also makes tires easier to clean, which can help you avoid the expensive mechanic and detailing bills in the future. In this blog post, You will learn in detail how to apply tire shine.
How Often Should You Apply Tire Shine?
When applying tire shine, it is important to remember that you don’t want to overdo it. Over-application of tire shine can cause a sticky and slick build-up on the tires. How often you should apply tire shine depends largely on the conditions in which your car is driven and stored.
It is a good idea to apply tire shine every two weeks for cars that are driven frequently and in wet or salty conditions. This will help prevent dirt and debris from accumulating on your tires. For cars that are parked outdoors in dry conditions, you can generally get away with applying tire shine once per month.
Step by Step Processes for How to Apply Tire Shine
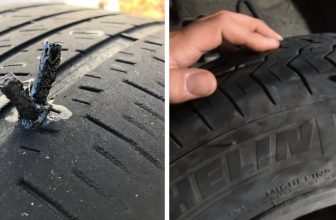
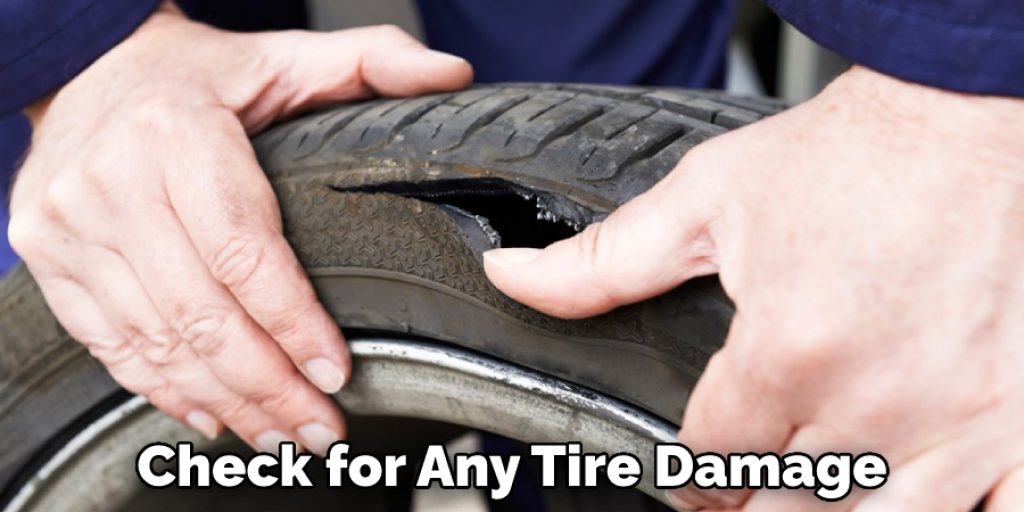
Step 1: Inspect the Tires
Check for any tire damage, such as cuts or tire bulges. If there is any damage, it’s best to take your car to a mechanic or tire shop before continuing with the shine process. Using an all-purpose cleaner, wash the tires and make sure to remove any dirt or debris. Allow the tire to dry before proceeding with the shine process.
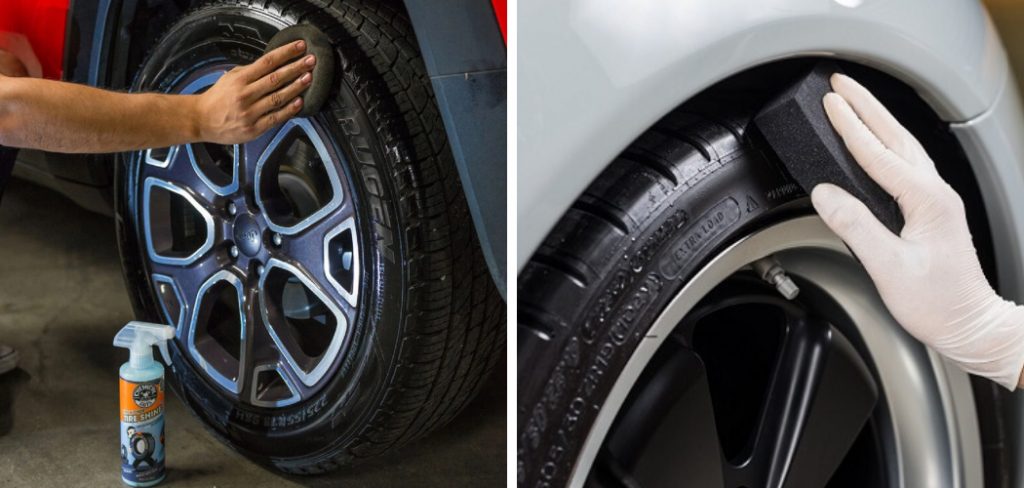
Step 2: Apply the Tire Shine
Using a microfiber cloth or brush, apply an even coat of tire shine to the tires. Work in sections, ensuring that each tire is covered evenly with the shine. Allow it to sit for about 10 minutes, and then use another clean, dry microfiber cloth to wipe away any excess tire shine.
Step 3: Buff the Tires
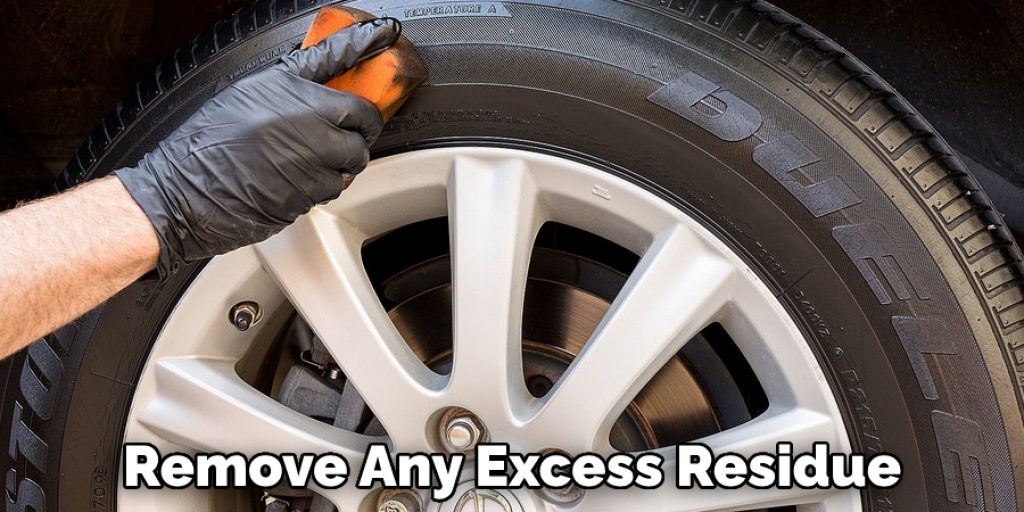
Use a buffing cloth or brush to buff the tires thoroughly. This helps to give them that glossy shine and remove any extra residue from the tire shine application. Start at the top of the tire and work your way down, ensuring that all sides are covered.
Step 4: Allow the Tires to Dry
Let the tires dry for at least 10-15 minutes. During this time frame, the tire shine should have time to bond with the rubber and provide extra protection. Once the tires are completely dry, reapply another coat of tire shine using a brush or cloth. This time, focus on working the tire shine into any grooves or crevices in the tire to ensure an even coat.
Step 5: Buff Again
Buff the tires again for a glossy finish, and make sure to remove any excess product with a clean microfiber cloth. Allow the tires to dry for at least 10-15 minutes. Reapply the tire shine one more time and concentrate on any areas that may have been missed during previous applications. Be sure to allow it to bond fully with the rubber before buffing it again.
Step 6: Final Buff
Using a buffing cloth or brush, give the tires one final buff to remove any excess residue. This will also help ensure you’ve achieved an even coat of tire shine. Your tires are now ready for shining! Enjoy the glossy finish and admire your work. Tire shine does need to be reapplied every few weeks for it to remain effective.
Following these steps will help ensure that you have applied tire shine correctly and safely.
Tips for How to Apply Tire Shine
- Wear safety glasses and gloves when applying tire shine to protect yourself from fumes or splashes during the process.
- Read the instructions and warnings on the back of the tire shine product before use. Certain products may require you to take additional precautions, such as ensuring proper ventilation in your workspace.
- Clean the tires and wheel wells with a cloth or brush before applying tire shine to remove dirt, dust, and road grime from the surface.
- Apply tire shine liberally to one tire section at a time using a foam applicator pad. Avoid getting any product on the brake calipers or other plastic parts of your vehicle, as it may cause discoloration.
- Let the tire shine product sit for a few minutes to penetrate and bond with the rubber surface.
- Spread the product evenly over the entire tire using a foam applicator pad or clean microfiber cloth in circular motions.
- Wipe away any excess product to avoid an overly glossy finish
- Reapply tire shine as often as necessary to maintain a clean and uniform look on your tires. Do not apply too much product at once, or you may end up with a greasy film on the tires.
Always keep in mind that too much of any tire shine can harm the rubber surface. Too much product can also lead to sling off when the vehicle is in motion.
How Do You Clean the Tires Before Applying Tire Shine?
- Start by giving the tires a good wash with soapy water. Use a brush or sponge to remove dirt, brake dust, and other debris from the tire’s surface.
- Rinse off any soap residue and allow the tires to dry completely before applying tire shine.
- Use a dedicated whitewall cleaner to remove stubborn stains if you have whitewall tires.
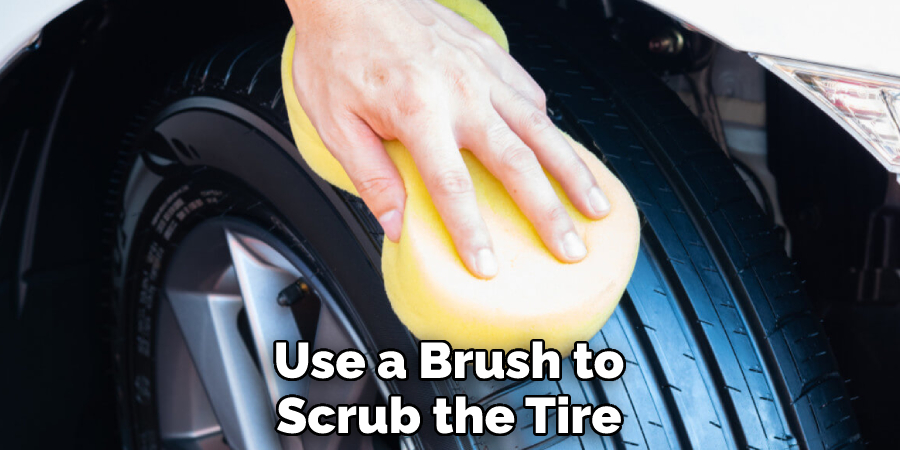
- Use a cloth or brush to scrub the tire until it is completely clean. You may need to use a degreaser specially formulated for tires for deep-set dirt.
- Rinse off any cleaner residue from the tire’s surface and allow it to dry before applying the tire shine.
- Once you have finished cleaning and drying the tires, you are ready to apply tire shine. Follow manufacturer instructions for application directions.
- After applying tire shine, let it dry for several minutes before driving the vehicle or touching the tires. This will ensure that the tire shine is fully cured and will provide maximum protection and shine.
- If necessary, apply a second coat of tire shine for an even deeper gloss. Allow the second coat to dry before handling the tires again.
- Reapply tire shine every few weeks or as needed to keep your tires looking like new.
How Do You Prevent Streaks When Applying Tire Shine?
Applying tire shine correctly is the key to achieving a streak-free finish. To avoid streaks, work in a well-ventilated area and apply the tire shine in sections. Start by cleaning your tires with a damp cloth or sponge to remove any dirt and debris. Once clean, spray a light mist of tire shine onto one section of the tire.
Use a foam applicator or soft cloth to spread the product evenly, wiping in circles and avoiding contact with any plastic trim. When finished, move on to the next section. After all sections of the tire are completed, let it sit for five minutes before buffing off any excess shine with a clean towel or an old t-shirt.
How Do You Protect Your Hands While Applying Tire Shine?
It is important to protect your hands when applying tire shine. Make sure you wear rubber gloves or other protective equipment to keep the chemicals from coming into contact with your skin. Additionally, consider wearing a mask if applying tire shine in an enclosed space so that you do not inhale the fumes. Be aware of any warnings on the product label and adhere to the instructions regarding safety precautions.
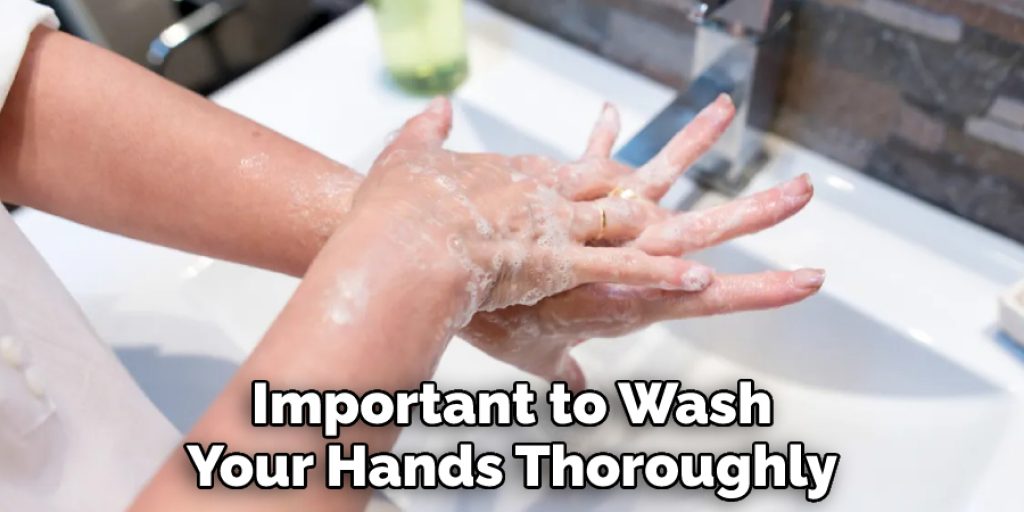
After applying tire shine, it is important to wash your hands thoroughly with soap and water to make sure all residue has been removed. Additionally, use a damp rag or paper towel to remove any excess product from the surfaces you touched while applying tire shine. Taking these steps will help keep your hands safe and ensure you get the best results when applying tire shine.
When working with any chemical, it is important to read and follow instructions regarding safety precautions. Make sure you are using a product made specifically for tires and that you are aware of the potential risks associated with its use. Taking the time to protect your hands while applying tire shine will help ensure you get the best results while also avoiding potential health risks.
Conclusion
The main disadvantage of applying tire shine is that it can be messy and difficult to apply evenly. It also has a tendency to attract dust, dirt, and other debris, which can cause build-up over time. Additionally, some tire shiners contain petroleum distillate solvents that can harm the environment if not used correctly.
Applying tire shine is a relatively easy job that can make your car look like new. It can take just a few minutes, and with the right materials and techniques, you can have a showroom-ready finish in no time! First, clean the tires of any dirt or dust buildup, then add some soap and water to help lubricate the surface. Once that is done, apply an even coat of tire shine to the sidewall and tread area with a brush or cloth, making sure to cover all sides; let it sit for 5-10 minutes before wiping off any excess. I hope this article has been beneficial in learning how to apply tire shine. Make Sure the precautionary measures are followed chronologically.
Louis Wein
Louis has always been fascinated by cars. He loves the way they look, the sound of the engine, and how they make him feel when he's driving. He is always keen to learn more about different mechanics of cars and how the engine contributes to other aspects of the car. As an automotive technician with over 10 years of experience, he knew how they worked and loved taking them apart to see how they went back together. He was especially interested in the mechanics of combustion engines and loved finding ways to make them more efficient. He loves to work on cars and help people keep their vehicles running smoothly. As a senior editor, he enjoys contributing to Diy quickly because it allows him to share his knowledge and expertise with others.