
How to Attach Batting to Fabric
Introduction
We all are familiar with a different way of making cloths. We have always watched our grandmother sewing different clothes while growing. And we have always admired them, but as we were kids back then, we did not know much about the techniques used for making these. But now we sometimes want to try them by ourselves we face some difficulties, which happens due to our lack of knowledge.
So this is our sole responsibility to gain proper knowledge before getting into the work. Many ways are associated with crafts relating to the fabric. You can easily make them in your house by utilizing these techniques. Making a quilt is one of the toughest things to do, and this is much difficult because there requires a lot of layer of different cloths which must get attached for the proper integrity of the fabric.

Attaching batting is one of the cardinal aspects of making a quilt. Batting is providing the filling material for the quilt or any other fabric. Rhetorically we can state this as the meat that we used to put in between the sandwich. There many kinds of material that are used in this case. And many techniques can be followed to attach these batting in between the fabric. The sturdiness of the fabric depends on this batting.
It is always better to follow a specific technique while attaching batting to fabric, as this can avoid any potential dilemmas for the maker. We will now exhibit some techniques on how to attach the batting to fabric, which will be helpful for beginners. So without further ado, let us go through the description of the methods.
Requirements
You will need batting materials, needles and sewing equipment to attach the batting to the fabric. The requirements for attaching the batting differ based on the method you use. Some methods require specific prerequisites for proper attachment. Having the right materials and equipment will help you achieve the best results.
The needles must be sterilized, and the threads must match the color of the fabric so that there is no creation of non-aesthetic color contrast. Then you will need safety pins. These safety pins will be used for keeping the material while attaching them to the batting. You will also require a sewing machine for sewing the more prominent fabrics. This is essential because hand sewing more significant fabric is quite cumbersome, and it is time-consuming.
Next, you will need an iron machine, this will also be much helpful for the whole process, and it is also an excellent way to attach the fabric, you will also require an adhesive spray for this process. This can be much useful in connecting the batting. You can also keep some paperweights, and this will be needed to keep the fabric steady while sewing. Lastly, you will require scissors and cutting mat, and you can also use a rotary cutter for this process.
Selection of the Batting
There many types of batting materials that are available in the market. All of them have their unique features, and their usage is also different. The main functionality of the batting depends on the type of fabric that you are using and the type of comfort you tend to have from the material. So before going to the detailed procedure on how to attach the batting to the content, we will provide you some overview in the type of batting, which will help select them.
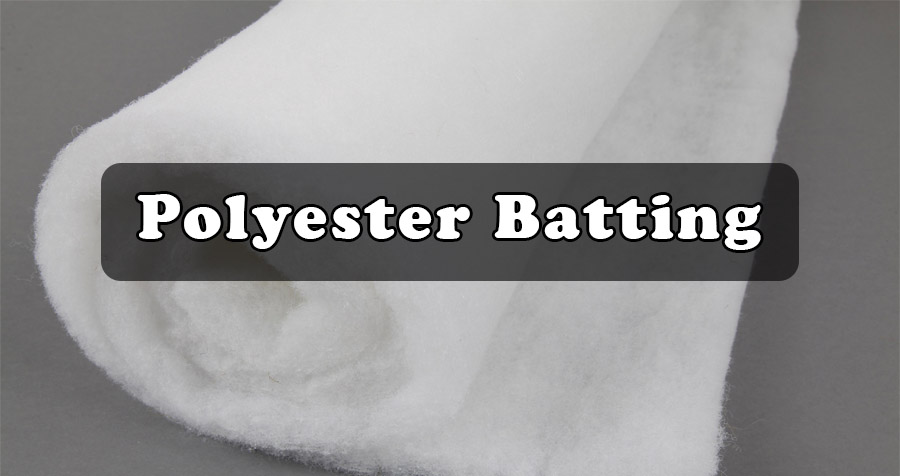
- Polyester Batting
The batting, made with polyester as the only material, is quite thin. However, this is not a disadvantage because there is double-sided bonding available for the batting, making the product much more robust. Therefore, when you are stitching through the batting, there will be less amount of bearding. Polyester batting is the best one for beginners who are willing to learn the technique.
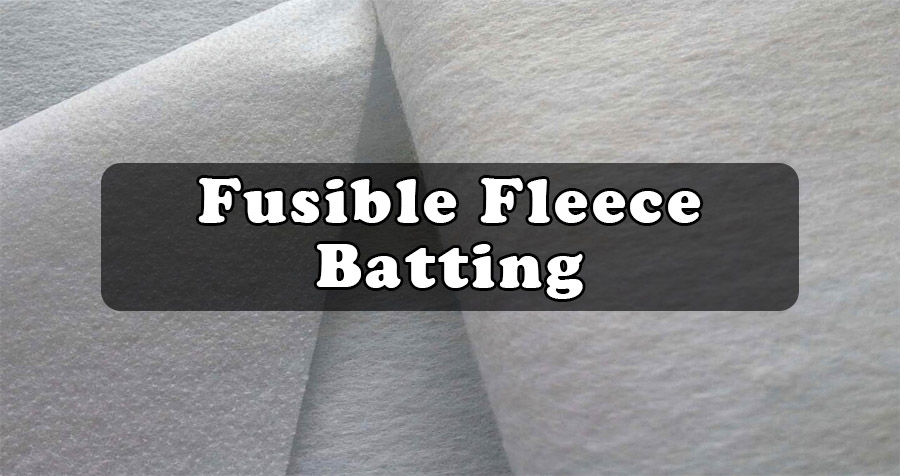
- Fusible Fleece Batting
This is another unique batting material; the essential feature of this material is that there is glue on one side of the fabric and polyester on the other side. The adhesive, when heated, gets melted and fuses with the material that you want to attach. In this manner, the bonding between the material and the batting becomes firm. This fabric can be easily used for making table runners and envelops, in which there is an urgent need for fusing between the materials.
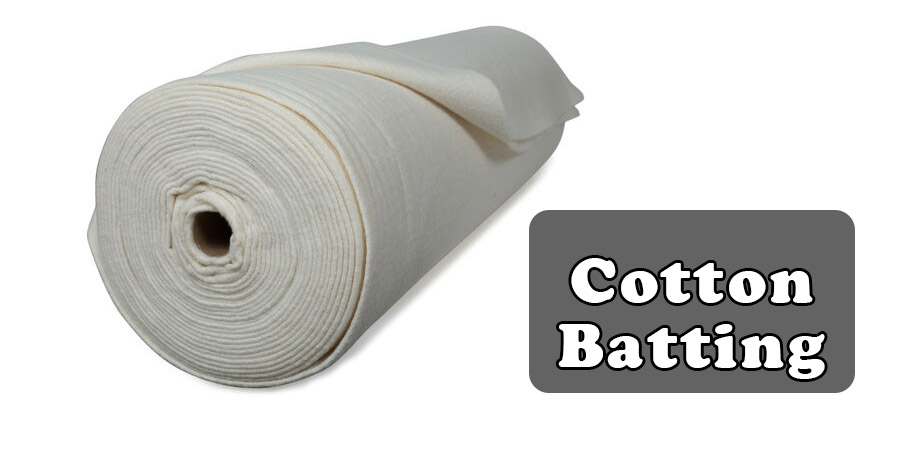
- Cotton Batting
When applying blush, use a light hand so you don’t put too much on. The amount of blush you use should also depend on the shape of your face. Those with oval-shaped faces can wear any blush, but those with heart-shaped faces should use a more angled brush and stay away from circular motions.
- Cotton-Polyester Batting
The batting material is a mix of cotton and polyester. Eighty percent of it is cotton, and the rest is polyester. This makes the fabric more comfortable to use. The polyester is spun around the edges of the material so that when you attach the batting to the fabric, there will be a temporary bond created by the action of the polyester. The cotton will provide adequate room for this attachment.
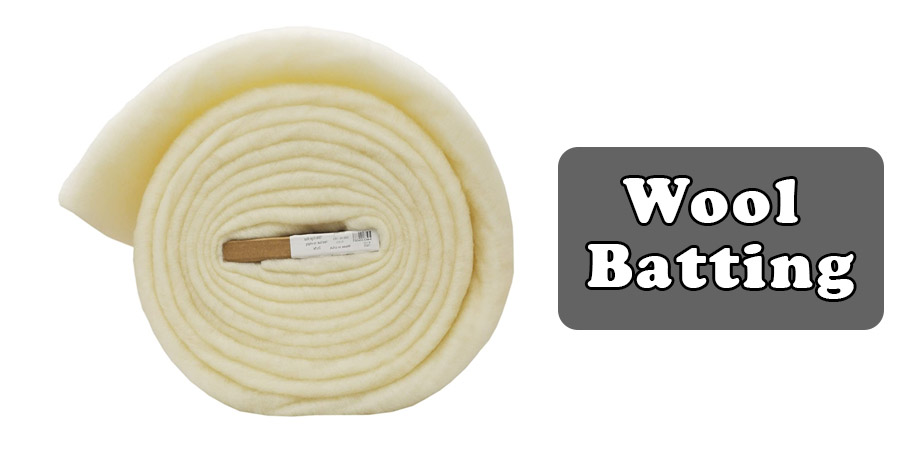
- Wool Batting
Wool batting is renowned for its loftiness, making it a natural choice for those who prefer not to use polyester batting. Its sewing provides a good gliding to your hand, making it the costliest but also most luxurious batting option. This batting will offer you the most comfortable feeling that you will not get from any other natural batting.
Procedure
Many techniques are incorporated by the people while attaching the batting to the main fabric. All of them are prominent for their individualistic features, for the better convenience of our readers we are going to provide you the best three methods that we have shortlisted, we hope that all of these will be much easy for you to perform, and the manual labor can also be lessened. These processes are stated below with proper explanation.
- Sewing Technique
In this technique, at first, you have to spread the main fabric in the table, if the fabric is small, you can use a standard table, but for bugger sized fabric, you should always use the floor to spread it. Now you have to spread the batting material on the cloth. The batting material should be placed in such a manner that there is always one to two inches extra on all the sides. This is kept for the easy of cutting the batting after the sewing is done.
Now you need to take the safety pins you’ve already collected – they’re essential for successful sewing. The safety pins will be used to attach the batting and fabric along the border. This is because while sewing, there’s a risk the batting could move from the desired position. To secure it correctly, space safety pins out every two to three inches along the border.
Now you have to take the needle and put the thread through the needle. Then you have to start hand seeing the batting, and it is better to start from the ditch because this is the central portion where the batting can get moved. All the designs are affiliated with this part, and once you have hand sewn the ditch, you can quickly start the process and gradually move towards the ned. At the borders, it is better to use the sewing machine for easy sewing.
Once the total stitching is complete, you have to use a cutting mat under the batting. Then you will use a scissor or a rotary cutter to trim the extra batting material, when you are using a scissor it is not required to use a cutting mat, but for a rotary cutter, the use of cutting mat is a must. In this manner, you can easily attach the batting to the desired fabric.
- Iron-Press Method
In this method, you have to use a hot iron to attach the batting, this is quite easy, but proper sincerity should be maintained before performing the task. The batting should be spread on the fabric like before, and then you have to press the hot iron against the batting. There is always a confusion among the users on the temperature adjustment in the iron machine.
As you are trying to attach two fabric, so you have to use high temperature, but there should always be a limit maintained, because the excessive heat can damage the fiber of the material. So apply moderately high temperature and makes sure that the glue that is already installed in the fabric is melted; in this manner, the attachment can be much sturdy.
- Adhesive Spray Method
Our final method for attaching the batting is to use an adhesive spray. There are many different adhesive sprays available on the market or online. Always be careful when using the adhesive and wear the necessary precautions. First, spread the batting out on the ground. Then spray the adhesive onto the batting, being careful to cover the entire surface. Next, place the fabric on top of the batting.
After that, you have to fold the cloth and then start spraying the top corner of the batting with the adhesive, now gently press the edge of the fabric against the adhesive applied portion. After that, you will gradually move forward and use glue and then press the particular part of cloth against the batting. In this manner, you will be able to attach the batting. Make sure to put extra spray on the edges of the fabric to get them firmly connected.
Precautions
You have already gathered the knowledge on the methods that can be incorporated for attaching the batting to your quilt by now. But there are certain things that you need to be aware of while performing these techniques. These are important because all the methods include diverse instruments, and you might get into problems if you are not adequately sincere. Some of these critical aspects are stated here for your better convenience.
- Stitching
We know that stitching is quite challenging for beginners to learn because this includes the spontaneous use of needles. These needles are much small and contain sharp ends, so you must be very careful while sewing the quilt. It is better to wear synthetic gloves while performing this task, but we suggest that when you are sewing the batting you automated sewing machines, these can be less harmful to the user.
- Iron-Press
Another essential part of attaching batting to fabric is using an iron press, which can get quite hot. We suggest wearing gloves to avoid any mishaps that could burn your hands. To be extra safe, make sure to disconnect all electrical connections before pressing the batting against the fabric.
- Adhesive Spray
Another critical aspect for attaching the batting to your desired material is using the adhesive spray, and they are basically glued, which is turned into gaseous substance-using various chemicals, so you should be much aware of the direct exposure of these substances to your body, especially to your skin and eye. So we suggest that you wear synthetic gloves and eye goggles to protect your hands and eyes from the direct exposure of these sprays.
Conclusion
In conclusion, we would like to state that the techniques we have mentioned here to attaching the batting to the fabric will be beneficial for you. There is a detailed discussion in the types of batting that are mostly available in the market and can easily choose for your fabric attachment. On the whole, this will be a great way to develop DIY skills for beginners. Thank you for your patience. Have a beautiful day!!
Nancy Behan
Nancy is an embroidery artist, fashion blogger and a full time editor at DIY quickly. Nancy edits the fashion section on DIY quickly, focusing on the embroidery and cross stitch articles, alongside with fabric and other costume design elements. She graduated from the University of Michigan with a Bachelor of Arts in Art History. She loves to work on her own projects, read books and watch romantic movies in her spare time.


