
How to Blend Pencil Shading
Introduction:
Pencil shading is a complicated art to master. However, if you are really serious about your drawing endeavors, you will need to learn to pencil shade properly. The truth is that for any artist to truly understand the fundamentals of light, shadow, and depth, it would be imperative that they will how to apply the principles of pencil shading first.
Pencil shading is basically an artistic technique wherein artists use little hatching lines of different thicknesses on their surfaces (usually paper) in varying intensities to create a semblance of three-dimensional forms from 2-dimensional spaces like drawing faces and figures on Canvas or wood panels. In this article, I will discuss how to blend pencil shading. So let us get started.
Step-wise Guide on How to Blend Pencil Shading:
There are many ways of learning how to blend pencil shading. One can follow an article, watch a video, or learn it on their own without any guide. Here is a step-wise guide for those who want to learn about pencil blending on their own without having to shell out money on tutorials: Start with the basics: a light pencil and a dark pencil. Practice creating different shades by blending the two colors together. The more you practice, the better you will get at it.
Step 1: Get Drawing Pencils and HB (Hardness) Pencils Too!
To blend your pencil shading, you will need drawing pencils and HB (hardness) pencils too! You can use these two types of pencils at the same time, one over another. You may even need some more colors other than black like brown and blue etc.
Step 2: Practice Pencil Blending on an Old Sketchbook Paper
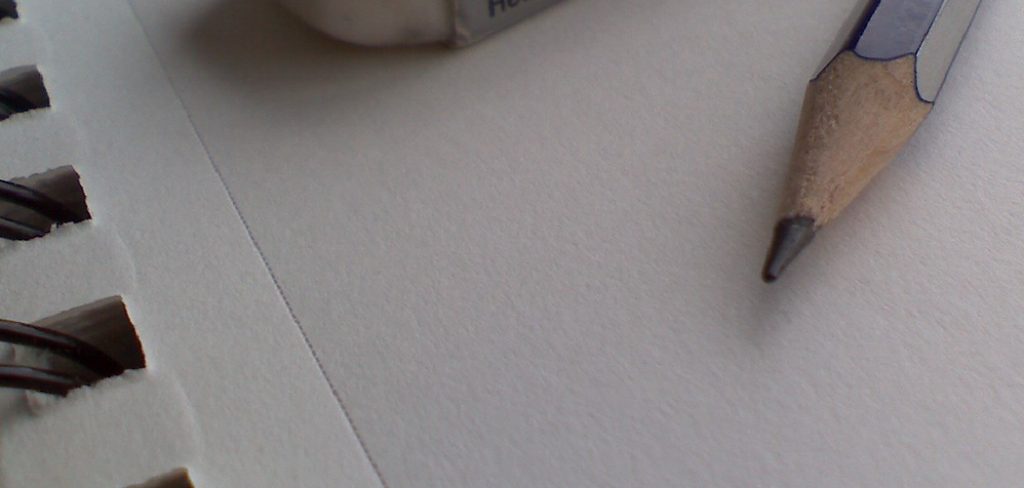
Get an old sketchbook paper. Make sure it is blank, no more drawings on it. Take some time to practice pencil blending on this sketchbook paper. Use the hard pencils (HB) and drawing pencils of various colors to blend different shades in a single area.
Step 3: Get Some Practice Papers Too!
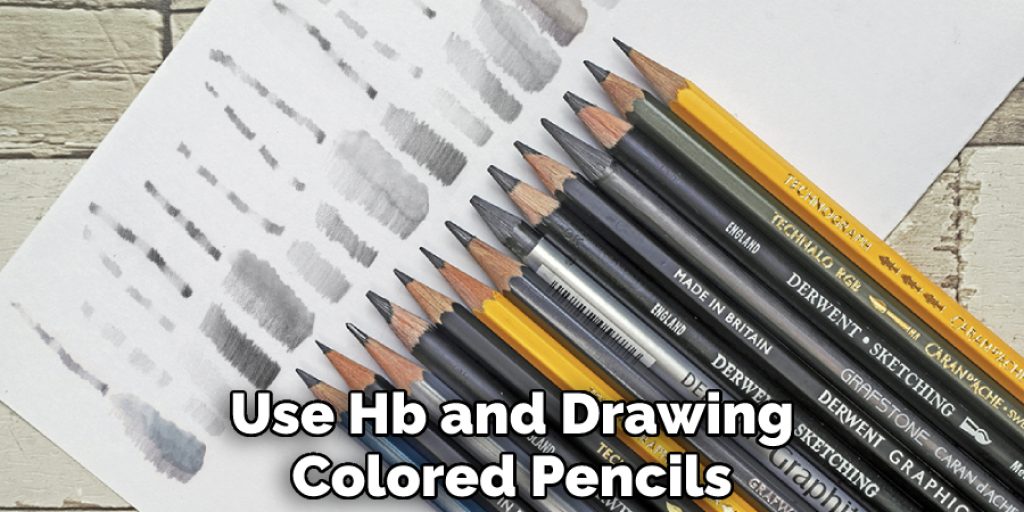
Now after practicing for a few days, get some practice papers too! You will have to spend quite a long time practicing before you start getting good at blending your pencil shading, so obviously, you need these papers too. Once again, use HB and drawing colored pencils and blend different shades of the same color in one paper area. Now, once you are done with all this, it is time to step up and learn how to blend your pencil shading into a seamless look. The best way to do this is by using the ‘wet-on-dry’ technique.
Step 4: Learn How Dark the Shade Should Be!
It is imperative to learn how dark your pencil shading should be. This is because different shades will make your picture look different, and the shade you draw will have a big impact on the final picture. For example, if you are drawing a girl with black hair, then a dark blue-black color might work for her, but it may not look good for someone with white hair (in that case, you would want a light blue-black color). So basically, take some time out to learn how dark your pencil shading should be depending upon which character/person you are using in your art piece. As I said before, this depends on what colors and shades suit the character you are drawing, so you will have to do a lot of experimentation in this regard.
Step 5: When to Use HB Pencils and Drawing Pencils!
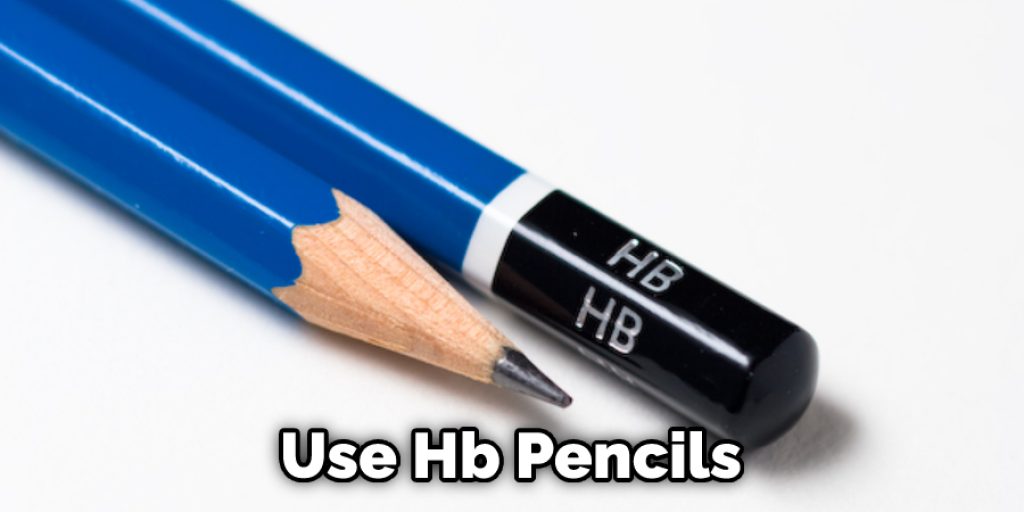
Learn when to use HB pencils and drawing colored pencils if you want to create very dark areas, then it is best to use HB pencils, but if you are trying hard to get light shades, it is better that you use drawing colored pencils as they won’t make your picture look too dark. HB pencils are also good for creating highlights and adding details to your drawing.
Step 6: Learn How To Blend Different Shades Now!
This might be slightly difficult but not impossible by any means! If you can create different shades using your pencil, you should obviously learn how to blend those different shades into one color or shade. It is easier to blend light colors with other light colors, and the same goes for dark colors. However, if you are mixing up two different shades that are pretty far from each other, you need to have some sort of a balance between them. The easiest way to do this is to use a light color and a dark color, or in our case a light pencil and a dark pencil.
Step 7: Experiment with Colored Pencil Blending!
Now that you know all the different shades of colors, you can blend them to create a new color or shade! To do this, you will have to experiment with different combinations of colors and get used to mixing them together. With a little practice, you’ll be able to create any color you can imagine!
Step 8: Some Tips For A Quicker Blend…
If you want the blends to be quicker, make sure you hold your pencil at an angle (a 45-degree angle will work best). Now place your pencil at one end of the area where you want to blend the color and drag it across until you reach the other end of that area. Do this repeatedly for 2-3 times so that there is no hard line between the two colors you are blending. If your pencil is not sharp, then draw quickly so that the paper doesn’t burn, and make sure to apply as much pressure on your art piece as possible (make sure it does not tear, though).
Precautions While Blending Pencil Shading:
Brush used while pencil shading should be a soft one. If the brush is rough, it will tear up the paper and make even the finest of details difficult to spot.
Pencils have to be sharpened very often as you blend the strokes with your other hand and can sometimes break some part of the pencil.
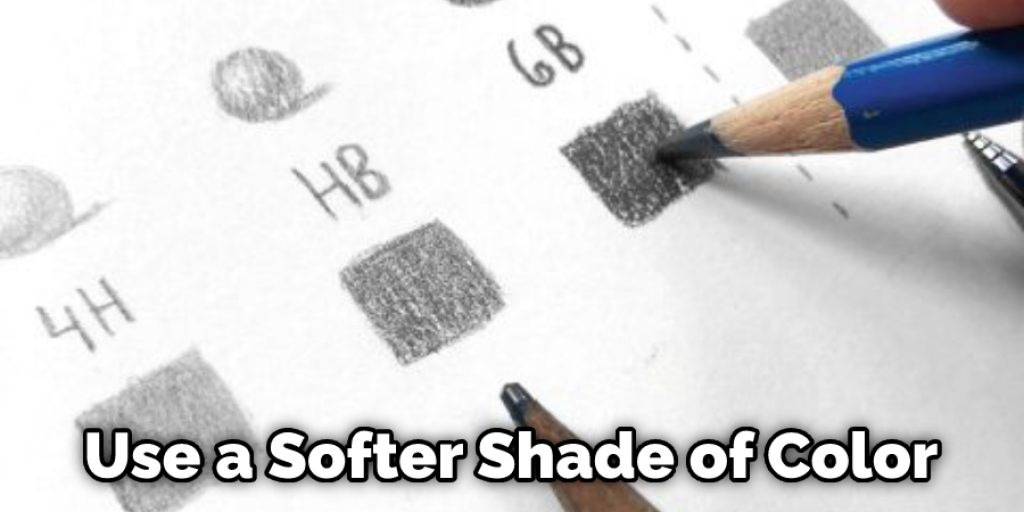
Some parts are always more exposed to wear than others, like fingers, so it’s best to use a softer shade of color on those areas instead of darker or much lighter ones because this may cause thin lines in between, which may spoil the look completely. For example, if you have a very light skin tone, use a light shade on your fingers, and avoid using white or a very light color because the contrast between the colors can make the lines more visible.
Too much blending leads to the gradual spreading of colors leading them into each other, resulting in a dull blended effect rather than a sharp-looking color effect.
When you are blending, you can’t change any of the values to make lighter or darker shades, so if you want to make something really lighter than your current pencil shade, then go for another soft pencil and blend that all over the paper instead of first applying one pencil shade and then going in with a second light colored one on top of it.
If some colors are coming out too dark even after multiple blending sessions, don’t worry because this is normal sometimes, and there is no fix-up formula for this. You have to live with the result.
Frequently Asked Questions
What Can You Use to Blend Shading?
There are a few different tools that can be used to blend shading. The most common ones are pens, brushes, and ink pads.
Pens can be used to shade areas with fine lines or for adding highlights. Brushes can be used to create a more painterly look, while ink pads can be used for heavier coverage.
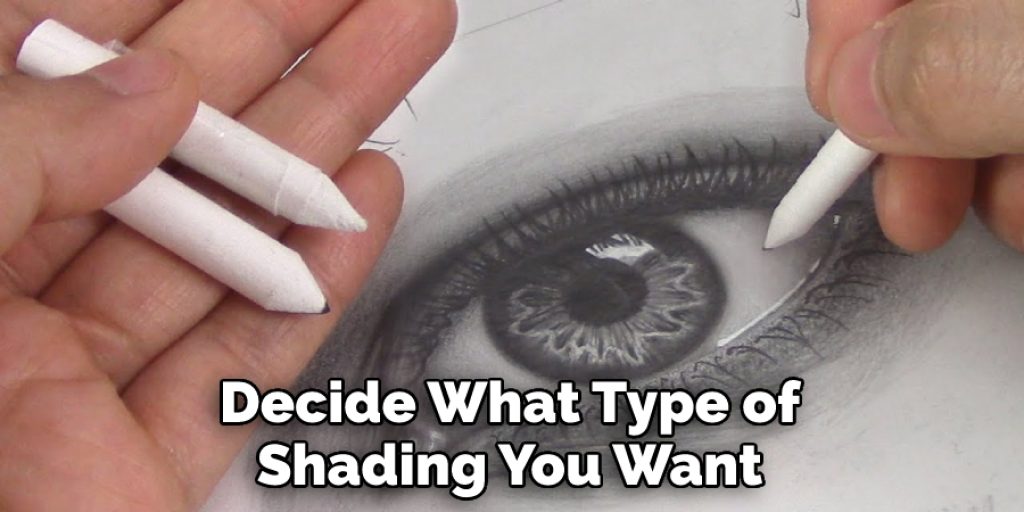
When choosing a tool, it is important to decide what type of shading you want to achieve. For example, if you want to add highlights, then a brush would be the best option. If you want to create a more realistic look, then a pen would work better.
What Are the 4 Pencil Shading Techniques?
There are four pencil shading techniques that you can use to create realistic-looking drawings and paintings.
1. Tonal values: This is the most basic technique and involves using different levels of darkness to represent different parts of your drawing or painting.
2. Shade: This involves adding darker tones to areas that are lighter in color, creating a more realistic effect.
3. Highlights: Use lighting to add highlights to specific areas of your drawing or painting, giving it a more dramatic look.
4. Crosshatching: This is a very detailed technique that uses tiny lines to create a rough texture on your artwork.
Can You Make Your Own Blending Stump?
Yes, you can make your own blending stump by using a coffee grinder. You will need to measure the size of the stump you want and then buy the appropriate size grinder. Once you have the grinder, put it in the freezer for about two hours so that it is completely solid. Then, remove it from the freezer and unscrew the top.
Next, place the stump on the bottom of the grinder and screw on the top. Be sure to tighten it securely so that no air escapes from the grinder. Finally, turn on the machine and start grinding your coffee beans.
What Is the Cost of Blending Stump?
There is no one answer to this question, as stump blending costs will vary depending on the size, type, and age of the trees being blended. However, in general, the cost of stump blending will range from $50 to $1,000 per acre.
What Is Finger Blending in Art?
Finger blending is a technique used in art where different colors are applied to the fingers in order to create a blended effect. This technique can be used for various purposes such as creating a gradient, adding highlights or shadows, or creating an abstract design.
To start finger blending, you will need some basic supplies like paint brushes, pens, and paper. You can also use digital tools like Photoshop or Illustrator to create your designs.
Conclusion:
I hope this article has been beneficial for learning how to blend pencil shading. Ensure all the safeties while performing the process. Thank you and have a nice day!


