
How to Break a Disc Lock
There’s nothing worse than locking your bike up with a disc lock and finding out that the key is missing or broken. But fear not! With a few simple tools and some know-how, you can easily break your disc lock without damaging your bike or wheel. This article will show you how to break a disc lock. So read on, and learn how to break your disc lock like a pro!
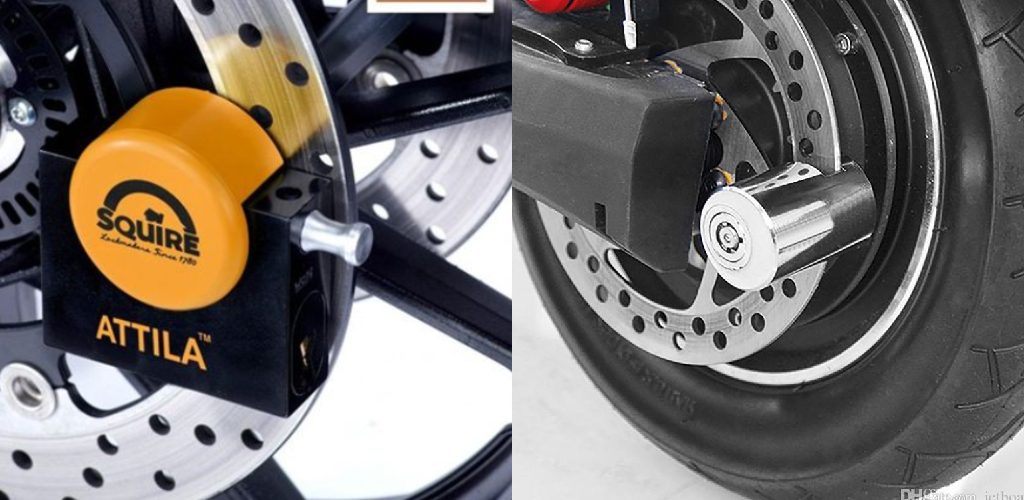
Disc locks are pretty simple devices. And it’s precisely that simplicity that makes them so vulnerable to attack. They are often nothing more than a spring-loaded wedge with a piece of insulating cardboard covering the lock mechanism. So long as the key is present, it can be opened relatively easily by applying pressure to this piece of cardboard and forcing the wedge out of place.
Required Tools and Materials:
- A good hammer, ideally a large flat head ax
- A pair of pliers or a Leatherman
- A couple of shims, preferably plastic ones from an old cassette
- Cutters or tin snips
- A small but sturdy prybar
- A set of Allen keys* (you may only need the 2mm if you have it)
- Drill with metal drill bits
- A giant screwdriver, ideally flat head
A Step by Step Guide on How to Break a Disc Lock
Step 1: Determine the Weak Point
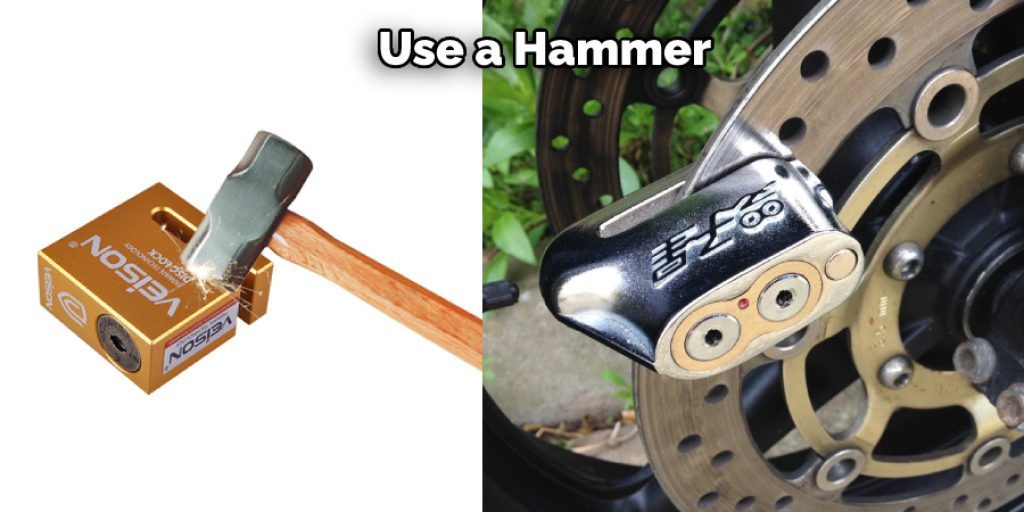
The weak point of disc locks is always the nut holding it together, so our priority should be to break this. How you do this depends on the shape of the lock’s head. The simplest way would be to take an appropriately sized screwdriver and use that as a lever between your hammer or vice grip until the shank cracks open slightly.
If you don’t wish to damage your tool in doing this, then find something to cover it in, like socks or rags. Then, keep reading below for instructions on how to break a disc lock! This might take longer than one minute, depending on how much force you intend to apply. Two minutes at most for smaller bolts holding together the shanks, three for bigger ones.

Step 2: Shove in the shims.
Once the head is cracked open, place your metal shim between the head and body of the lock using either a screwdriver or even by hand if it’s small enough. How much force you need depends on how strong your lock is. You also need to factor in whether it has one or two pieces connecting at this point.
What happens when you do this will be explained later when we get there with our snips, but essentially you’re making it more challenging to separate these pieces once they come apart. The further away from the lock’s centers, these are placed; however, the less resistance they are giving when it’s time to separate them. Doing this makes it more difficult for the lock to open, which works in your favor.
Step 3: Pry open the shank
Now that we’ve cracked off a piece of the bolt holding the two halves together, place a screwdriver on either side of where they meet and pry them apart. How far you need to go depends on what size metal shim you have used and where it’s placed. Again, if you want an easier way to do this, wrap some cloth around the shafts so they don’t damage anything.
This step can take anywhere from ten seconds up until about three minutes, depending on how easy or hard it is for you to separate these pieces. If it’s tough, consider taking the two pieces further apart before separating them.
Step 4: Remove the shims
Once you can see enough gap between these two pieces, please take out your shims and throw them away or keep them for next time. How big the gap you’d want here depends on how easy it is to put back together again.
How far apart they are placed also affects this, but I place one at either end of where they meet, then separate these halves more if it’s incredibly tough. This makes it much easier to reattach after you’ve drilled it open! Also, wipe off any fingerprints from touching anywhere on the lock with alcohol or something similar as this leaves clear marks. Again, how you do this depends on your surroundings.
Step 5: Drill out the bolt head
Now that these are separated, it should be easier to take the disc lock apart with a good quality drill bit. How many depends entirely on how thick your shank is and how large your bolts are. These have six spokes, so I drilled them once at twelve o clock then did another one through each of the spokes until they were all gone.
The more force you put into drilling into these pieces, the better; don’t go far enough for too long, or else you risk damaging what’s inside instead of just breaking it open. How wide your holes should be are quite big-about 8mm in diameter if you’re having trouble measuring it out. How deep they go isn’t essential, but you could get away with going about a quarter-inch or so.
Step 6: Pry open the shank
This step is pretty much like prying apart the two halves in Step 3. How far you have to go depends on how big your drill holes were and where you placed your metal strip for this bolt.
How far apart these pieces are once separated should be around 1mm-2cm or so to make it easier to reassemble again after drilling through the outer shell of this lock. How much force you need here will depend entirely on how tightly everything was put together earlier when you first broke open the head of this lock from its body.
How easy your bolts come apart should also determine how many times you need to drill it again after this. How wide apart these pieces should depend on your shim width-I’d recommend 1cm or so if they are roughly the same size as mine. How deep your holes are doesn’t matter, but you could always go about half an inch in depth to make sure that no one can pick open this lock without any drilling at all.
Step 7: The fancy stuff
Now it’s time for you to take out your metal shears and cut off either side of each bolt until there’s too little sticking up so that you can pull it entirely out of the lock body. How much you have to cut off is how strong your sheers are, but I’d recommend making them around half an inch long.
How you cut these depends on your sheers, I use a cheap pair that has a sharp edge running along one side of the bolt, so they do it properly even though it is a pain to do this for everyone. How far apart these little pieces are placed should be about 1mm-2cm apart if possible.
How deep you drill into them is up to you; just don’t go too far, or you might damage what’s inside instead of just breaking it open from the outside. It doesn’t matter either way how big the holes are here, as they can always be rethreaded later with some small bolts and nuts.
Step 8: Putting it back together
Now all you have to do is reassemble everything again. How much easier this is than taking it apart entirely depends on how good your disassembly job was earlier. Still, if you put all the pieces back correctly, then it should be about 1-2 minutes to take apart and another 2-5 or so to get it back together.
How far apart these bolts are placed depends on how strong they are when they are twisted after being screwed in, but I’d recommend around an inch for them to work correctly. How deep your drill holes are could be anywhere from half an inch up to two inches, depending on what size your bolts are.
Step 9: Finish it off
Once everything is screwed back into place, all that’s left is for it to dry again, then cut off any excess pieces and take off any shavings so it should be clean and safe for use again. How long the drying time is depends on how much you used and what type of glue you were using, so look at your instruction manual or give them a call if you’re unsure about this or anything else.
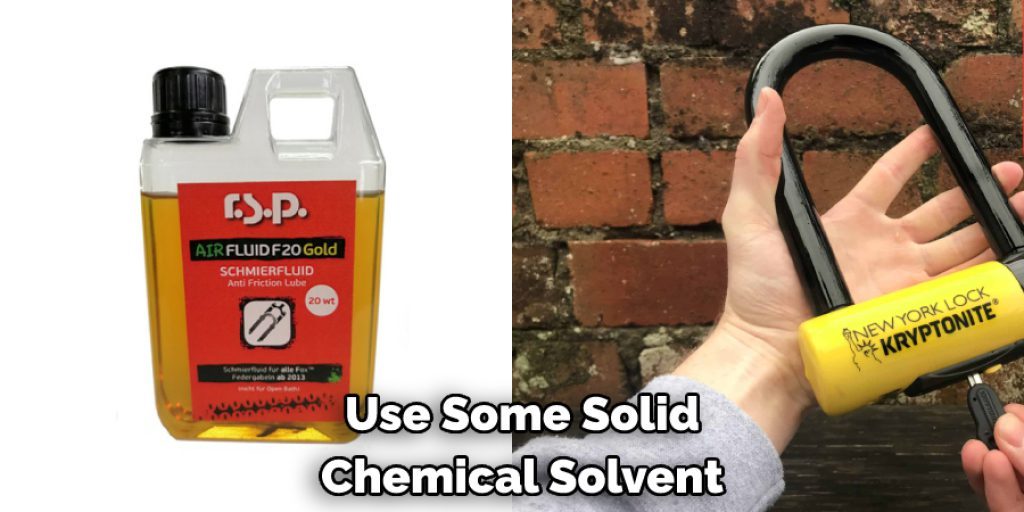
How much excess can be anywhere from just a little bit of excess to half an inch or so, so if you had more than that, get rid of it before the glue dries, or else it will still be stuck together after you’ve taken it apart again. Of course, this depends on how hard your cleaning job was and what type of glue you used. Still, I’d recommend using some solid chemical solvents (like acetone) and then wiping it down with a cloth and some alcohol to ensure that any dirt won’t mess up anything while opening up. These steps will help in how to break a disc lock.
Conclusion
Now that you know how to break a disc lock don’t let yourself or your bike become a victim of theft. Be sure to use this information wisely and stay safe while out on the town. Always have a backup plan in case of emergency, and remember, prevention is key! Carry around a heavy-duty U-lock if you can, and always be aware of your surroundings. If all else fails, remember these simple steps to breaking open a disc lock. Stay alert, cyclists!


