
How to Make a Hole Bigger Without a Drill
There is sometimes dire need of drilling holes in wood panels. In woodcrafts, this much essential. But a scarcity of drill machines may cause this work to get delayed. In such cases, drilling a hole without the use of a drilling machine can be much helpful. For this reason, today, we are going to suggest a procedure on how to make a hole bugger without a drill. This will be much beneficial for the users, and the skills can be highly enhanced. The use of automated machinery is prohibited while performing this technique.
What Things You’ll Need:
- Two Pieces of Wood
- Hammer
- Screwdriver
- Nails 2 inches long
- Pry bar or Nail Puller
Procedure
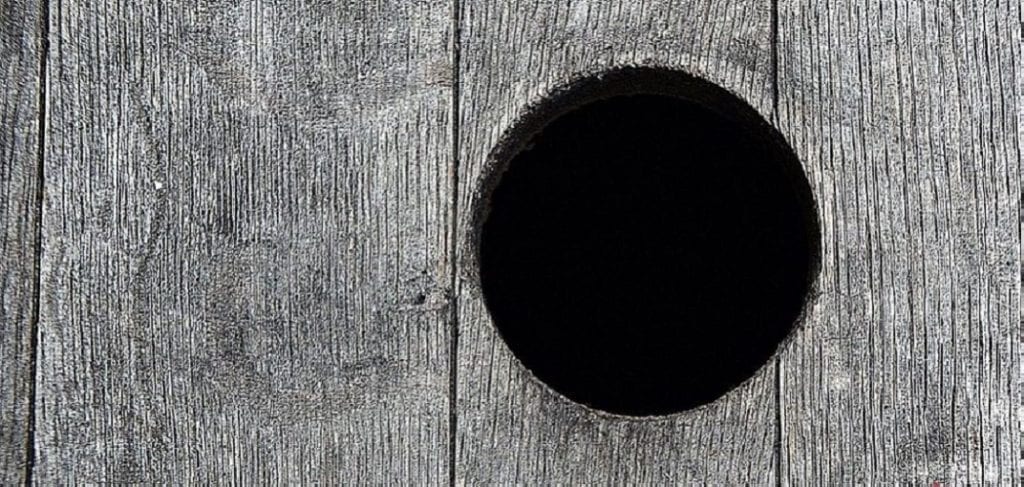
Without a drill, making a hole is not an easy task, and it can be quite difficult for beginners. But once you have learned the process, you can quickly adapt this technique and make the hole bigger without using a drill machine. So first, take a wood panel that won’t be much bigger. We prefer that the wood panel is twelve inches long and two inches wide.
In order to cut a hole in wood, you must first take two nails and use a hammer to punch them into the wood. The first nail should be placed at the top of the wood, and the second nail should be placed at the bottom of the wood. Next, you must take the second nail and mark the radius of the hole that you want to cut starting from the first nail. Finally, you must punch the second nail into the wood at the point of the radius.
Now you have to make sure that the second nail is more pierced than the first nail. This will help to keep the hole in a sustained position. Next, take the wooden piece that you want to make the hole in and mark the center of the circle. You can do this by drawing two diagonals on the wood; where the diagonals intersect will be the center of the circle. Finally, place the second nail at the center and start encircling the point.
To make a perfect circle, continue encircling the nail in the wood until you see permanent grooves form. If you extend the technique, you’ll be able to cut a hole in the wood quickly and easily. Using any radius, the hole will be exactly the size you want it to be.
Step by Step Guide: How to Make a Hole Bigger Without a Drill
Step 1: Find the Same Size Nail
Find a nail that is about the same size as the screw in a piece of wood that you wish to put it into. If you don’t have a nail in your house, you can find a nail at a hardware store near you by looking for the same type of screw and asking where it is. Place the nail where you want the screw to go and tap it in with a hammer until it is flush with the wood. This will leave a small hole for the screw to go into.
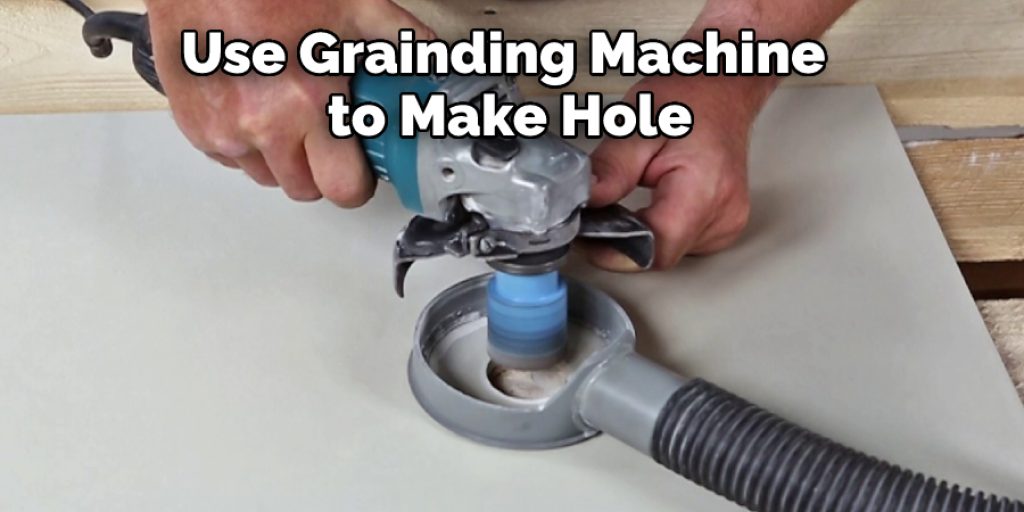
Step 2: Drill Into the Wood
Drill into the wood with that nail until you have made a hole about halfway to three-quarters of the way through the surface. Make sure that you don’t drill so far that you’re through the other side of the wood.
Step 3: Hammer In the Screw
Hammer in a screw into that hole you have made with the nail. The screw should fit relatively snugly, but there may be some movement. When you feel like it isn’t going to go any further anymore, remove it and put a washer on before putting it back in again.
Step 4: Screw in Another Screw
Screw the screw into the piece of wood that you want to attach it to, and then take it back out again. Put a washer onto this screw and push it through the hole you made with the nail. When you feel like it isn’t going any further anymore, remove the screw and put on another washer before pushing it back in.
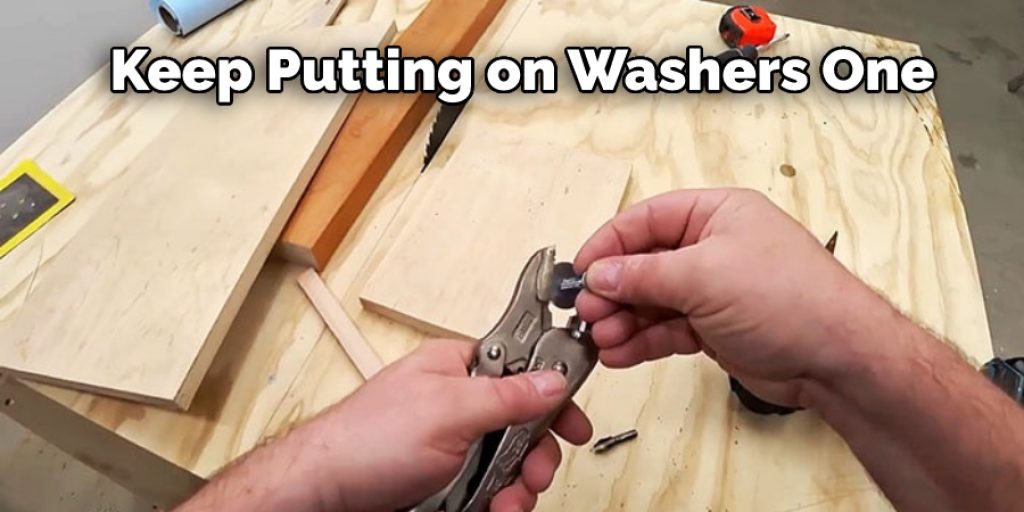
Step 5: Keep Putting On Washers
Keep putting on washers one at a time until you cannot fit anymore. You have now made the hole just a tiny bit bigger, which you wanted to do. Continue putting on the washers until you have completely covered the gap between where your nail is and where your screw is.
Step 6: Put in the Nail
Push a nail into the gap that all of those washers have now created. If there is enough space for it, you should be able to push it right through and into the other side of the wood.
Step 7: Hammer in the Whole Nail
Hammer in the whole nail until about half an inch of it sticks out of the backside of your piece of wood. Put a washer on top of where you have hammered in this nail so that when you hammer it in the rest of the way, it doesn’t push right through and go into your hand.
Step 8: Enjoy Your Newly Attached Object
You can now attach whatever you want to the piece of wood with a nail and a screw. Enjoy your newly attached object!
Some Helpful Tips and Suggestions:
1. Heat your wire/rope with a lighter. This will make it easier to cut through the wall and may lessen the chances of breaking it.
2. The bigger you make your home, the harder it will be to make it look natural again, especially if you have a small animal or pet that can fit its head through a hole about an inch in diameter.
3. Some bits of wire or string can be cut with household scissors.
4. Clean up all the frayed edges on your cut with a nail file or sandpaper.
5. If you are trying to make it so animals will not be able to enter this home, plug up any other entrances/exit points you can find by locating them at eye level and checking for even the tiniest bit of light in or out.
6. If another entrance or exit has already been made, plug it up with something that cannot be removed by your animal easily.
7. If you are trying to make the home look more natural, move on to filling it in!
Safety Precautions and Warnings:
1. This method requires using a drill or an alternative rotary tool.
2. This method uses heat to expand the metal in the area surrounding the hole, so it is important to use tools that are made from high-quality material in order to ensure safety when working with heated metal.
3. When heating holes with an acetylene torch, it is important to do so under the supervision of a trained professional.
4. When using this method, safety is important. Work gloves should be worn to protect hands and arms from burns and scalds, and eye protection should be worn at all times when working with heated metal.

5. It is important to expand the hole from the inside outward otherwise it may warp the surrounding metal.
6. This method is only meant to expand holes in flat metal plates, not on cylindrical or rounded objects, such as pipes.
7. Gloves should be worn when using the drill to enlarge the hole; metal shards may fly out of the newly-expanded hole while drilling and can cause injury if they contact skin.
How to Enlarge or Align a Hole in Metal?
If you need to enlarge or align a hole in metal, the process is quite simple. The first step is to select an appropriate tool. For larger holes, drill bits are the preferred option, while smaller holes may require hand reamers or stepped drills.
Once the right tool is identified and equipped with a cutting lubricant such as WD-40 or mineral oil, the hole can be carefully enlarged by slowly rotating it while applying light downward pressure.
If alignment is necessary, use a center punch to mark the exact area where the drill bit needs to enter, and then tap it gently with a hammer until it leaves an indentation in the metal.
Keep in mind that sharpening or reshaping of tools and parts should only be performed when absolutely necessary, as it significantly reduces their effectiveness and increases the risk of injury for those involved.
Can You Make a Hole in Metal Without a Drill?
Metal is a tough material to work with, and it can be tricky to make a hole in it without a drill. Fortunately, there are several alternative options for puncturing metal without the use of a drill. For small jobs, using an awl or nail punch can be effective. Awls are thin tools that have sharp points at the end and can be used for punching through thin sheets of metal.
Nail punches also have sharp tips, which help to drive nails into harder metals. Another option is to use a center punch. This tool has a specially shaped head that helps to create dimples in metal which can then be drilled into with a drill bit or hammer and chisel. This method is best used when you need precise alignment of the hole being made.
How Do You Enlarge an Existing Hole?
A drill is a normal way to enlarge a hole, but you might not have a drill handy when the need arises. You can enlarge an existing hole in several ways, depending on your resources and how much bigger you want the hole to be.
When enlarging a hole won’t affect its function and appearance is unimportant, try one of these methods:
- Use a larger-sized drill bit to drill a pilot hole, then enlarge the hole with a larger bit.
- Use a file to enlarge the hole.
- Smash it out using a pair of pliers or vise grips.
- Remove the surrounding material using an air chisel or rotary tool.
- However, if you want to enlarge the hole for appearance’s sake or to make it fit an object, try one of these methods:
- Cut the material around the object and pull it through the hole.
- Drill a larger hold next to it.
- Use an acetylene torch with a chisel tip.
Frequently Asked Questions
What can I use if I don’t have a drill bit?
There are many things that can be used as drill bits if you don’t have a drill bit. One option is to use a screwdriver. Another option is to use a hammer and nails. You can also use a knife or scissors to make a hole in the object you are trying to drill into.
What type of file that is used for enlarging holes?
A drill bit is the most common type of file used for enlarging holes. It is a round, pointed object that has a sharp edge on one side. When you insert the drill bit into the hole, the sharp edge punctures the material and causes it to enlarge.
Conclusion
Lastly, we hope that the technique we have mentioned has been much help to make the hole bigger without a drill machine. This technique avoids the usage of any automated equipment for the process, which is much beneficial when the materials are scarce. The DIY skills of the beginner who is intending to perform the task will be highly improved. Happy crafting! Have a beautiful day!!


