How to Brick Stitch
Do you want to learn how to brick stitch? Brick stitching is a favorite among experienced crocheters due to its unique texture and intricate designs. Whether you are just beginning your crochet journey or have been at it for years, this blog post steps you through the basics of brick stitching, including choosing materials, making foundation chains, and creating stitches one row at a time – plus loads of tips on avoiding common problems along the way! So if you’re ready to take on this versatile technique, let’s get started!
Brick stitch is an accessible beading technique that creates intricate patterns while being really easy to learn. As with many beading stitches, following along step-by-step will quickly have you creating beautiful pieces of jewelry and artwork.
In this blog post, we’ll discuss the basics of brick stitch – noting the tools needed as well as providing guidelines on how it is worked. So whether you’re new to beading or just want to give this fun stitch a try, let us guide you through everything you need to know about brick stitching!
Why May You Want to Brick Stitch?
1. To Create Unique and Interesting Designs
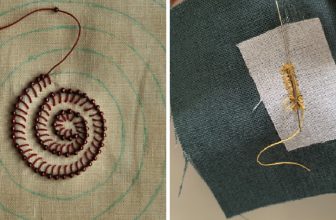
Beaders often use brick stitches to build intricate, three-dimensional shapes that cannot be achieved using other bead weaving techniques. Also, with brick stitch, you can create detailed, multi-dimensional pictures and designs that cannot be replicated by other bead weaving techniques.
2. To Accentuate a Design
Brick stitch is often used to add borders and edges to off-loom bead weaving projects such as peyote or square stitch designs. When done correctly, the brick stitch edging provides a finished, professional look to your project.
3. To Make Pieces with Intricate Shapes
One of the best things about brick stitch is that it allows you to make pieces with intricate and complex shapes. You can use brick stitches to create three-dimensional designs or intricate spherical shapes that cannot be recreated using other bead weaving techniques.
4. To Create Items with Multiple Layers
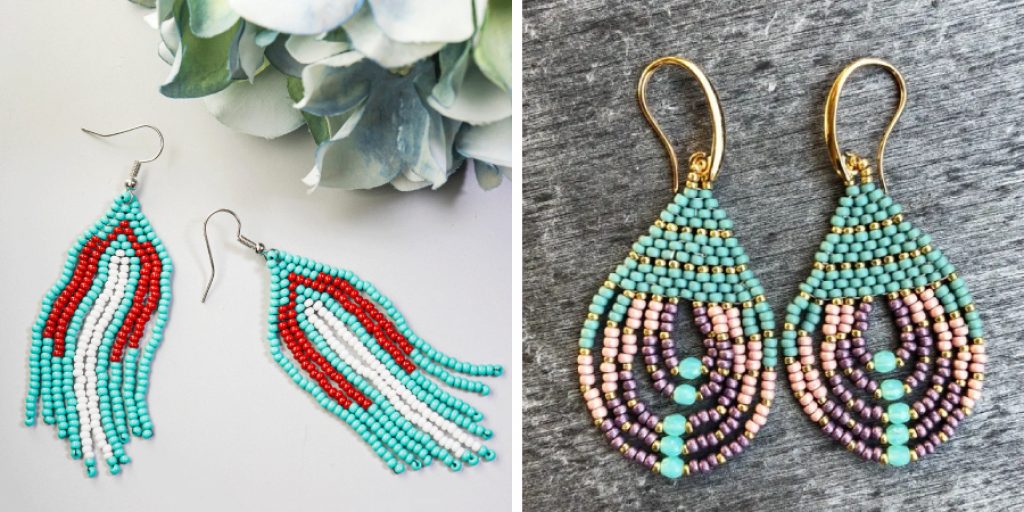
Brick stitch is ideal for creating pieces with multiple layers or tiers. For example, you can use brick stitches to create beautiful jewelry pieces like necklaces, earrings, and bracelets that have multiple layers of beads. With this technique, you can make intricate designs with several different colors and textures.
5. To Make a Variety of Projects
Finally, brick stitches can be used to create a variety of projects. You can use this technique to make small items like earrings and necklaces or larger projects like wall hangings and bags. The possibilities are truly endless with brick stitches!
How to Brick Stitch in 6 Easy Steps
Step 1: Gather All The Materials
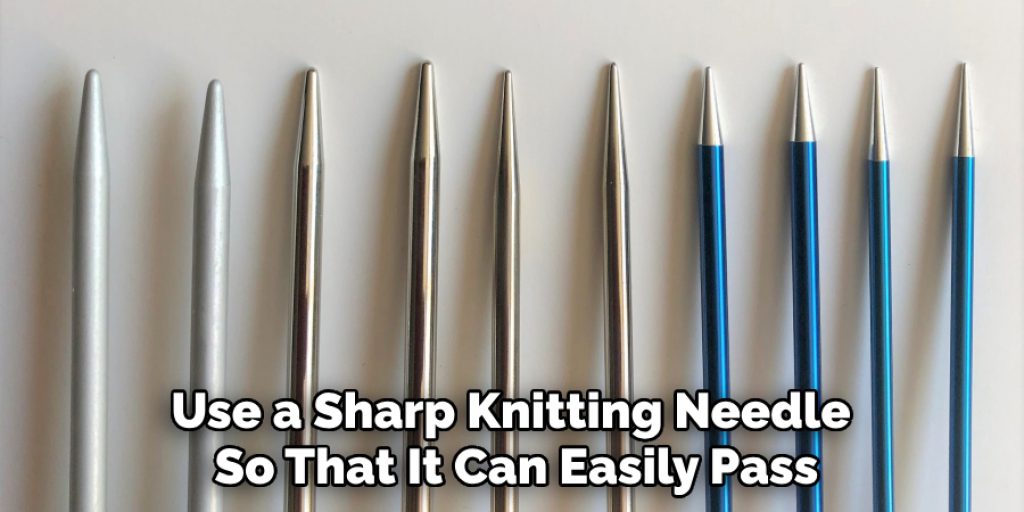
The very first step is to make sure you have all the necessary materials for the brick stitch. This includes beads, thread, a needle, and scissors. It is important to use a sharp needle so that it can easily pass through each bead.
Step 2: Setting Up The Foundation Row
This step requires creating two strings of seed beads joined together with the help of a knot or an overhand knot. This is the foundation row for the brick stitch and it serves as a base or backbone to build on.
Step 3: Adding On To The Foundation Row
Next, add two seed beads onto each side of the foundation row by passing your needle through them in an up-and-down motion. Make sure to leave enough room between these two seed beads and the ones already on the foundation row.
Step 4: Creating The Brick Stitch
Now, place one seed bead onto your thread and pass it through the two seed beads on either side of the foundation row in an upward motion. Gently pull your thread until these three beads come together in a triangle shape to form a brick stitch.
Step 5: Repeating The Brick Stitch
Continue repeating these steps until you’ve created the desired length of your project. Make sure to leave enough space between each brick stitch so that it can move freely and doesn’t become too tight.
Step 6: Finishing Off
Once you’ve completed the desired length of your project, you can finish off by tying a knot or weaving in the ends of your thread. This will help to secure your beadwork and prevent it from coming apart.
And there you have it! You’ve now successfully learned how to brick stitch in six easy steps. With practice and patience, you can create beautiful beaded projects with this simple yet effective technique. So why not give it a try today? Happy beading!
Some Extra Tips to Brick Stitch
1. Do Not Pull Too Tightly
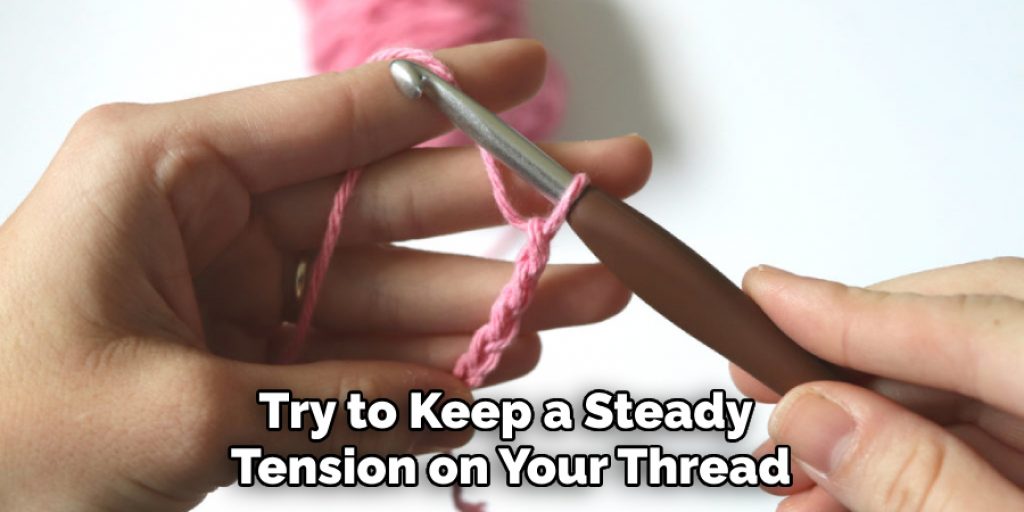
When stitching, try to keep a steady tension on your thread as you go. If you pull too tightly, the stitches will look bunched up and be uneven. Also, if you pull too tightly, it will be difficult to add new stitches.
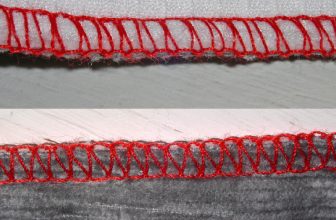
2. Use a Thread Color that Contrasts with Your Fabric
When brick stitching, it is best to use a thread color that contrasts with your fabric, such as black on white or grey on blue. This contrast will make the stitch pattern stand out and look more intricate. Also, the contrast will make it easier to see where you need to place your stitches.
3. Use Even-Sized Bricks
When stitching, make sure each stitch is the same size as the others so that your pattern looks even and neat. If one stitch is bigger than another, it will create an uneven look. Also, make sure your stitches are not too close together and that you give enough space between each stitch so the pattern looks neat.
4. Work from the Center Out
When stitching, start in the center of your project and work your way outwards. This will help you create a more symmetrical design and make it easier to keep track of where you need to place each stitch.
5. Secure Your Thread Ends
Make sure to secure your thread ends when you have finished stitching. This will prevent your stitches from coming undone and ensure that your pattern is preserved for years to come. You can do this by knotting the threads at the end or using fabric glue to seal them in place.
These tips should help make brick stitching easier and more enjoyable! Practice brick stitching to become more familiar with the technique, and soon you will be creating intricate designs that will impress your friends and family. Have fun and enjoy this wonderful craft!
Frequently Asked Question
What Precautions Should I Take When Brick Stitching?
When brick stitching, it is important to make sure that your stitches are the same size and tension. Uneven stitches can cause irregularities in the project’s final shape. Additionally, try to use a single strand of thread instead of splitting multiple threads for increased uniformity and stability.
Furthermore, it is important to keep an even number of stitches in each row to ensure the brick pattern is even. Finally, it is recommended to use a thimble when stitching since this will make pushing the needle through multiple layers of fabric easier and more comfortable.
What Materials Do I Need for Brick Stitching?
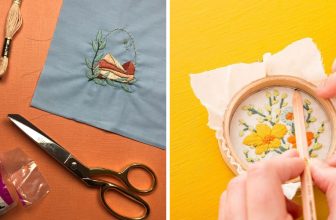
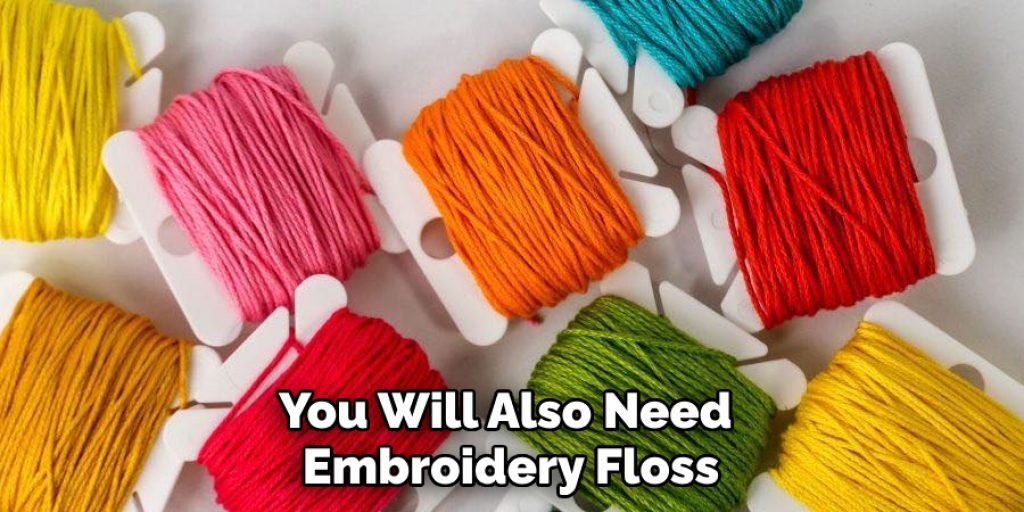
To start brick stitching, you will need some type of fabric (canvas or cotton). You will also need embroidery floss, a needle for stitching, scissors, and a thimble (if desired). Also, a ruler can come in handy when measuring out the stitch spacing. Finally, you may want to use a hoop or embroidery stand to keep your fabric taut while stitching.
What Kind of Stitch Is Used for Brick Stitching?
The most common type of stitch used for brick stitching is the backstitch. This type of stitch consists of small stitches that are placed in a row, with the needle going back through each stitch to make the pattern more secure. The backstitch can also be worked over multiple rows to create a thicker, sturdier line of stitches. In addition to this, other types of stitches such as running stitches and cross-stitches can also be used for brick stitching.
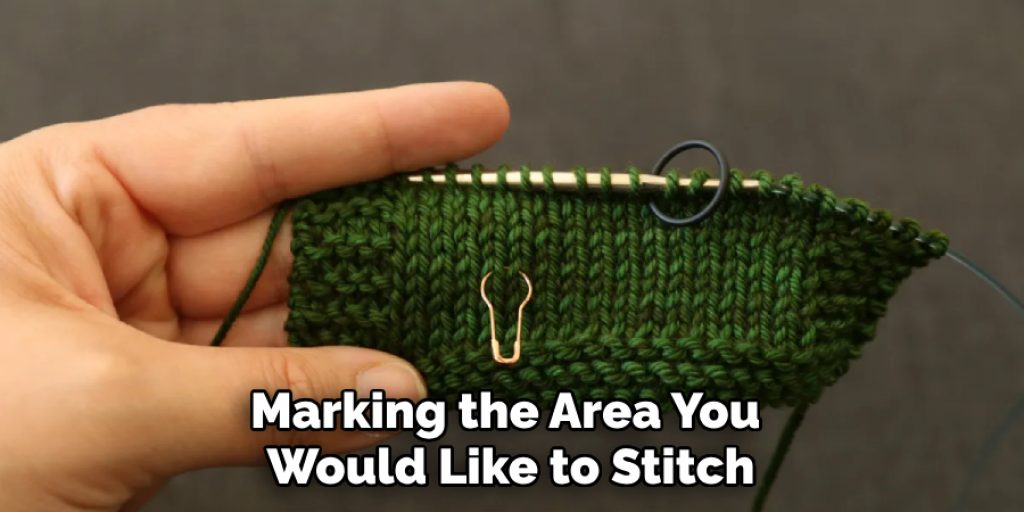
How Do I Start Brick Stitching?
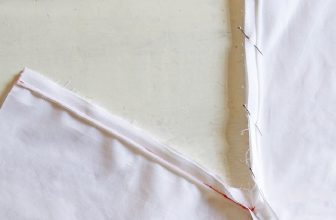
To start brick stitching, begin by marking the area you would like to stitch in with a pencil or marker. Next, create an even number of evenly-spaced holes with your needle along the marked lines.
After that, thread your needle and tie a knot at one end. Begin stitching by pushing the needle from the back side of the fabric up through one of the holes and then repeat this for each hole until you reach the end. Finally, once you have finished stitching, tie a knot at the other end and snip off any excess thread.
Conclusion
Congratulations, you have successfully completed learning the basics of how to brick stitch! Working with bricking stitch is such a fun and creative activity. Not only do you get to explore various color combinations with this technique, but you also develop problem-solving and design skills as you go along.
With patience and practice, you will be able to create intricate patterns with even the most complex embroidery designs. Although bricking stitch can be challenging at times, it is very rewarding to see your hard work come together into stunning works of art. Every project gets easier each time you tackle it, allowing your creative ideas to flow more freely. So, don’t forget to keep your eyes on the prize and enjoy the process when working with bricking stitch!
Nancy Behan
Nancy is an embroidery artist, fashion blogger and a full time editor at DIY quickly. Nancy edits the fashion section on DIY quickly, focusing on the embroidery and cross stitch articles, alongside with fabric and other costume design elements. She graduated from the University of Michigan with a Bachelor of Arts in Art History. She loves to work on her own projects, read books and watch romantic movies in her spare time.