
How to Build a Bath Frame
Many home builders and contractors often find themselves in need of a bath frame. This is usually because the homeowner would like to add a tub or shower into an existing space or because their bathroom floor has become damaged and needs to be replaced with a new one. In these blog posts, we will share how to build a bath frame.
Before installing any framing for your new bathtub or shower, you will first need to make sure that there is enough room for it by measuring the area where it will go and marking out all of the studs on either side. Once this has been done, all studs should be cut down, so they are at least 2″ away from each other on both sides. Read on to know more!
10 Ways on How to Build a Bath Frame:
The best thing about a bath frame is that it can be made from almost anything. Anything from wood to iron to PVC pipe, the world is your oyster. However, if you find yourself in a pinch and need a cheap or easy way to make a bath frame, here are some good ways to do it:
1. Make One From PVC Pipe.
PVC pipe is cheap and easy to attach with connectors. Get a piece of wood, cut it down to size, and lay the wooden board on top of some sawhorses. Lay a 4-foot length of PVC piping on its side along with the board so that 1 inch of the PVC sits over each end of the board. Put another 1-inch piece of PVC piping on top of the one you just laid down, this time perpendicular to the first two. Repeat until you have a total of four pieces of PVC piping stacked up on top of each other and
2. Make One From Wood Slats.
Wood slats are cheap and easy to attach with screws or nails. However, this may not be a great option if you need the bath to support weight. Instead, pick up a wooden board and lay it on top of some sawhorses. Cut down to size so that it is slightly shorter than the desired length of your bathtub frame. Attach five evenly spaced wood slats to the underside of the board using screws, nails, or bolts, and nuts.

3. Make One From a Metal Bed Frame.
Metal bed frames are suitable for outdoor resin bathtubs because they’re sturdy and can handle large amounts of weight. However, if you don’t have a metal bed frame laying around, then look in thrift shops for one. Metal bed frames are sturdy and can handle large amounts of weight without bending, which is good because outdoor resin bathtubs tend to be on the heavy side. Attach five evenly spaced wood slats to the underside of the bed frame using screws, nails, or bolts, and nuts.
4. Use the Light-gauge Wire.
The light-gauge wire is cheap and easy to bend into whatever shape you need, which makes it good for making a bath frame out of. Attach three evenly spaced wood slats to the underside of the board using screws, nails, or bolts, and nuts. Next, put three equally spaced wires between the slats. Now you have a frame.
5. Use a Rebar to Make an Outdoor Frame for Resin Baths.
A fast way to make a metal bathtub frame is with bars of steel called “rebar” used in concrete construction. First, cut four pieces of 20-inch long rebar in half, then cut eight pieces of rebar, each 23 inches long. Fasten four pieces of rebar to the underside of the board using screws or bolts. Put another four on top at 45-degree angles so that they create a crosshatch pattern under and over the bathtub.
6. Make a Wooden Frame With 2x4s.
This is a fast and easy way to make a sturdy bathtub frame, but it looks very pretty. Pick up two pieces of wooden board and cut them down to size so that they are slightly shorter than the desired length of your bathtub frame. Next, attach four evenly spaced wood slats to the underside of one of the boards using screws, nails, or bolts, and nuts. Repeat on the other board for a total of two bathtub frames.
7. Use an Old Trampoline.
If you have an old trampoline lying around, take it apart and use the metal frame to make your bathtub frame. Attach four evenly spaced wood slats to the underside of one of the boards using screws or bolts and nuts. Repeat on the other board for a total of two bathtub frames.
8. Fasten Together Several Sawhorses.
This method is quick, easy, and very cheap. However, it’s not the sturdiest option, so you might want to think twice before relying on these bathtub frames for an outdoor resin bathing tub. If this is all you have lying around, then use them, but if you can do better, go for one of the other methods instead.
Attach wooden boards to the top of two sawhorses using screws or nails and nuts, then add another board every foot until you have a row of boards 4 feet high. Now you can use these boards as your bathtub frame for an outdoor resin bathing tub.
9. Mount Your Bathtub on a Stand.
If you’re making an indoor bathroom, then the floor will probably be strong enough to support the weight of your resin bathtub. However, if it is not or you are using an old tub that has developed cracks in it over time, then use this method.
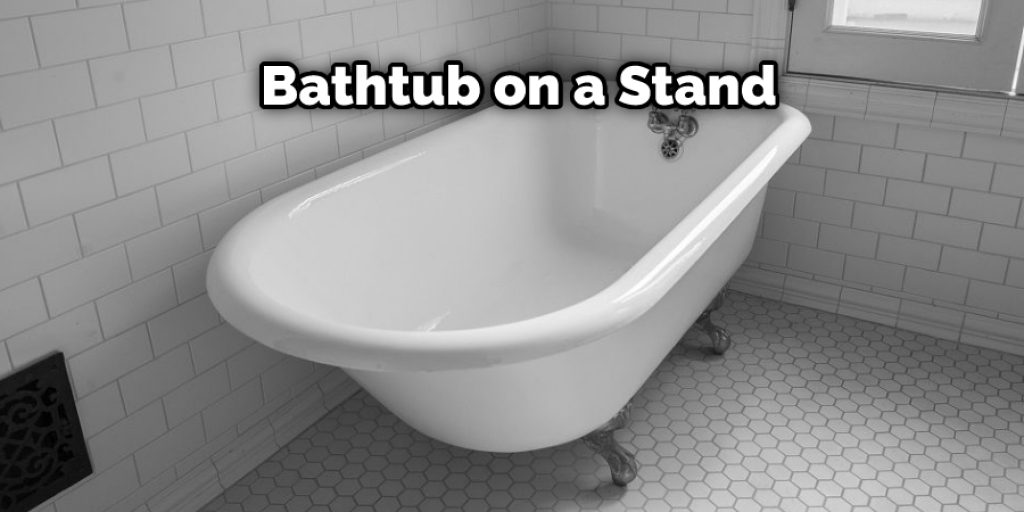
Build two legs out of 2x4s to support your bathtub. Use a level to keep the legs even with each other, then screw them into the floor using a power drill and several screws. The feet of the tub should touch the ground so that it will be stable. Next, attach four evenly spaced slats to the legs using screws or bolts and nuts to create sturdy bathtub support.
10. Build Two Sawhorses and Attach Them to the Tub.
If you don’t have wooden boards lying around, then this is an easy alternative. Put together two sawhorses with a 2×4 on each side of each leg. Next, attach the legs of the sawhorses to your resin bathtub using screws or bolts and nuts. Since the sawhorses will be fairly wide apart, make sure that they are also fairly level to keep your bathtub from tipping over.
Conclusion:
Building a bath frame is easy, and if you follow these steps, your bathroom will be transformed into something that looks great. The first step to building the frame for your bathtub is framing up its outside with 2x4s or another similarly sized board on both sides of where the tub will sit.
Next, measure out how high off the ground you want your new tub to be by measuring from floor level to where you’d like it mounted on top of this base structure. Be sure not to mount it too closely because water can seep through any cracks in between boards and cause molding around the area as well as warping floors beneath them.
We hope these blog post on how to build a bath frame has been helpful. Let us know your thoughts in the comments below!
Angela Ervin
Angela is the executive editor of DIY quickly. She began her career as an interior designer before applying her strategic and creative passion to lifestyle and home. She has close to 15 years of experience in creative writing and online content strategy for housekeeping, home decorations as well as other niche efforts. She loves her job and has the privilege of working with an extraordinary team. She lives with her husband, two sons, and daughter in Petersburg. When she's not busy working she spent time with her family.


