
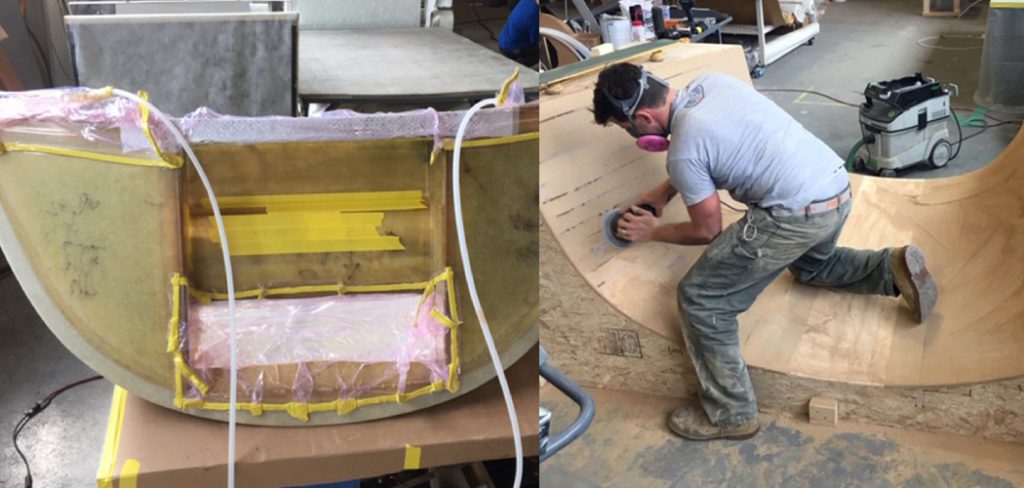
How to Build a Boat Transom Extension
A boat transom extension is a great way to increase your boat’s storage space. A transom extension can be built for any boat, but the best design will depend on the size and shape of your vessel. This article provides an overview of how to build a boat transom extension that fits your needs.
Ramped construction refers to building a ramp onto the back of one’s canoe or kayak to be folded up against the hull when not in use. Read this blog post for more information about how you, too, can construct a ramped deck!
Summary: If you’re looking for an easy way to add a little extra space to your boat, consider building a transom extension. This simple project is easy to assemble and can be completed in just a few hours. By adding this extension to your boat, you’ll be able to accommodate larger items and make more room on your deck.
8 Benefits of Building a Boat Transom Extension
1. Increases Safety:
When boating, it is essential to be aware of your surroundings. The best way to protect yourself and others on the boat is by having a spotter. Having an extra person on board to help with docking and fishing can prevent accidents when you are not paying attention or if someone falls overboard. In addition, a transom extension can help you keep track of everyone on board.
2. Adds Storage Space:
A boat was not made to be a floating closet for all your belongings. Adding storage space to your car may be time-consuming and expensive, but adding storage space to your boat is very easy.
You can have extra seating for friends and family, a boat cover, or even a padded backrest. You can add storage space to your boat by building a transom extension, creating a convenient area to store everything from fishing gear to sunscreen.
3. Increases Your Home on the Water:
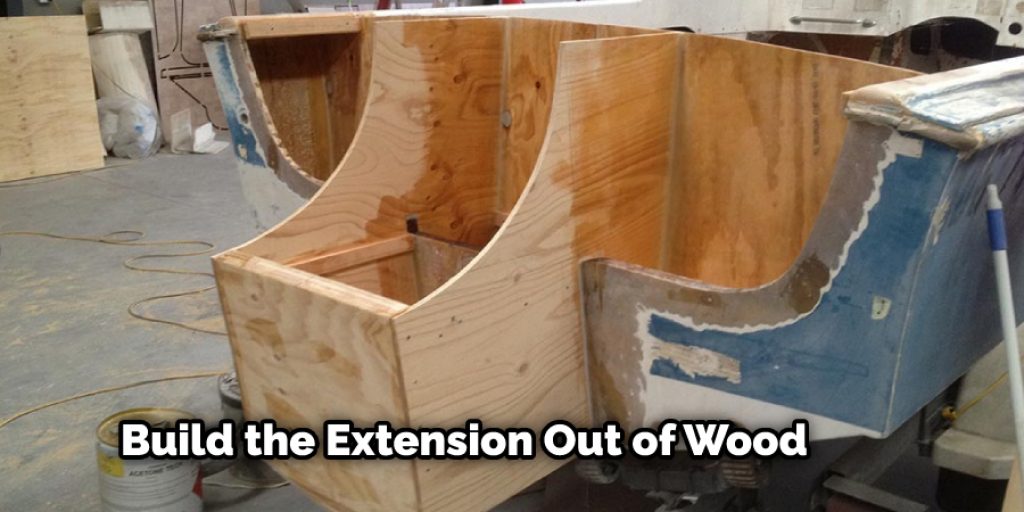
Now that you have created more storage space, you need somewhere to put all of your extra items. If you do not want to spend money on a boat cover, you can build the extension out of wood, allowing it to become your deck space if desired.
A transom extension may also help with docking because when someone is in danger of being run over or when backing up during loading and unloading, an extra set of eyes can help.
4. Allows a Tandem-style Boat:
If you have a large enough boat, a transom extension can allow for a tandem style of fishing or cruising. This is beneficial because the passenger’s weight will affect how deep your bow goes into the water and affects handling characteristics. In addition, adding more weight towards the rear of the boat will change the trim of the boat and make it easier to handle in a docking situation.
5. Increases Fuel Efficiency:
Adding weight behind the engine has been known to increase fuel efficiency by up to 50 percent. This is because more than 50 percent of your boat’s weight is towards the stern when you are traveling at cruising speed.
You can increase fuel efficiency by adding an extension to the transom, giving you more weight towards the rear of the boat. As a result, your hull will be in contact with less water, and drag will decrease, making your engine work less hard.
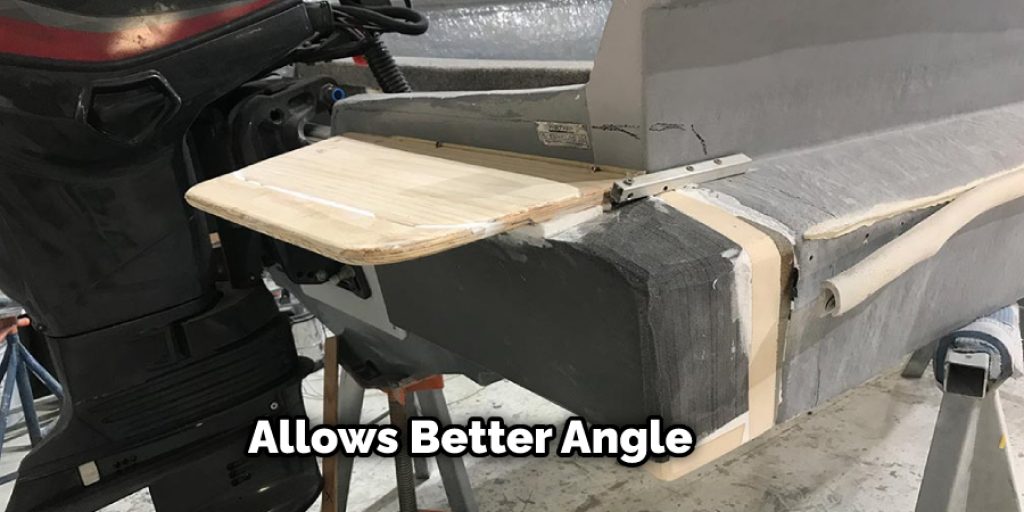
6. Allows for Adding Motorized Toys:
Sometimes relaxing on the surface of the water is not enough. A transom extension will allow for an easier connection and safer ride if you add a motorized water jet or ski tow to your boat. Creating more space in the rear of the boat allows for a better angle when attaching these devices.
7. Provides Extra Seating:
Having extra seating options on your boat can be beneficial for many reasons. For example, if you bring your children with you to go fishing, they will need a seat of their own. You can create extra seating by adding an extension made of wood or fiberglass. This will allow them to sit comfortably in the back of the boat while you cast off.
8. Allows for Better Handling:
A transom extension adds extra weight that will affect how your boat handles. If you are fishing, this is beneficial because it increases the amount of stability and control needed to fight large fish on board. On the other hand, if you are boating with more than two people, an extension can help you maintain control while docking or traveling.
10 Ways on How to Build a Boat Transom Extension
Here we have discussed ten ideas on how to build a boat transom extension. Be sure to follow them up!
1. Use a Wedge or Shim:
This will be a temporary solution. You can also use a piece of wood or metal. Place the wedge between the transom and the boat, then bend it to create a slope on both sides of your boat with purchase for screws/nails/clamps.
2. Use an Extension:
It is easier than you think to build an extension. It’s not as easy as removing one piece of wood and attaching another, but with marine-grade epoxy wood filler and screws, you can attach an extension. You can either create a new transom with your boat or extend the existing transom. If you plan on using the existing transom, make sure that it has a minimum of 1″ thick teak wood.
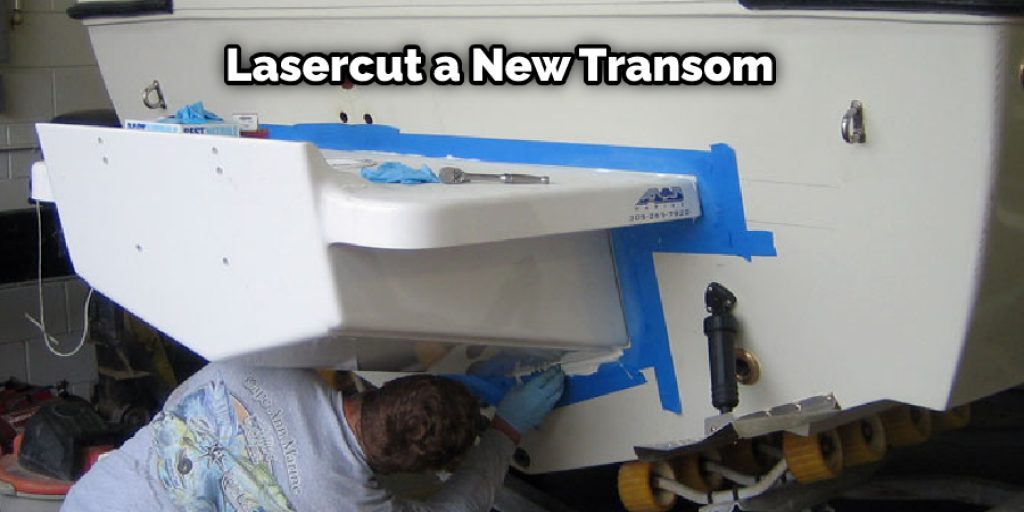
3. Lasercut a New Transom:
You can use shape ko to cut your boat’s new transom out of plywood and attach it with epoxy and screws/nails. If you have a flat surface, it is relatively easy. However, contour cut boats can be more difficult for beginners as it’s harder to ensure the perfect cut.
4. Attach with Straps:
If you have a metal or fiberglass boat, then your best option is to use metal straps. You would need to attach them through your boat’s side. To do this, you want to begin with a 1/2 thick piece of teak wood then attach straps through that.
5. Attach Through the Inside:
If you have a wooden boat, it is simple enough to cut a hole in your boat and for the transom extension to go through. Again, if you have a flat surface, this will be simple. If not, there are always other options.
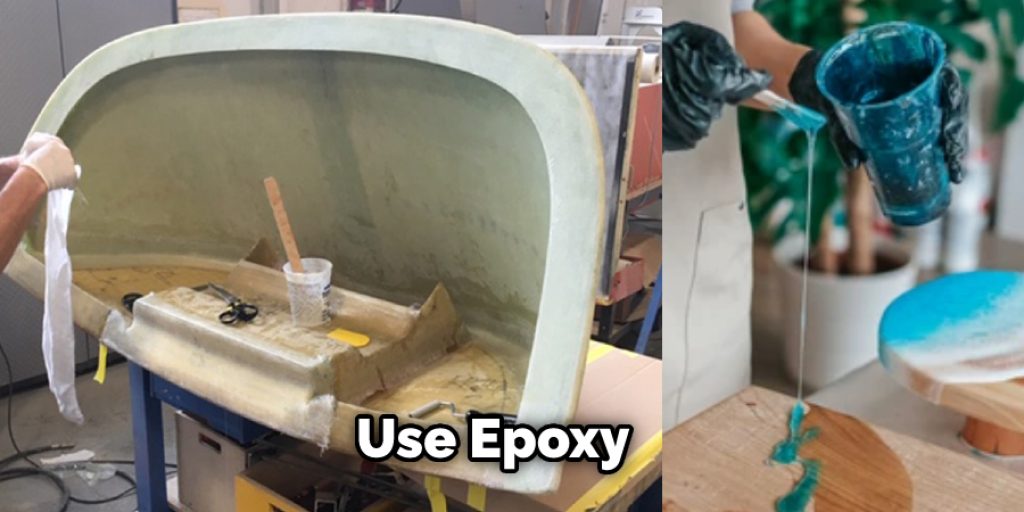
6. Use Epoxy:
Epoxy is the best adhesive to use in this situation. It will leave you with a strong bond, and it is marine grade, so once set, it won’t be affected by saltwater. Apply epoxy on both surfaces and fit them together. Make sure they are flush, and make sure not to use too much, or else it may squish out.
7. Use Bolts:
Bolts are the most reliable, but this is not ideal if you have a wooden boat as it can cause splinters to your passengers or yourself. You want to use the marine-grade adhesive and ensure that they are correctly fitted, so there is no chance of them falling off. The bolts should go through the transom then into your boat. You want to make sure that they are not too long; otherwise, you may puncture your hull.
8. Use Boat Support:
If you have a wooden boat or a fiberglass boat with a flat transom, then attach your boat to an external support system. This can be as simple as two supports connected by a board placed on the boat’s floor.
9. Add Extra Wood:
Similarly, if you have a wooden surface that has a flat surface, then you can simply add more wood on top of it. However, if you want to make sure that it goes in straight, you may want to use a metal bar or beam with screws through the wooden board.
10. Shape Cut:
Shaping cut boats can be rugged and requires a lot of skill. But you can still build your boat on the water. All you need to do is make sure that it doesn’t fall through, and if possible, shape cut with another boat as it will be easier than trying to aim for one side at a time as it may go in very deep or not even touch it.
Some Tips and Suggestions
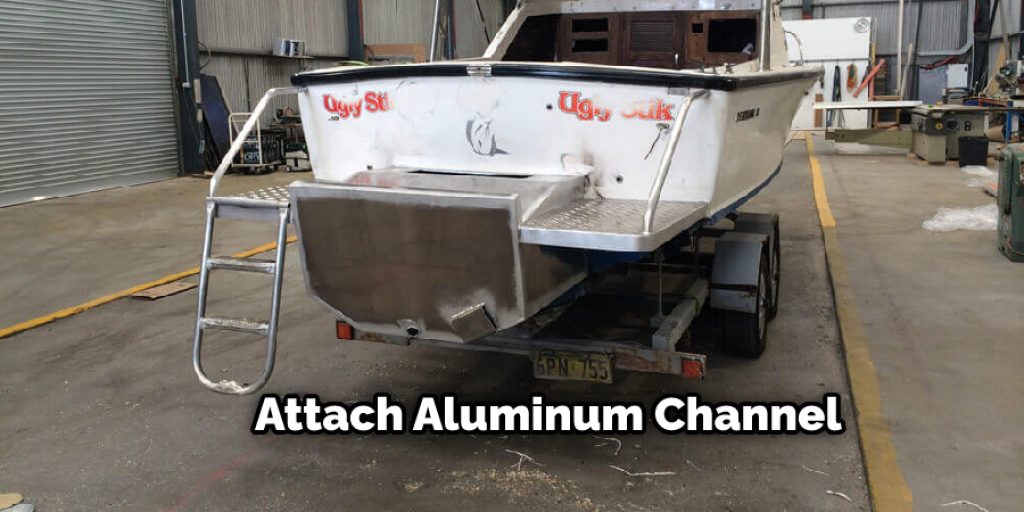
1. Most of the screws used to attach the aluminum channels need to be countersunk into the wood. Make sure you pre-drill a hole for all of them using a 3/32 drill tip.
2. The included metal bars that hold your finished structure on top of the transom are not super strong. If you’re worried about the boat flipping over and your cabin falling off, you can add a few more of these bars in various locations that don’t interfere with the structure or floatation of the boat.
3. The aluminum channel is very rigid and makes for a great structural frame; however, it’s also very heavy, making you want to cut some pieces out to lighten the boat. We made a few minor modifications to make it more rigid, but they’re not needed for most average users of this product.
4. The length of the window bars on the included template is 8 inches. This should be fine for most people that have a 12-inch or smaller opening in their boat. If your window is larger, you’ll need to cut the aluminum channel yourself with a hacksaw, metal shears, or whatever type of tool is appropriate for cutting metal.
5. Make sure you have at least one person with you when assembling the boat extensions so they can hold the structure up while you go underneath and screw everything together.
6. The larger boat extensions require additional mounting hardware and two metal bars that aren’t needed on the smaller ones. We recommend only installing the parts you need per your desired amount of rigidity and boat size.
Conclusion
The boat transom extension project is a perfect example of how building skills can be used to improve the vessel. You may have felt that you could not complete this project on your own, but with some careful research and guidance from experts in the field, it’s easy on how to build a boat transom extension at home.
A boat transom extension is a very easy project for anyone with basic carpentry skills. It’s an effective way to improve weight distribution on your vessel and can be built in just one or two days. If you’re interested in making this project yourself but don’t know where to start, we’ve already provided some information in this blog post that will help you out!


