
How to Build a Garage Door Panel
In the garage door industry, a panel is a single pane of glass that can be installed individually or combined with other panels. Panels are made from tempered safety glass and come in several different shapes to fit your needs. Our blog post will discuss how to build a garage door panel.
We’ll go over the sizing requirements for panels, as well as how to attach them to frames using an aluminum or PVC frame system. We’ll also show some pictures of some common types of doors on both sides, one with all full-sized panels and one with smaller windows called ‘lite’ panels used for decorative purposes only.
Finally, we’ll finish up by discussing which type might be best for you, depending on your needs! So read on to know all the information.
Reasons Why You Should Build a Garage Door Panel:
- It is better to have a garage door that is too big than one that’s just right.
- Fabricating your door means you know exactly what is going into it and can avoid most manufacturing defects, screwups, and failures.
- Most prefab garages are made with low-grade wood panels.
- Making your own panels means you can use the highest-grade materials available, including marine-grade plywood for the face of the door, with high-density particle board or MDF on the back to ensure it doesn’t flex under load.
- Manufacturing defects are more likely in prefab garage doors because they are made somewhere else.
- Marine-grade plywood is far more durable than standard veneer (the face layer of cheap particle board) regardless of the manufacturer. In addition, it has almost no chance of delaminating or cracking over time irrespective of the conditions it is exposed to.
- Fabricating your door panels means you can make them as large or small as you want, which is incredibly important for insulated doors and double doors.
- Most prefabricated doors, even those labeled as premium and custom-made, cost less than $1 per square foot. That’s well under half the price of most mass-produced models at big box stores.
- Water-repellent stains are ideal for protecting wood decks, patios, fences, and other surfaces that get a lot of exposure to the sun. They contain silicone, which fills in pores and grain, so water can’t penetrate as easily. They also have ultraviolet light inhibitors to slow down the breakdown of the stain and paint due to the sun.
- Building your panels means that you can design them however you want and choose whatever materials you prefer (hardwood over particleboard, for example).
You Can Check It Out to Change Garage Door Code Clicker
Materials and Tools Needed:
- Marine Grade Plywood
- Table saw with a fine-tooth blade,
- Circular Saw
- Drill
- Measuring Tape
Steps to Follow: How to Build a Garage Door Panel
Step 1: Measure the Garage Door Panel
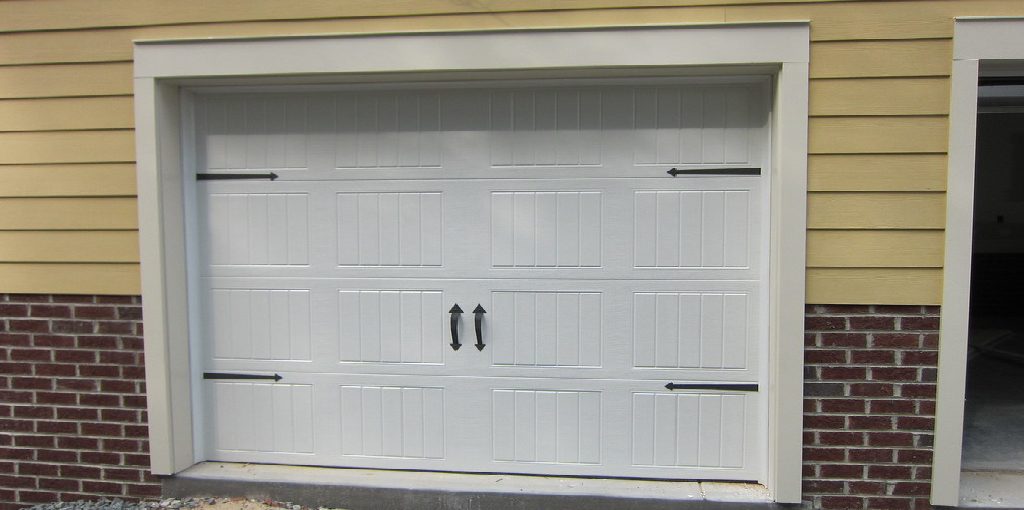
Measuring is key to ensure your garage door panel fits correctly. Ready to get started? Measure your garage door panel with a tape measure.
Using a pencil and paper, take down four different dimensions of your garage door panel: height, width, left edge side-to-length, and right edge side-to-length. Measure the garage door panel accurately, so it fits well when we get around to building it, using a level and measuring tape.
You Can Check It Out to Change Garage Door Code Clicker
Step 2: Create the Base of the Panel
Take your bottom plywood sheet and cut out a long rectangle used as the base of the garage door panel. The garage door panel will be attached to this base.
Step 3: Create the Covering for the Base
It’s essential to create a covering for the base of the garage door panel to protect it. The body can be made of 1/8-inch thick luan plywood cut into long pieces and glued onto the base. Use your pencil and paper to help you determine the measurements needed for this part of the panel.
Step 4: Create Two Wooden Sticks for the Frame
Cut two pieces of wood that are 12 inches in length and 1/4-inch high into halves using a jigsaw. The smaller dimensions will make it easier to connect the pieces of wood.
Step 5: Attach the Frame to the Base
To attach the sticks to the base, use wood glue and clamp them down securely. Make sure the sticks are level with each other, using your level. Don’t apply too much glue, or else it won’t dry in time; you only need to glue the pieces onto the base.
Step 6: Attach the Covering onto the Frame
To cover your frame, place your covering that was created in Step three into position and then use your staple gun to secure it to the sticks that were attached in the previous steps. Ensure that all of your corners are neat and there are no gaps between the wood since it will create a weak spot in your garage door panel.
Step 7: Make Holes on the Covering for Ventilation
To ensure proper ventilation for your garage door panel, drill three 3/8-inch diameter holes evenly spaced out on each side of the covering.
Step 8: Create the Sliding Track for the Garage Door Panel
To create the garage door panel, get ready by cutting your pieces of metal into 16-inch long pieces 3/4-inch wide. Make sure that they’re straight and cut with your scissors, or you can also cut them with a saw if you would like . After your pieces are cut, take two of them and use your gloves to rub the ends down with sandpaper. This will help to make sure that there is no sharpness. Next, take one piece and put it on top of the other. Measure about two inches from the end of the piece you’re holding and twist the two pieces together.
Step 9: Create the Garage Door Panel
Using wood glue, attach the long pieces of metal onto your garage door panel by adding a generous amount to both sides and then pressing down on them firmly for about 15 seconds each. Ensure that the panels are straight before allowing them to dry. Once dry, use your staple gun to finish the edges and secure them onto the plywood.
You Can Check It Out to Stop Sliding Shower Door From Leaking

Step 10: Make a Hole in the Garage Door Panel to Add Hinges
Once you have finished covering your garage door panel with metal pieces, you can now add hinges to make it easier for it to open and close. Cut out a hole with your drill, and then use a jigsaw to cut out the corners. Be careful not to injure yourself while using this tool.
Conclusion:
If you are interested to know how to build a garage door panel, we hope this article has given you the information and confidence necessary to do so. With just a few tools and supplies, anyone can create their own custom garage door panels in no time!
These doors will be sturdy and long-lasting because they are made with professional-grade materials that don’t break down over time like cheaper alternatives. Our blog posts may not offer step-by-step instructions for every project, but we always try to help out where we can. You’ll find more DIY projects on our website, or feel free to email us your questions anytime.


