
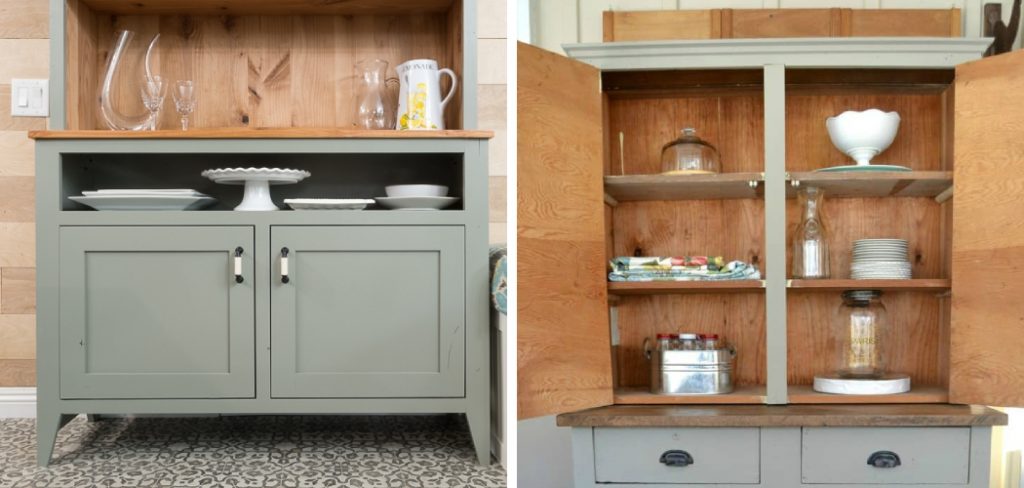
How to Build a Kitchen Hutch
Do you want to know how to build a kitchen hutch effectively? If your ultimate answer is yes, then we want to assure you that you are in the right place because this entire article is specifically dedicated to readers just like you.
To learn the method of building a kitchen hutch, we must follow some fundamental steps and some precautionary measurements. If we fail to maintain those accordingly, we might not achieve our most desired outcome.
The great news is, considering all these facts, we have finally found a suitable solution for building a kitchen hutch that anybody would love to know about. If you are willing to study this topic in more depth, read the rest of the sections!
The Process of How to Build a Kitchen Hutch
1. Above all else, we prescribe you to construct the sides. In this manner, make use of 1×10 wooden to make the segments. Imprint the cut lines with special consideration on support and take business with a legitimate jigsaw. Eliminate the buildups with a soggy material before proceeding with the task.
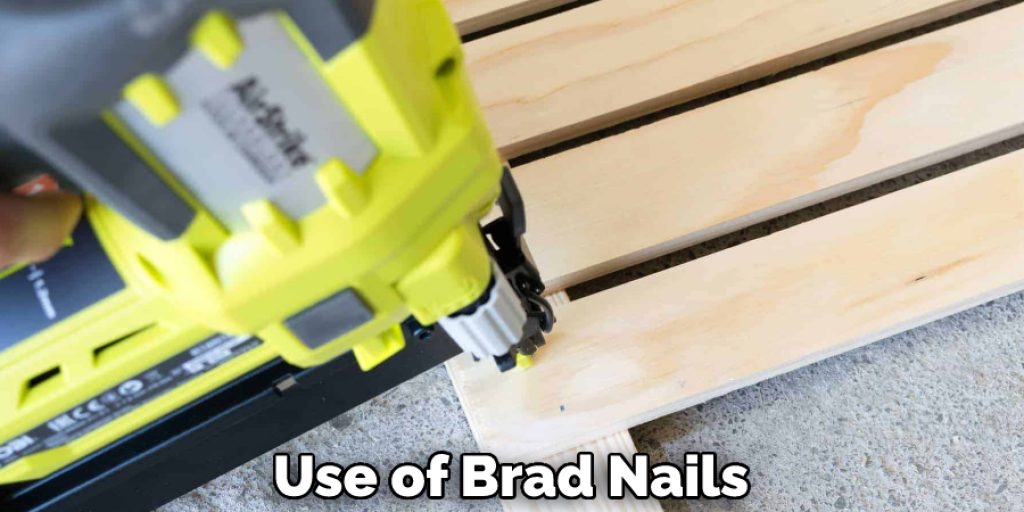
2. The next step is to join the top and bottom backings to the structure. Drill pocket openings at the two ends, adjust the edges to fit, and lock the segments into place. To improve the cubby’s look, we recommend you add 1×8 backings to the top and bottom of the pen. More important is the pressure of more than one brad nails through the backings to add extra strength to the structure.
3. Building the parcels for the kitchen container is a directly-ahead cycle, but you must stamp the reduced lines with attention. Eliminate the buildups with a moist fabric.
Utilize a round observed to make the indents and eliminate the abundance material with etching. Ease the spoil earlier than amassing the segments together firmly. Match the allotments to the hole, ensuring the edges are lined up with special consideration.
To add extra room and practicability to the pen, we advocate you healthy nearly half bars to the shape’s base—comfy them to the form making use of brad nails. However, you can use boring equipment and make openings on the structure’s two aspects to make the precise connection between the segments.
4. To wrap things up, we prescribe you deal with the last little details.
We have approached almost at the end. Now we think you have got an overall idea about the topic of how to build a kitchen hutch. And as a result, you may directly execute the entire tasks practically without requiring additional guides or support.
Lastly, we recommend you read the whole article again with proper concentration. This time, please focus on the steps mentioned in the previous section of this article and try to maintain the safety hacks. If you manage to do so, you are good to go!
You May Also Read – How to Update Melamine Kitchen Cabinets
Elizabeth Davis
Elizabeth is a creative writer and digital editor based in the United States. She has a passion for the arts and crafts, which she developed from a young age. Elizabeth has always loved experimenting with new mediums and sharing her work with others. When she started blogging, she knew that DIYquickly would be the perfect platform to share her tutorials and tips. She's been writing for the blog from the beginning, and her readers love her helpful advice and easy-to-follow instructions. When she's not writing or editing, Elizabeth enjoys spending time with her family and friends.


