How to Build a Plyo Wall
Are you looking for a fun and exciting way to add variety to your workouts? A plyo wall is an excellent tool to help you do just that. Whether you’re a professional athlete or just starting out on your fitness journey, this versatile piece of equipment can provide users with explosive full-body exercises that are sure to challenge all levels of fitness.
Here, we’ll be taking a look at what a plyo wall is, how it works, and how you can build one yourself in the comfort of your own home. So grab yourself some tools and break out those woodworking skills – let’s get started!
Building a plyo wall allows you to practice sports specific drills and exercises with greater safety and convenience. Not only can it be a great addition to your workout space, but it is also an ideal way to build strength, power, agility, speed, coordination and balance for athletes in any sport. Whether you’re an experienced athlete or just starting out in the world of fitness and sports training, having a plyo wall at home or at your gym will undoubtedly help you optimize your performance in whatever activity you choose to do! Here we’ll go through everything you need to know about how to build a plyo wall.
Why May You Want to Build a Plyo Wall?
1. To Improve Athletic Performance
One of the primary reasons athletes might want to build a plyo wall is that it can help improve their overall athletic performance. Plyometric exercises train muscles to be stronger and faster, resulting in improved jumping power, agility, speed, and strength. By having access to a plyo wall at any time, athletes can maximize the amount of muscle-building they can do and, in turn, increase their overall athletic abilities.
2. To Incorporate Variety Into Your Workouts
Having an accessible plyo wall can also make it easier to add variety into your workouts. Plyometrics are a great way to mix up your exercise routine and work different parts of the body than you would in typical strength training exercises. This can help prevent you from becoming bored with your routine and keep you motivated to stay active and reach your fitness goals.
3. To Improve Balance
Lastly, plyo walls offer a great way to improve balance in addition to strength and speed. By performing various plyometric exercises on the wall, athletes can strengthen their muscles that stabilize the body on an uneven surface, such as when standing on one foot or jumping and landing in a lunge position. This can help improve balance and coordination for all kinds of sports, from running to gymnastics.
Overall, building a plyo wall is an excellent way to increase athletic performance and add variety into your workouts. By doing so, athletes can strengthen their muscles, improve balance and coordination, and set themselves up for long-term success in their sport.
How to Build a Plyo Wall in 5 Easy Steps
Step 1: Gather All The Materials
The very first step to building a plyo wall is to gather all the materials needed. You’ll need two 8-foot by 4-foot sheets of 3/4 inch plywood, 16 2x4s for framing, screws and construction adhesive. Make sure you have enough of each material before you begin.

Step 2: Cut The Plywood
Using a saw, cut each of the plywood sheets into four even pieces. Each piece should measure 2 feet by 4 feet. You have to be precise with the cuts because this will affect how stable your plyo wall is.
Step 3: Build The Frame
Using the 2x4s, build a frame for each piece of plywood. This frame should measure 2 feet by 4 feet and have two sides that can be attached to it at right angles. Securely fasten each of the 2x4s together with screws.
Step 4: Attach The Plywood To The Frame
Using construction adhesive, attach each of the plywood pieces to the frame you have created. Make sure to line up the edges accurately and press firmly as you go around the edges. Allow for at least 24 hours for the glue to fully dry before continuing.
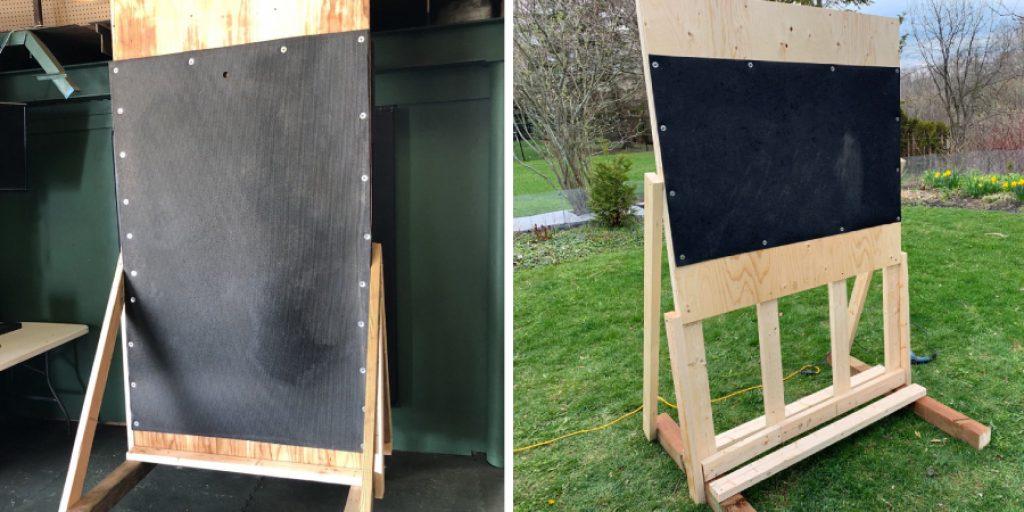
Step 5: Set Up The Plyo Wall
Finally, you can set up your plyo wall. To do this, attach the frames to each other using screws or bolts. Make sure that the edges line up correctly and securely fasten them together. Once done, your plyo wall is complete!
Now you have the knowledge and tools to build your own plyo wall. Have fun challenging yourself with new exercises and push past your limits!
Some Additional Tips to Build a Plyo Wall
1. Do Not Skimp on the Materials
This is important when doing any type of construction project. Use sturdy and reliable materials so that the plyo wall will last a long time. After all, you do not want to have to rebuild it again soon.
Also make sure to use the right type of plywood for your wall. Plywood is rated based on its thickness, so choose a thickness that will provide enough support and stability for the weight of people who will be using it.
2. Use More Than One Sheet of Plywood
For extra strength, you can use two or more sheets of plywood when building the wall. This will ensure that it can hold up to heavier loads and provide more stability over time.

3. Cut Out Holes for Handles or Grips
This will make it easier to climb onto the plyo wall, as well as providing a better grip while using it. Use a jigsaw to cut out any necessary holes.
4. Install the Plyo Wall Securely
When attaching the plywood to a wall or other surface, make sure to secure it firmly with screws and bolts. You want it to be sturdy so that it can support the weight of people using it safely, but also so that it does not become loose over time.
5. Measure and Mark Areas for Exercises
It’s important to mark areas on the plyo wall to indicate where different exercises can be performed. This will help users understand how to use the wall correctly, so that they can get the most out of their workouts.
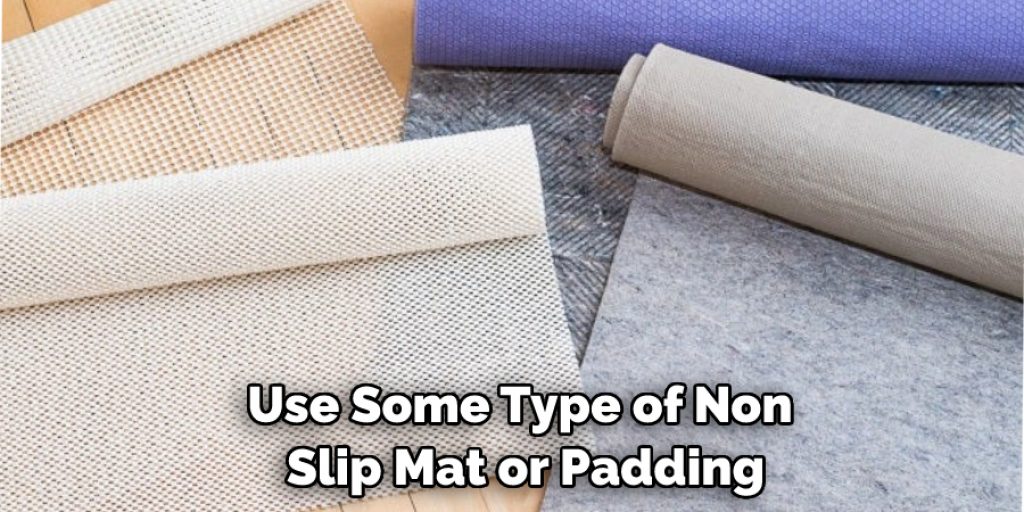
6. Use Non-slip Mats or Padding
Finally, you should use some type of non-slip mat or padding on the plyo wall. This will prevent people from slipping when they are performing exercises and ensure that the wall provides a safe experience for everyone using it.
Following these tips will help you build a sturdy and reliable plyo wall that can be used safely and effectively. With a little time and effort, you can create an impressive piece of workout equipment that will last for years. Good luck with your project!
Frequently Asked Questions
What Precautions Should I Take When Building a Plyo Wall?
It is important to take all necessary precautions when building a Plyo wall. Make sure the area where you will be constructing the wall is flat and secure, and that any nearby objects are securely fastened so they don’t become dislodged during use.
Additionally, make sure the wood used for the construction is of a good quality and is properly treated. Finally, it may be necessary to secure the wall to the ground with anchors if there is any risk of movement due to excessive use or weather conditions.
What Types of Tools Will I Need To Construct a Plyo Wall?
The most basic tools you will need to construct a Plyo wall include saws, drills, screwdrivers, and wood screws. A framing square or level can be helpful to ensure that the boards are cut and placed correctly.
Depending on the project’s complexity, more specialized tools such as jigsaws or routers may be required. It may also be necessary to have access to additional power tools for more complex projects. Additionally, it is important to make sure you have all the necessary safety equipment, such as goggles and gloves.
How High Should I Make My Plyo Wall?
The height of your Plyo wall will depend on its intended use. For general plyometric exercises such as box jumps or broad jumps, a wall that is three or four feet high should be sufficient. For more advanced exercises such as hurdle drills, a higher wall may be necessary. It is important to keep in mind that the higher the wall, the greater risk of injury and so it is important to take precautions when constructing one at a height greater than four feet.
Conclusion
Building your own plyo wall with these simple steps is a great way to save money and practice strength training and agility drills at home. There are many options available such as size and aesthetic, so it’s important to take the time to find the right piece of equipment that best fits your needs.
Plus, plyo walls add a great touch to any home gym or outdoor sports area for a personal touch that will be unique to you. You don’t have to be an expert carpenter either — this project can help even the most novice builder get into some hands-on DIY work.
Now you know how to build a plyo wall! Whether you’re looking for a sturdy and effective workout spot in your own home or want something different for your outdoor gathering space, a plyo wall will definitely add just what you need! So if you’re ready to finally tackle that building project, dust off those tools and get creating today!